Registering a first-time user in the Keyfactor Portal
Registering in the Keyfactor Portal
Specify the organization details on the Keyfactor Portal Registration page.
Note: If your organization already has an existing SaaS deployment, you can add this deployment to the same Organization by logging in via the “Already have an account?” link.

Once you have read through the Terms, click the check box next to I have read and accept the terms of use, and then click Register.
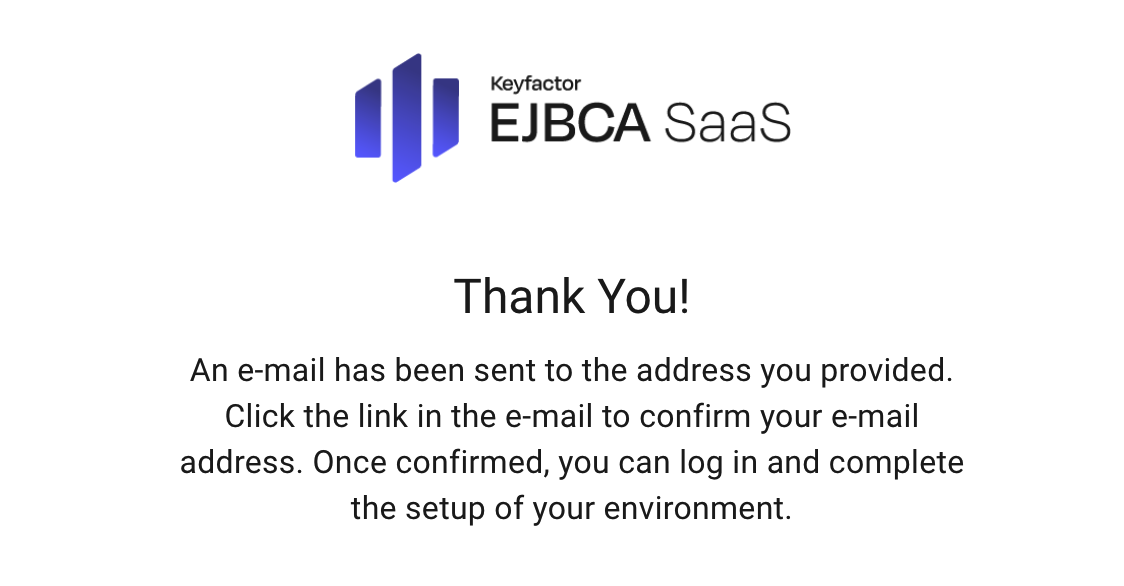
A confirmation email will be sent to the account specified in the Email Address field and must be confirmed to continue. The email will come from <support@az.keyfactorsaas.com>. You can add that email address to your address book to prevent the message from being accidentally categorized into the junk folder.A confirmation page displays, confirming a successful registration.
In the confirmation email that you receive, click Confirm Email to confirm registration.
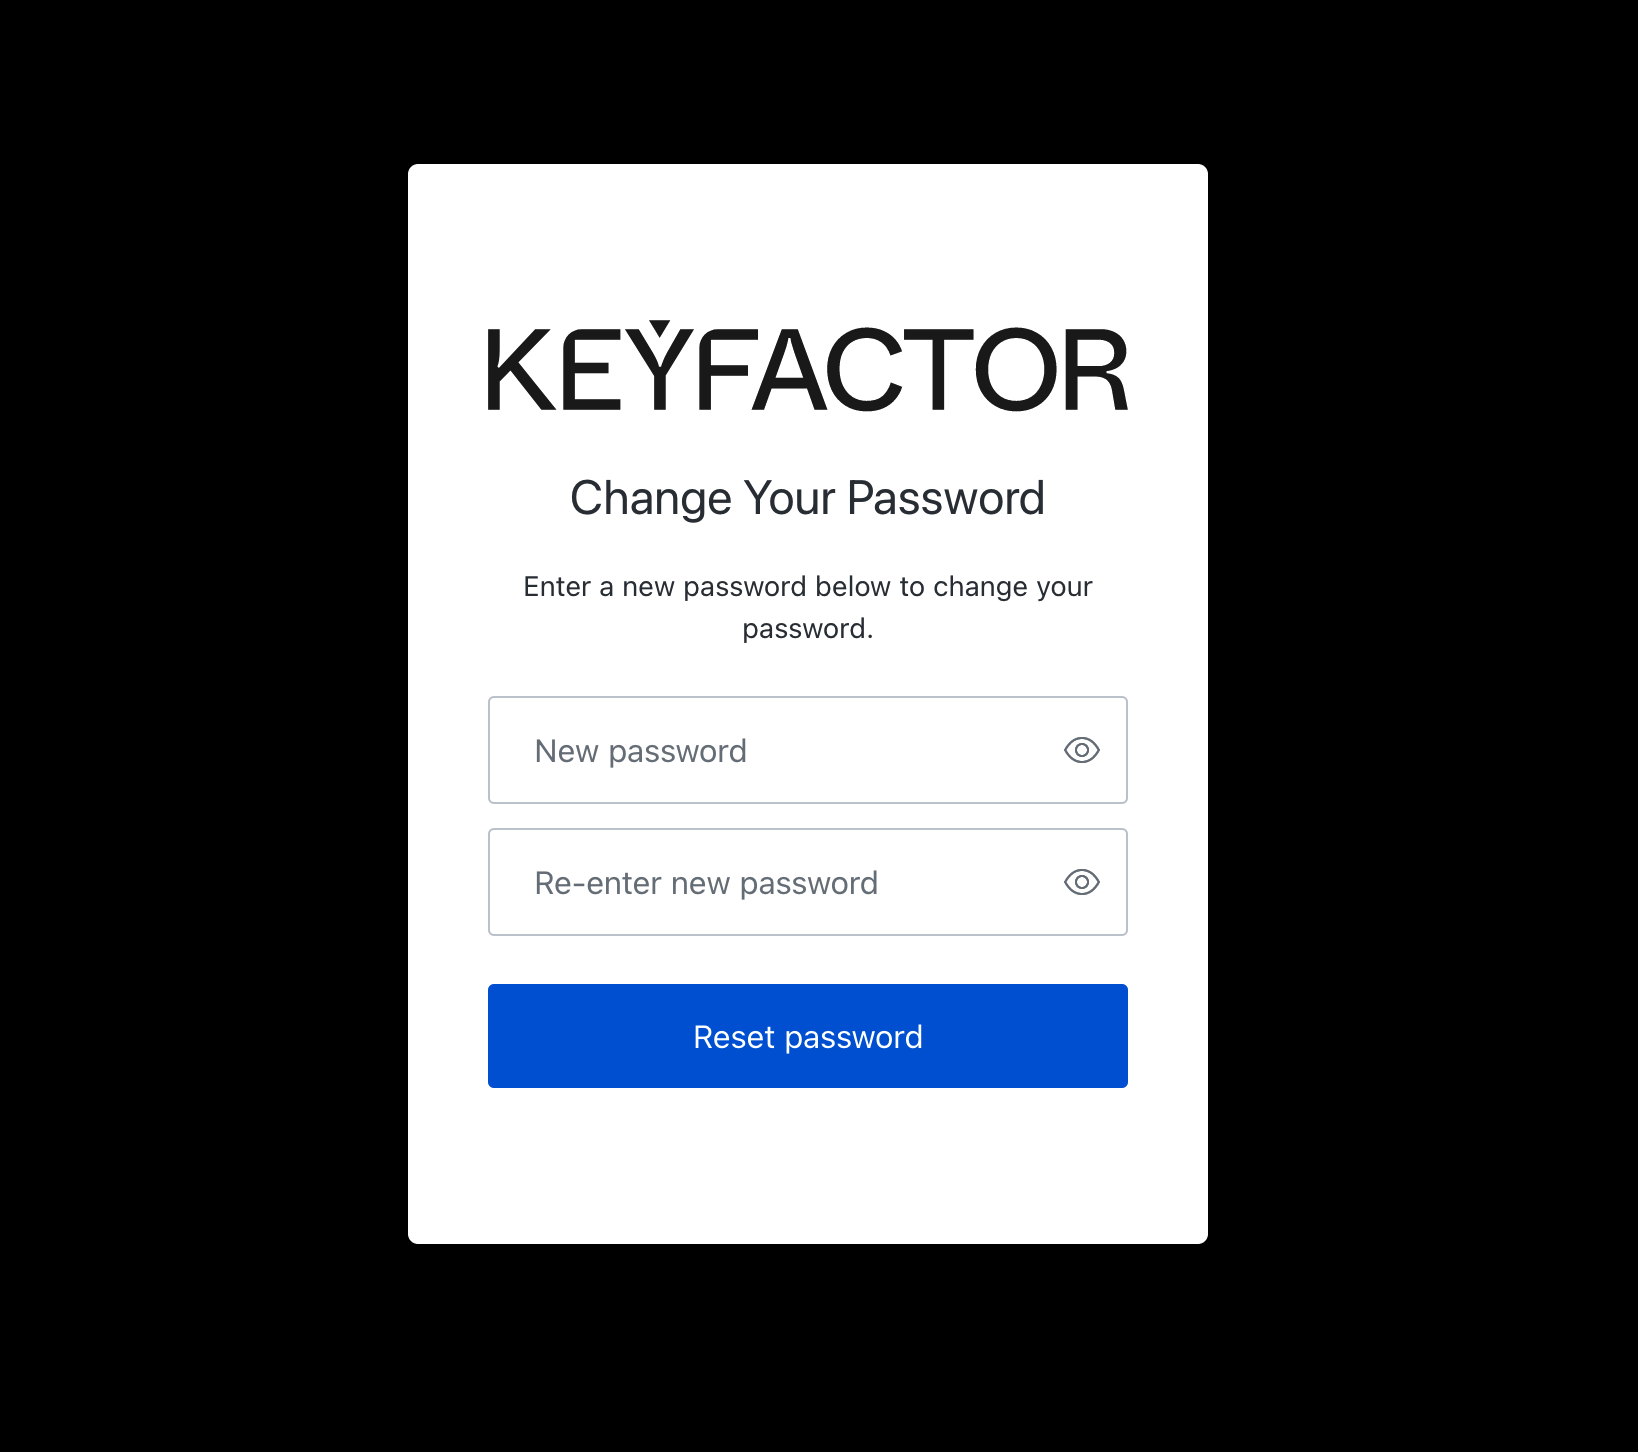
If successful, the Portal will show that your email address was successfully confirmed. Sign back into the Keyfactor Portal to set your password and finish the registration process. Enter a password, and then click Reset Password.
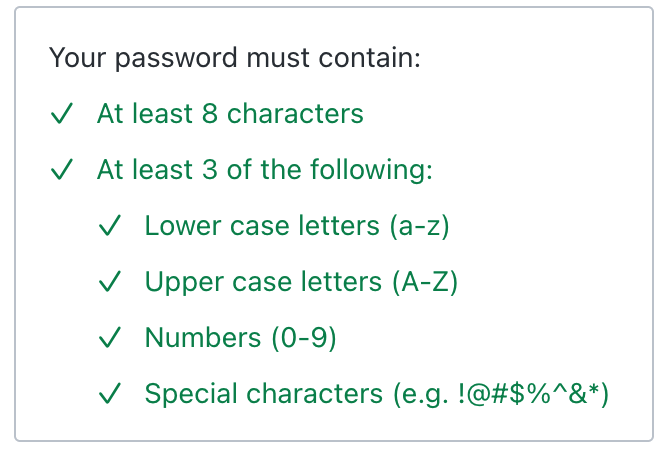
The new password should meet the following password requirements.
After resetting your password, click Back to Keyfactor SaaS Portal.
Logging in for the first time
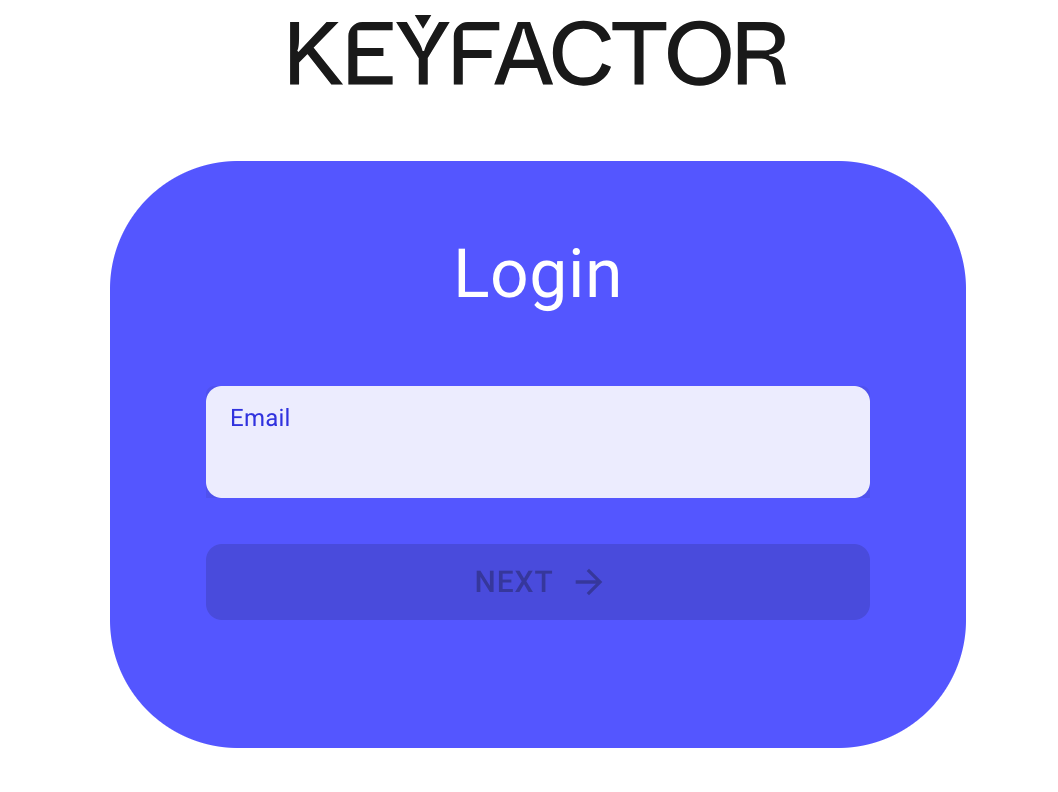
After registering, enter your email address in the Email field, and then click Next.
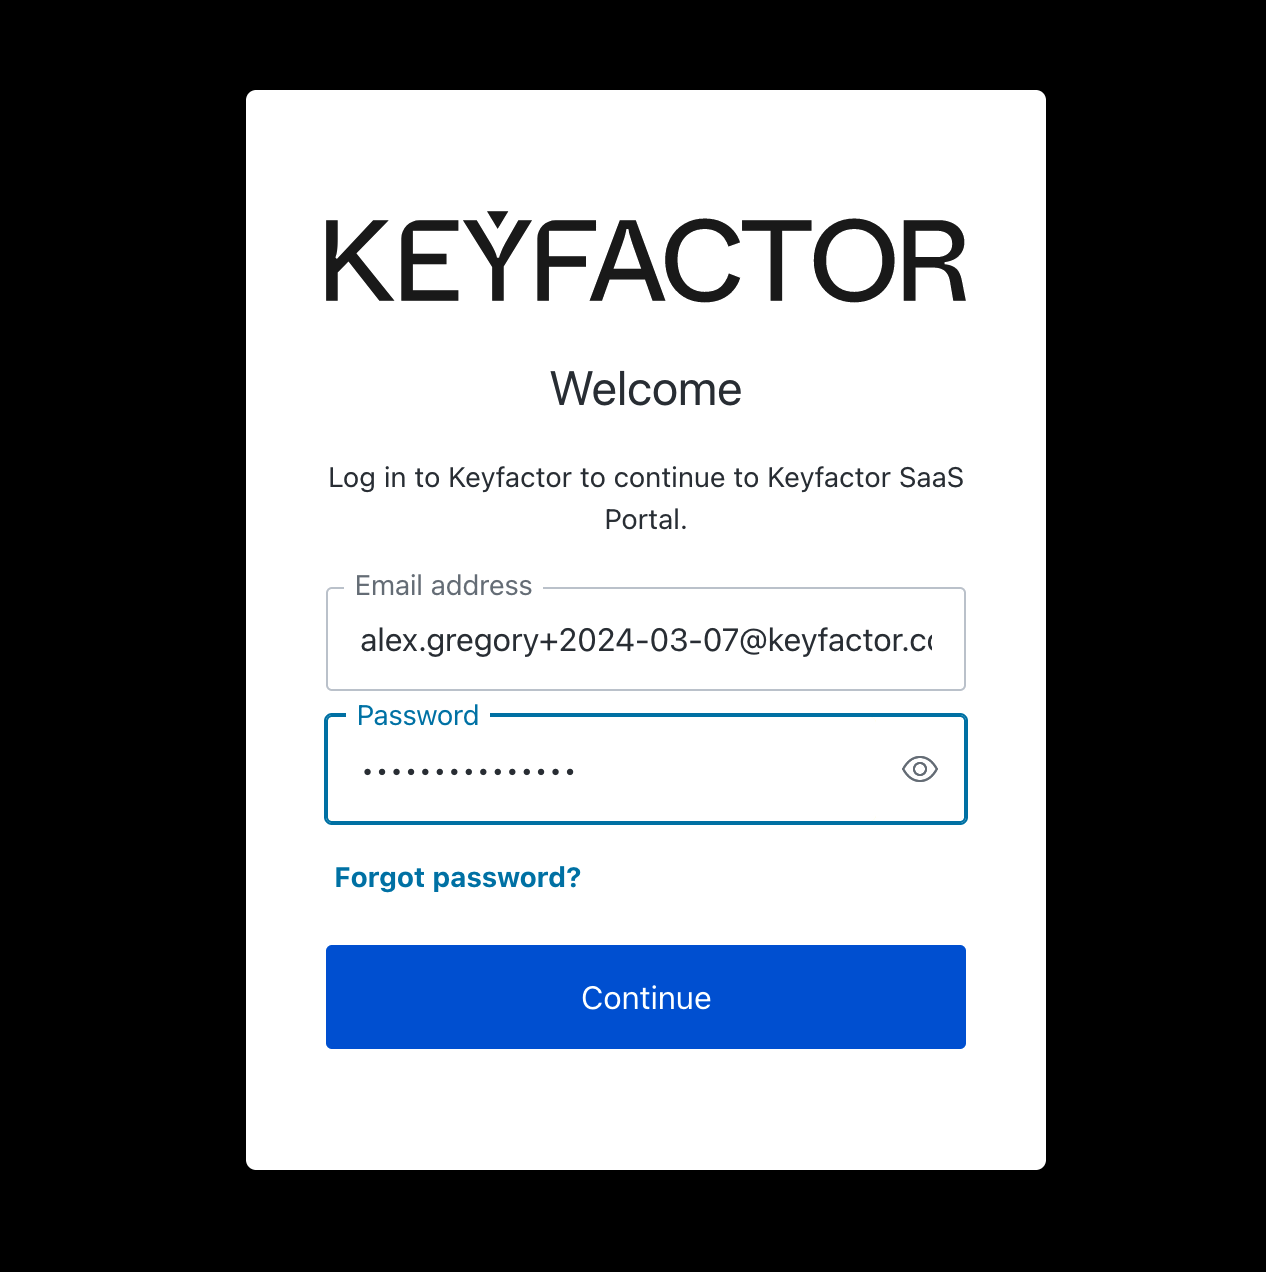
On the next screen, your email address will be populated for you. Enter the password that you set in the “Registering in the Keyfactor Portal” procedure, and then click Continue.
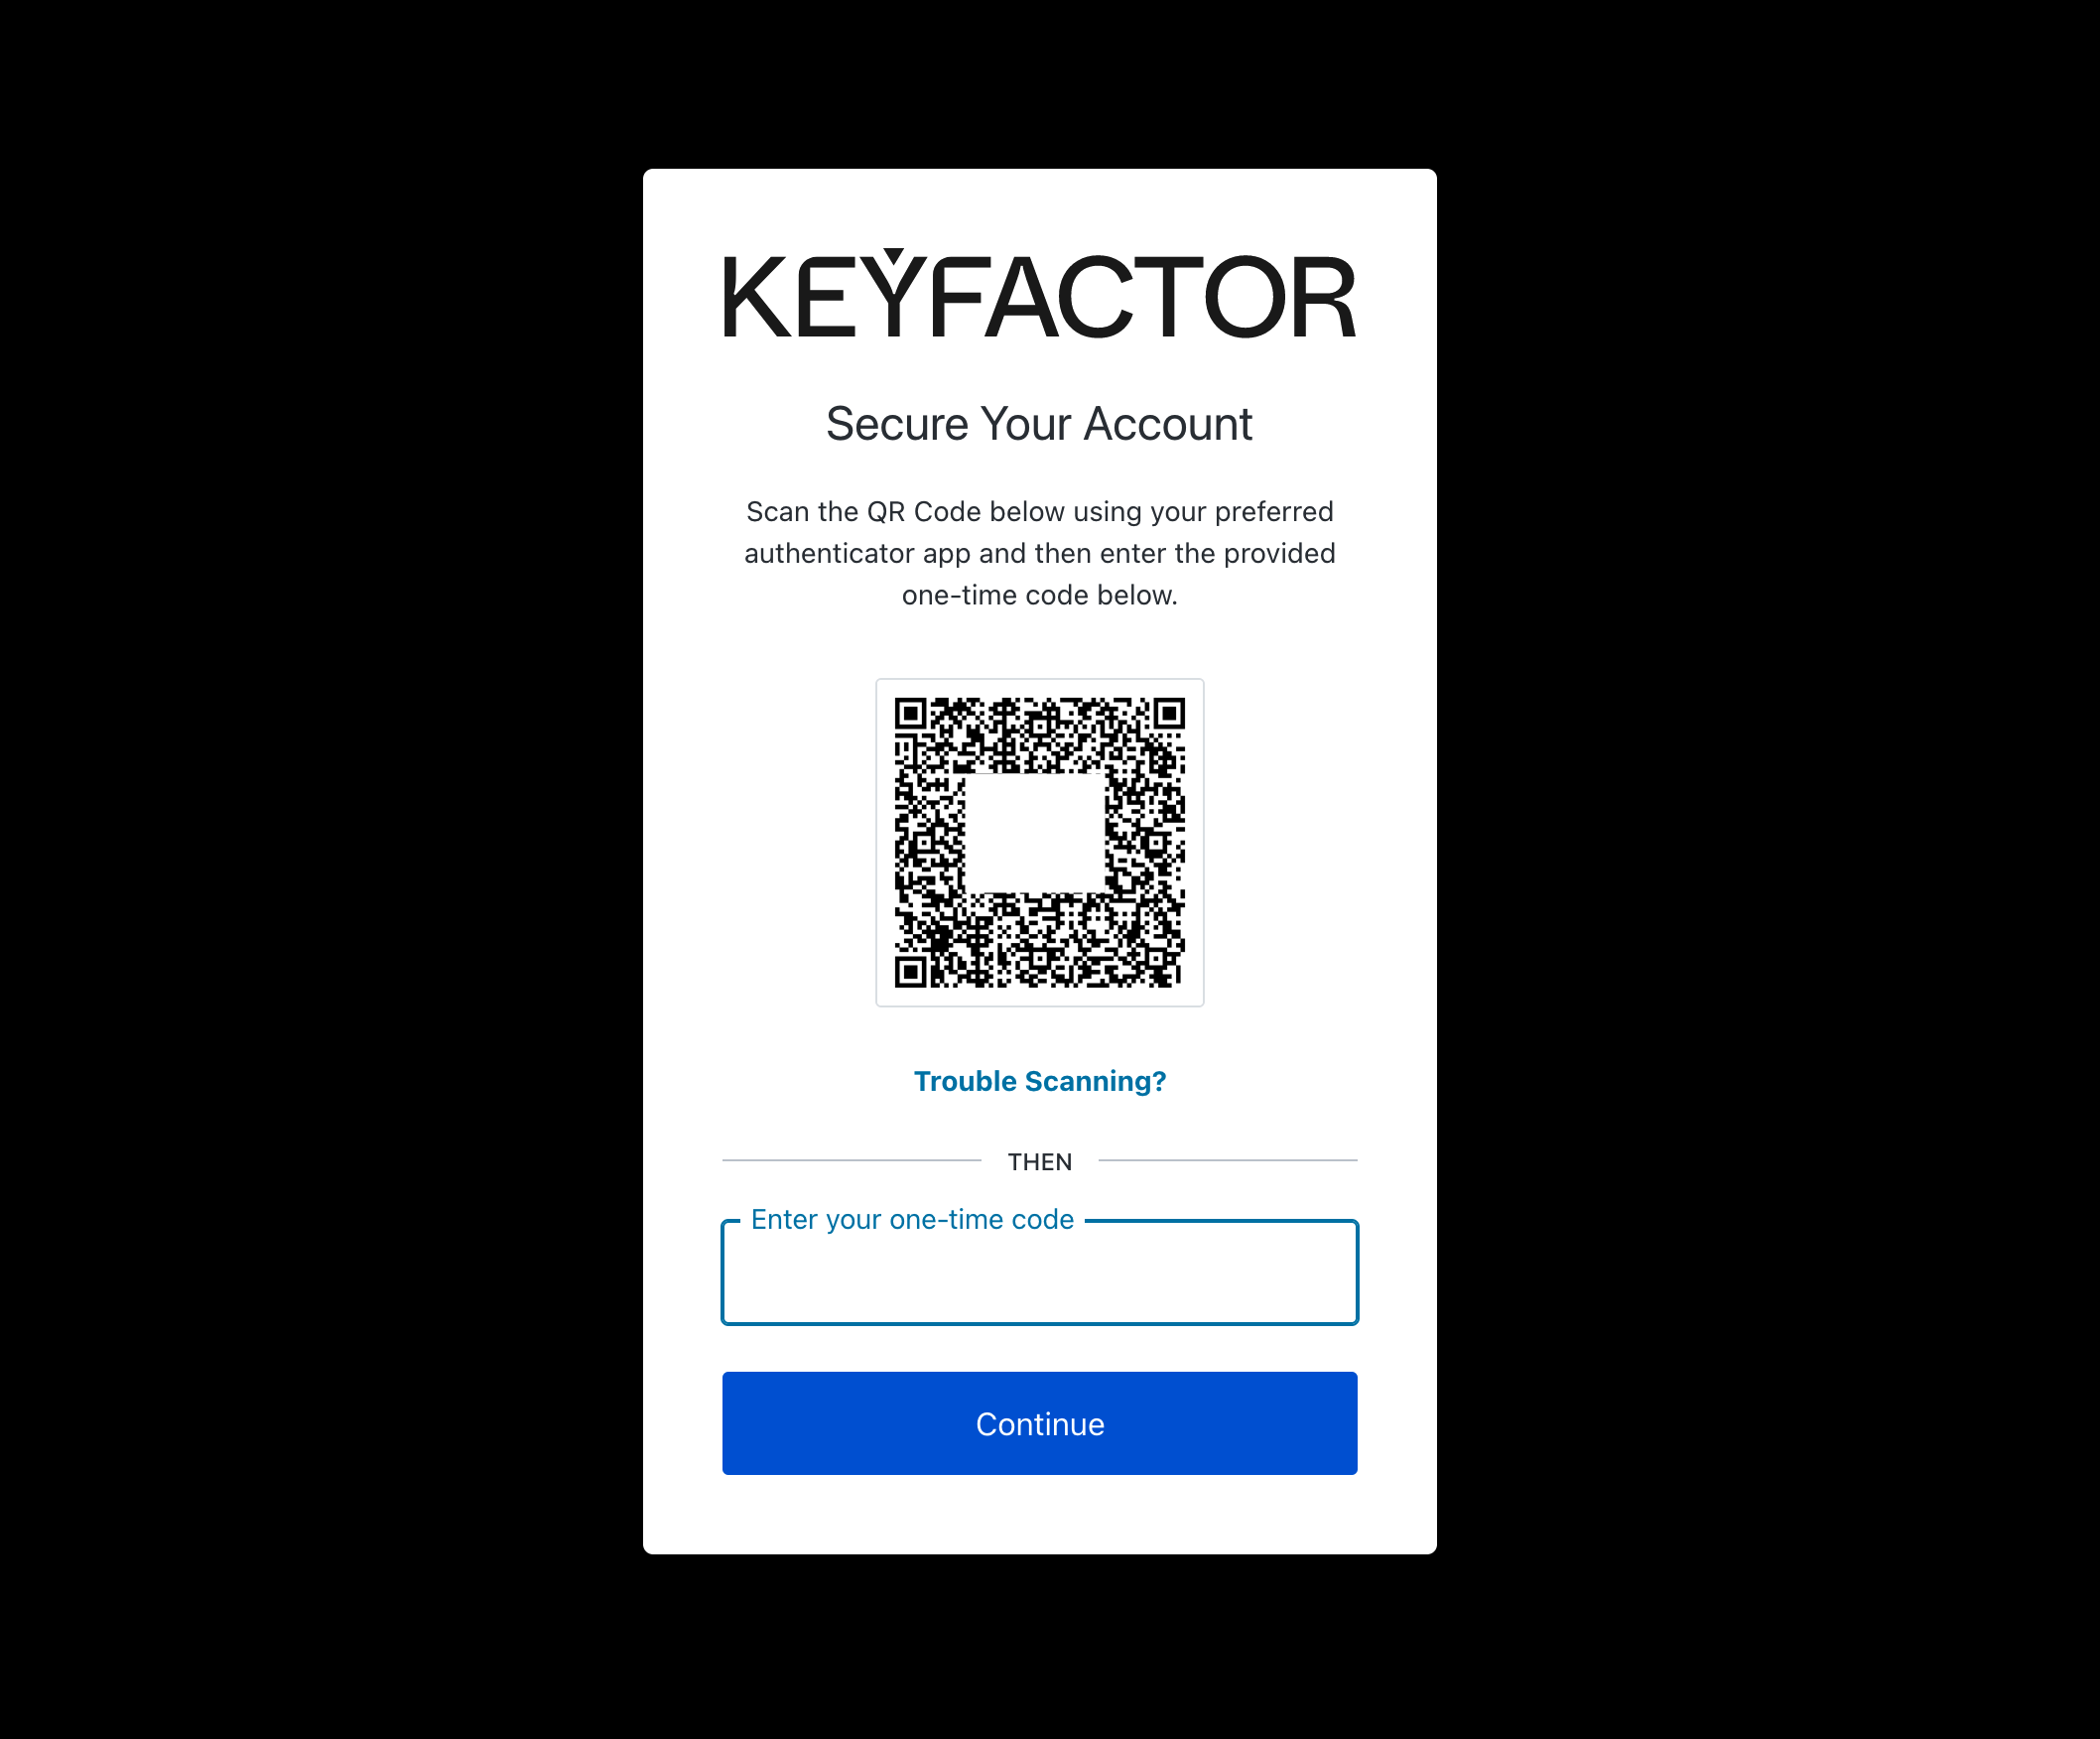
The Keyfactor SaaS Portal leverages adaptive MFA as standard for all users. Adaptive MFA is a flexible, extensible MFA policy that can help you protect your tenant from bad actors without increasing friction for real users. It assesses potential risk during every login transaction, and then prompts the user for additional verification if appropriate. Use an MFA app (such as Google Authenticator, Microsoft Authenticator, or Last Pass Authenticator) to enroll the MFA token.
If you would like to have “Always Prompt” MFA, please contact Keyfactor support and request to have this enabled within your organization that gets created as part of this enrollment process.
Click the + icon in your MFA app to add a token, and then choose the camera option to scan a QR code.
Once the codes are generated, enter the six-digit code in the Enter your one-time code field, and then click Continue.
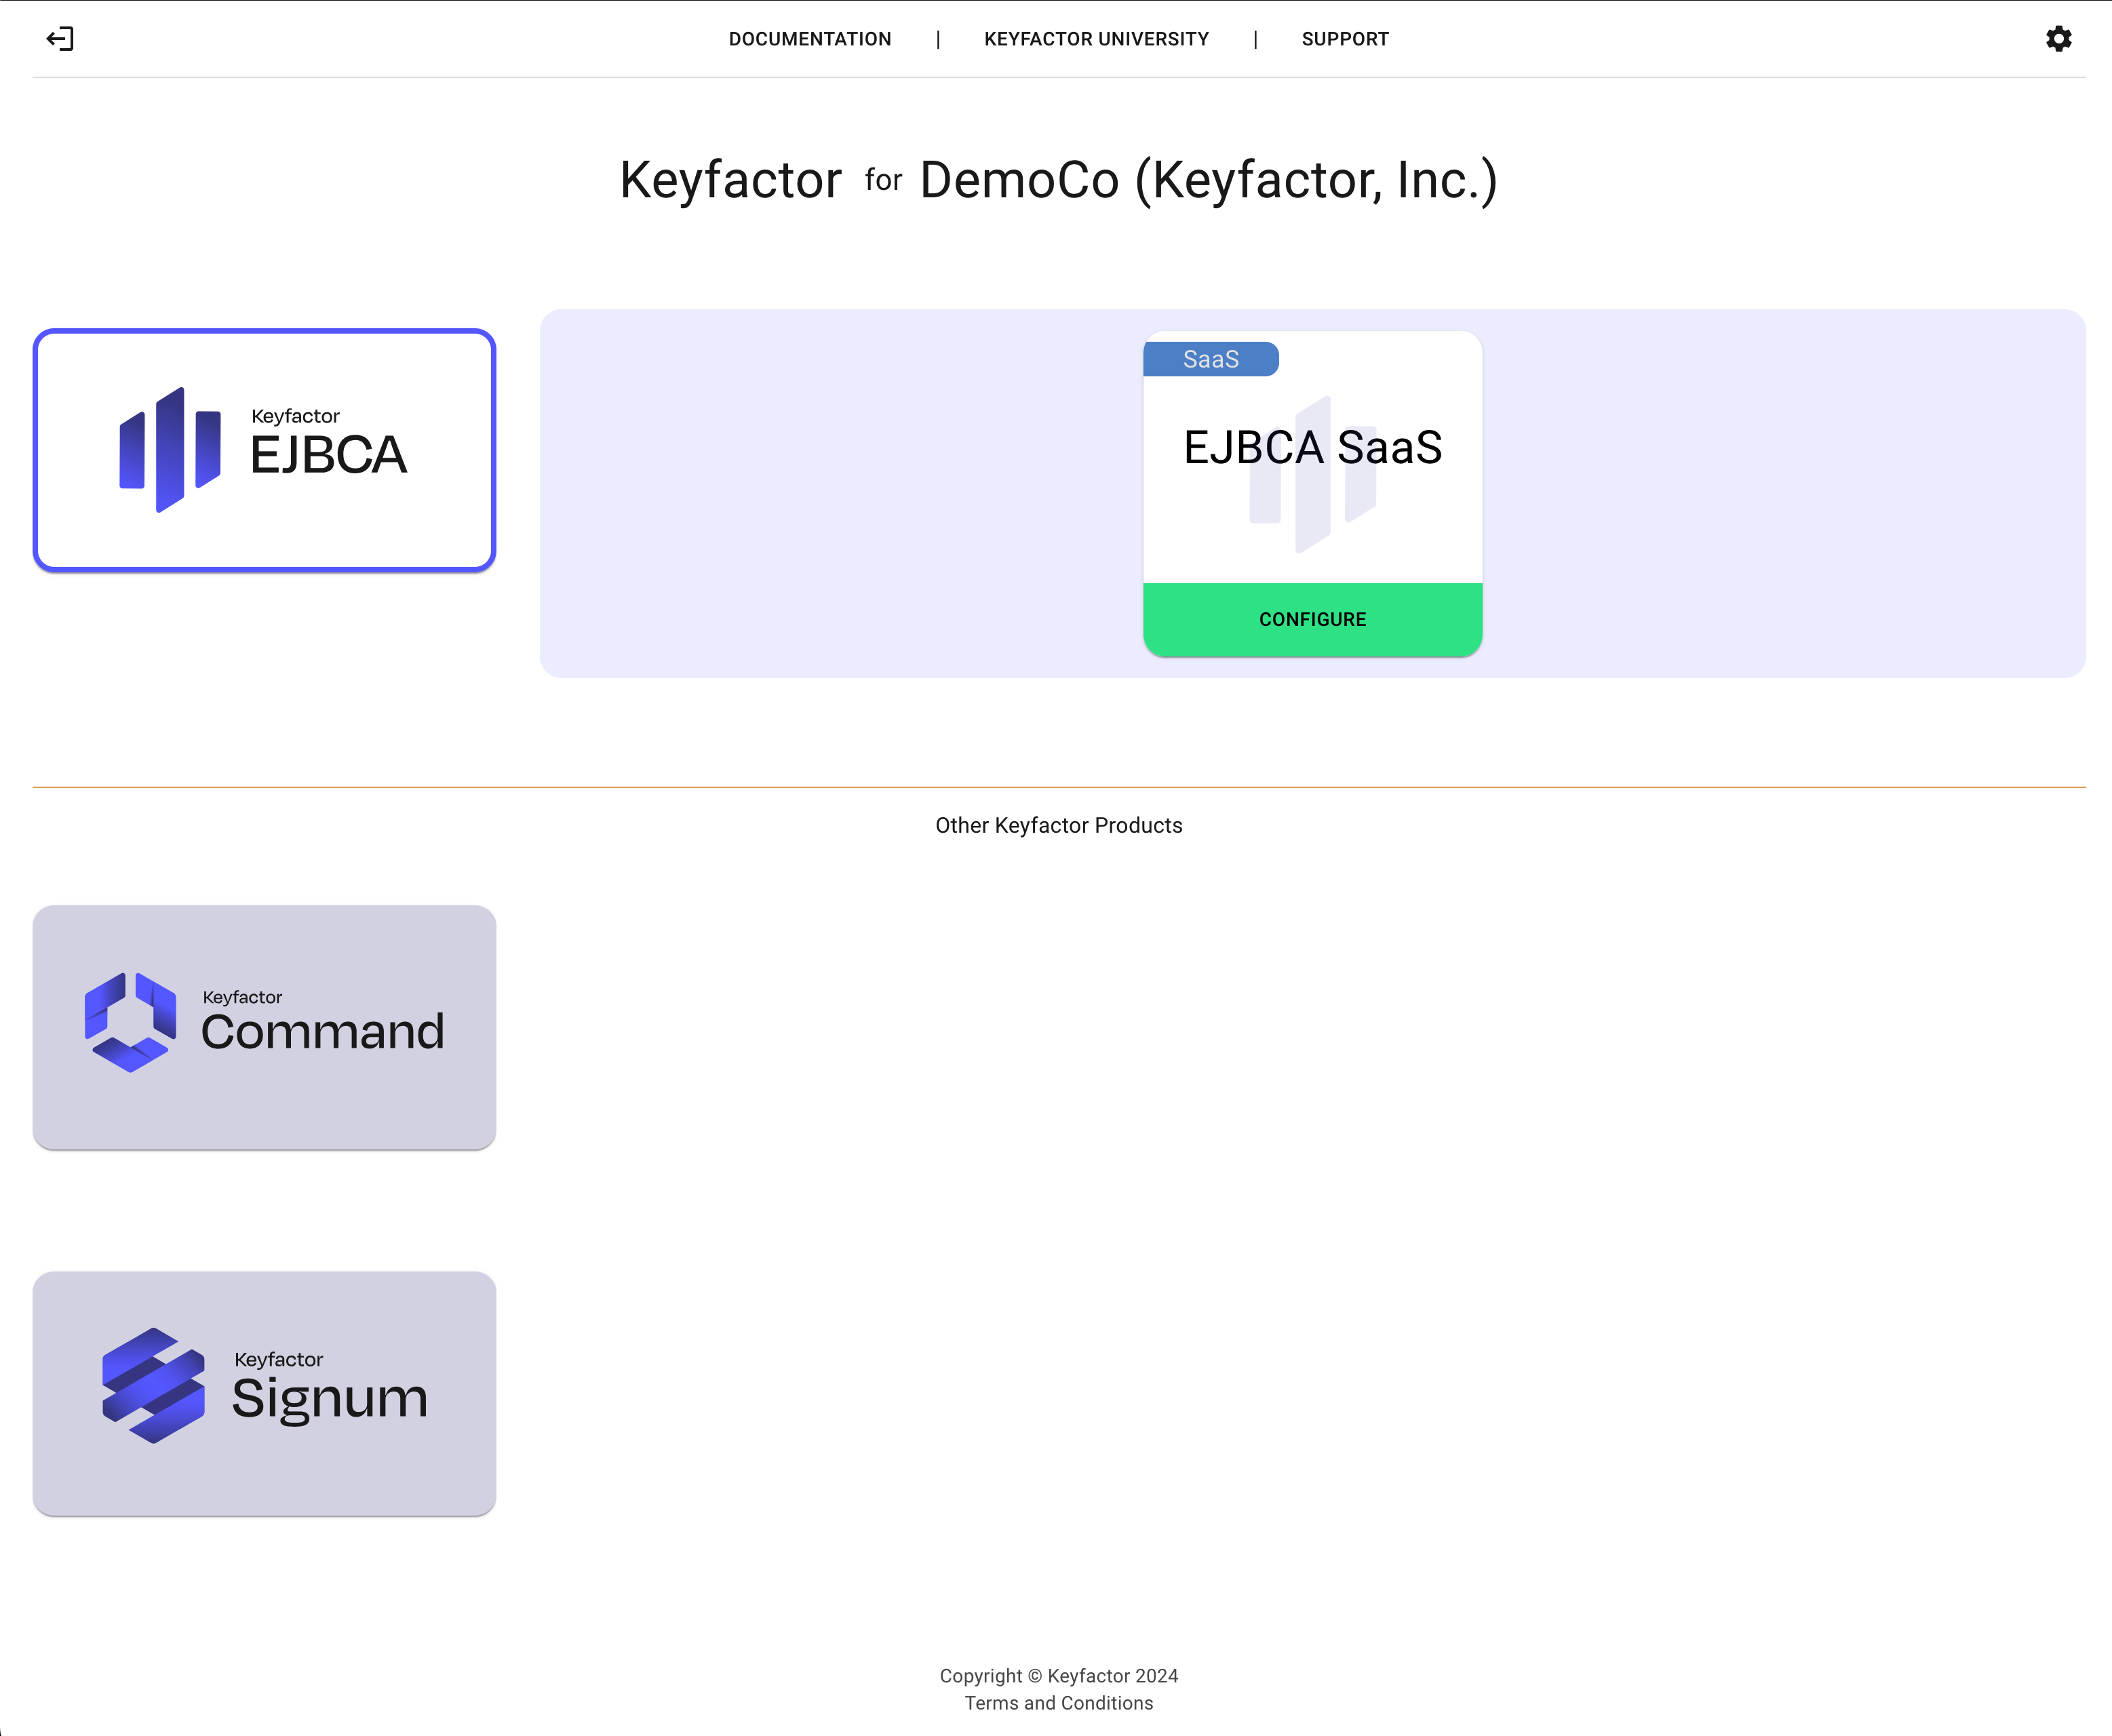
You will be brought to the deployment selection screen, which shows a tile with the name of the deployment you selected in the registration screen. Click the Configure button to begin configuring your deployment options.