Follow these steps to install and configure the CA Connector on a Linux server.
Step 1 - Copy the CA Connector to the Server
Start by copying the CA Connector to the Linux server you wish to run the CA Connector on. Use a command such as the following to SCP the file to the host.
scp ~/Downloads/KeyfactorCAConnector-11.2.0.zip username@<IP_ADDRESS>:/home/username/KeyfactorCAConnector-11.2.0.zip
If you are using public key-based authentication to your server, it would resemble the following command.
scp -i ~/.ssh/public_key.pem ~/Downloads/KeyfactorCAConnector-11.2.0.zip username@<IP_ADDRESS>:/home/username/KeyfactorCAConnector-11.2.0.zip
Step 2 - Transfer the Installation Script
Use the same command to SCP the SetupConnector_{deploymentName}.sh script to the server. Alternatively, use vi, vim, or nano to create a new file and paste the contents into the file. Add execute permissions to the file once it is created.
chmod +x SetupConnector_{deploymentName}.sh
Step 3 - Verify File Placement
Ensure that the SetupConnector_{deploymentName}.sh and the RemoteCAClient-<type>-Version.zip file are in the same directory.
Step 4 - Run the Installation Script
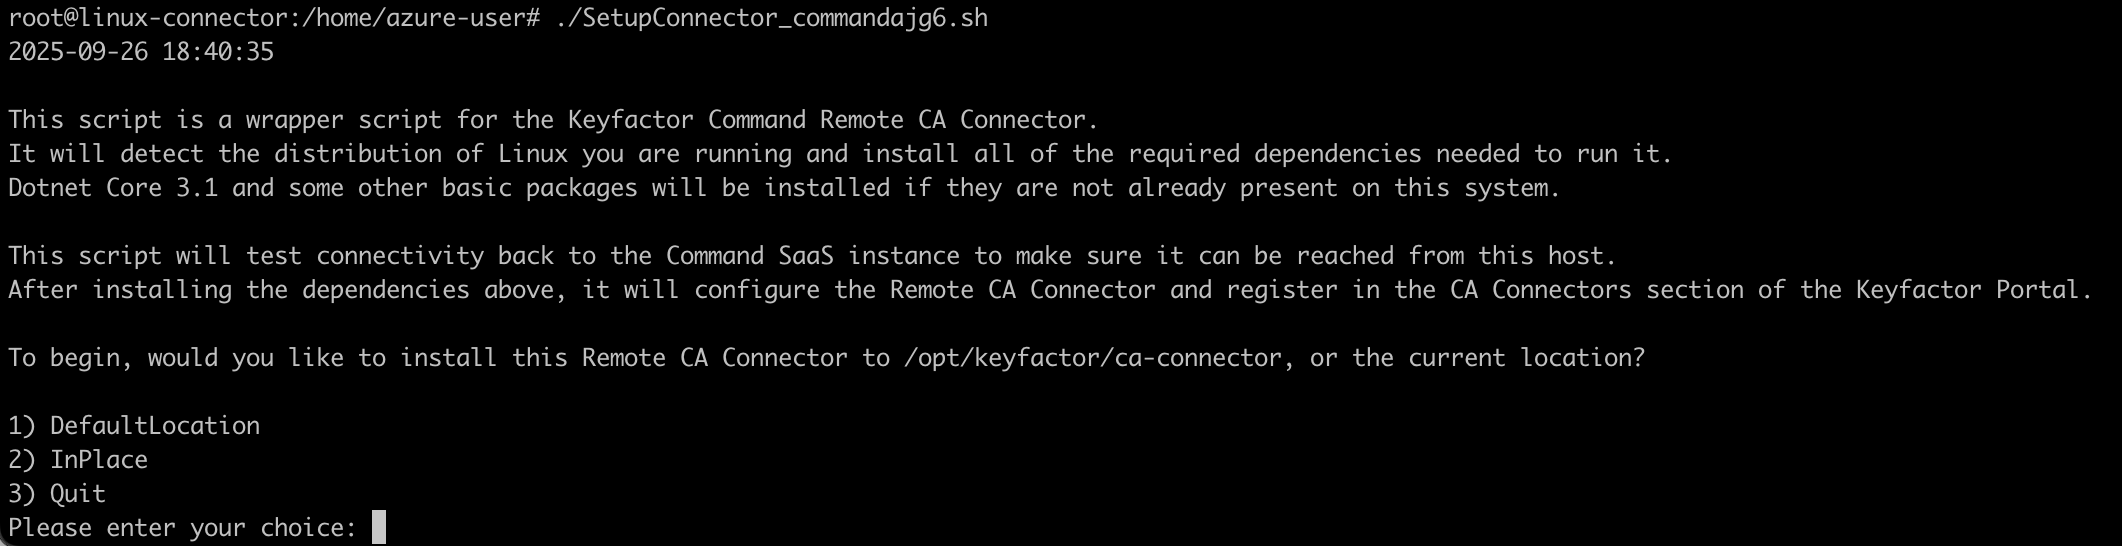
Run the SetupConnector_{deploymentName}.sh script.
./SetupConnector_{deploymentName}.sh
The first thing the script will do is ask you if you want to install into the Default location (/opt/keyfactor) or install in place in the location you are running the installer from.
It will then check for and install any dependencies that it needs to run. For additional information on the CA Connector installation requirements, refer to the Command documentation about System Requirements for the CA Connector.
Step 5 - Connect to Command SaaS
Next, it will try to connect to the Command SaaS deployment. If the connection fails, it is likely because it is required to allow any addresses into the Command SaaS deployment via the Self-Service Source IP feature of the Command SaaS Portal.

If this happens, run the command to get your outbound IP address and add the corresponding IP Address in the Command SaaS Portal.
curl ifconfig.me
Step 6 - Install Dependencies and Provide Client Secret
The script will then detect your OS version and install .NET Core and any other required dependencies. Once done, the script will ask you for your Client Secret to access your Command SaaS deployment. Copy and paste the Client Secret into the terminal, and then press Enter.

It will then provide relevant information at the end of the script:
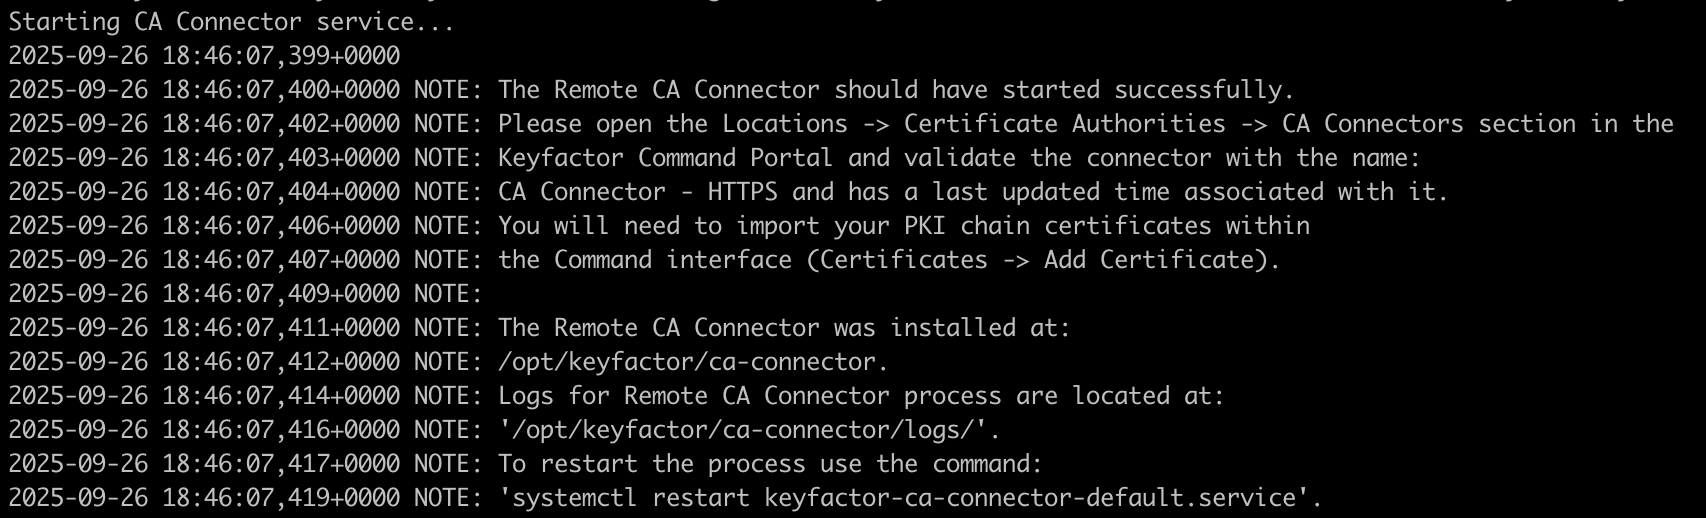
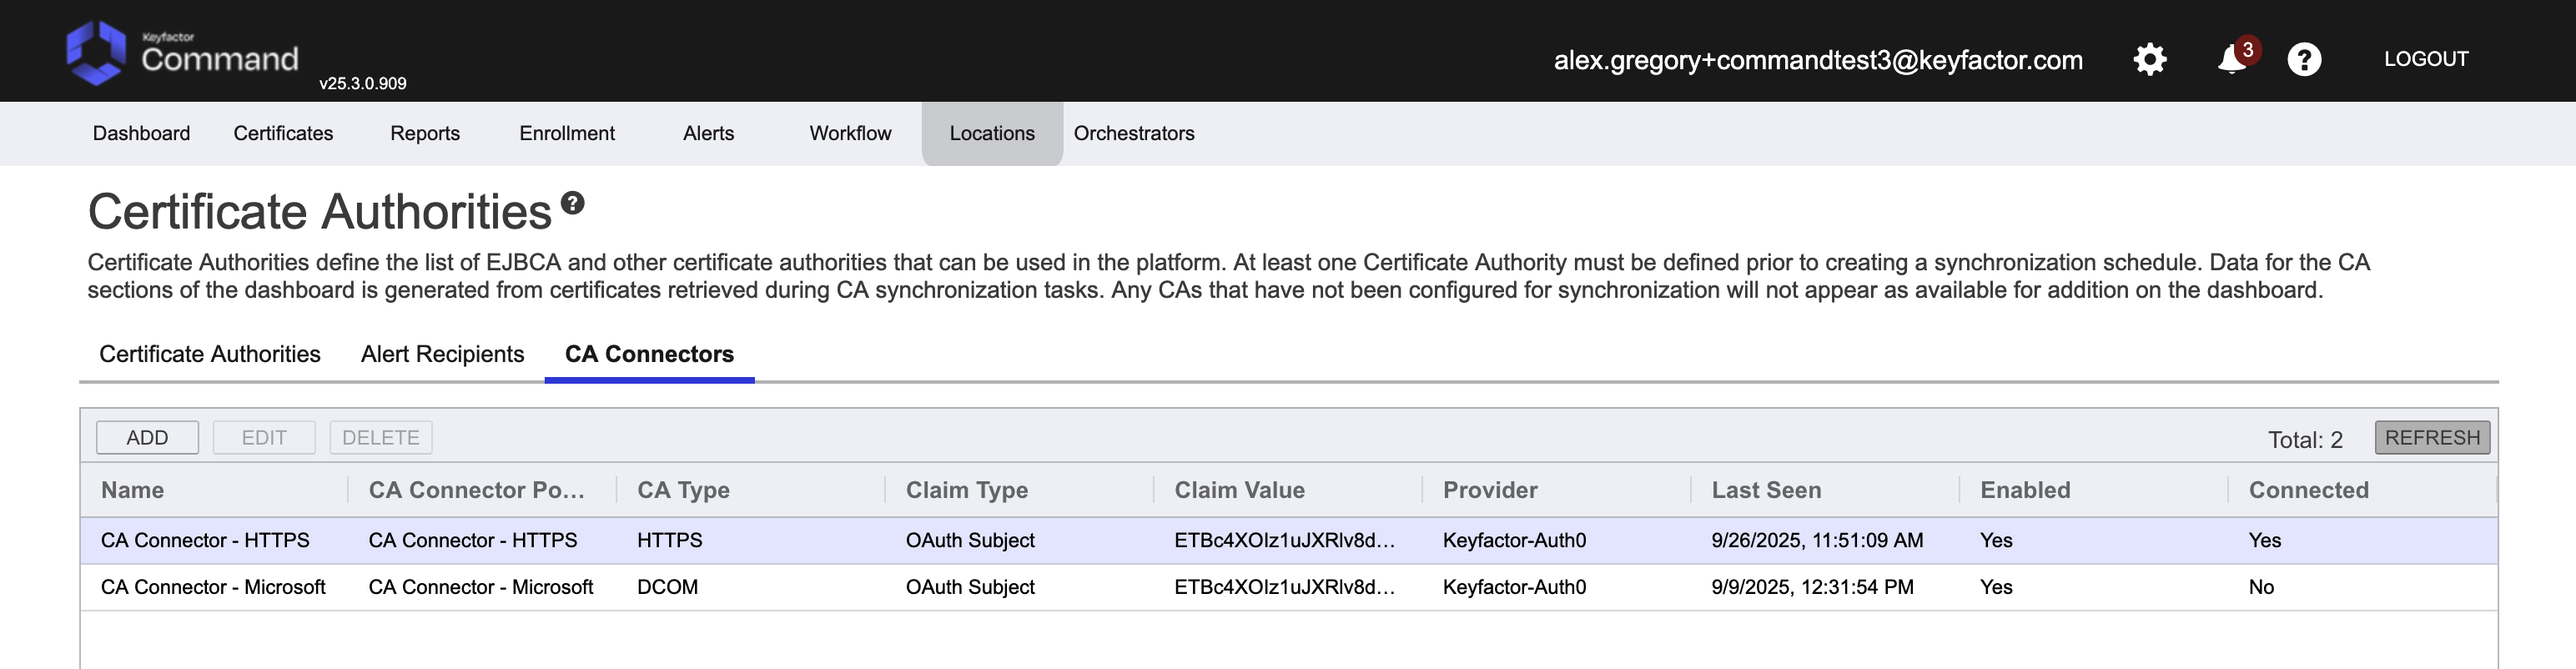
Step 7 - Approve the CA Connector in the Command Portal
You should then see a message telling you to go to the Command Portal view and make sure the CA Connector has an updated Last Seen time.