This guide will show you how to quickly get started with EJBCA in your Kubernetes cluster using Helm charts.
Before you begin
Before you begin, you need a functioning Kubernetes cluster with kubectl and helm tools configured and ready to use, see Prerequisites.
We recommend using an Ingress with TLS pass-through or a LoadBalancer service with EJBCA for Kubernetes external access.
Start EJBCA container using Kubernetes and Helm
Ingress with TLS pass-through
If your cluster works with Ingress with TLS pass-through, you may deploy an ephemeral EJBCA Enterprise test instance using Helm:
helm install ejbca --set imagePullSecrets[0].name=keyfactor-registry \
    --set ejbca.license=ejbca-license-secret \
    --set nginx.enabled=true --set nginx.initializeWithSelfSignedTls=true \
    --set ingress.enabled=true \
    --set ingress.sslBackend=true \
--set ingress.annotations."nginx\.ingress\.kubernetes\.io/backend-protocol"=HTTPS \
--set ingress.annotations."nginx\.ingress\.kubernetes\.io/ssl-passthrough"=true \
--set ingress.annotations."nginx\.ingress\.kubernetes\.io/ssl-redirect"=true \
--set ingress.hosts[0].host=ejbca.testdomain.se \
--set ingress.hosts[0].paths[0].path=/ \
--set ingress.hosts[0].paths[0].pathType=Prefix \
    oci://repo.keyfactor.com/charts/ejbca --version x.y.z
Alternately, to deploy the Community Edition:
helm install ejbca \
    --set nginx.enabled=true --set nginx.initializeWithSelfSignedTls=true \
    --set ingress.enabled=true \
    --set ingress.sslBackend=true \
--set ingress.annotations."nginx\.ingress\.kubernetes\.io/backend-protocol"=HTTPS \
--set ingress.annotations."nginx\.ingress\.kubernetes\.io/ssl-passthrough"=true \
--set ingress.annotations."nginx\.ingress\.kubernetes\.io/ssl-redirect"=true \
--set ingress.hosts[0].host=ejbca.testdomain.se \
--set ingress.hosts[0].paths[0].path=/ \
--set ingress.hosts[0].paths[0].pathType=Prefix \
    oci://repo.keyfactor.com/charts/ejbca-ce --version x.y.z
LoadBalancer
If your cluster works with LoadBalancer, you may deploy an ephemeral EJBCA Enterprise test instance using Helm:
helm install ejbca --set imagePullSecrets[0].name=keyfactor-registry \
    --set ejbca.license=ejbca-license-secret \
    --set nginx.enabled=true --set nginx.initializeWithSelfSignedTls=true \
    --set nginx.service.type=LoadBalancer \
    oci://repo.keyfactor.com/charts/ejbca --version x.y.z
Alternately, to deploy the Community Edition:
helm install ejbca \
    --set nginx.enabled=true --set nginx.initializeWithSelfSignedTls=true \
    --set nginx.service.type=LoadBalancer \
    oci://repo.keyfactor.com/charts/ejbca-ce --version x.y.z
Ingress NGINX
If your Kubernetes cluster does not support LoadBalancer or Ingress with TLS pass through, then you may use an NGINX Ingress for external access. It is less secure and not recommended. Please see Prerequisites for the limitations.
Download the relevant values.yaml file ingres-values-enterprise.yaml or ingres-values-community.yaml . You may need to modify the ingress.hosts[0].host depending on the cluster setup.
Then you may deploy EJBCA Enterprise with:
helm install ejbca -f ingres-values-enterprise.yaml \
    oci://repo.keyfactor.com/charts/ejbca --version x.y.z
or alternatively EJBCA Community with:
helm install ejbca -f ingres-values-community.yaml \
    oci://repo.keyfactor.com/charts/ejbca-ce --version x.y.z
Wait for the pods to become READY (2/2):
kubectl get pods --watch
NAME           READY       STATUS      RESTARTS     AGE
ejbca-0         0/2        Pending       0          5s
ejbca-0         0/2        Running       0          10s
ejbca-0         1/2        Running       0          11s
ejbca-0         1/2        Running       0          30s
ejbca-0         2/2        Running       0          30s
You need to grab the EXTERNAL_IP Address provisioned to the LoadBalancer service to access EJBCA from your browser. Run this command and wait till EXTERNAL-IP is provisioned. In this case we need to use 192.168.122.167.
kubectl get svc -w
NAME          TYPE           CLUSTER-IP       EXTERNAL-IP       PORT(S)                      AGE
ejbca-nginx   LoadBalancer   10.152.183.194   192.168.122.167   80:30161/TCP,443:32585/TCP   12s
If you are using ingress, then use the domain mentioned in ingress.hosts[0].host.
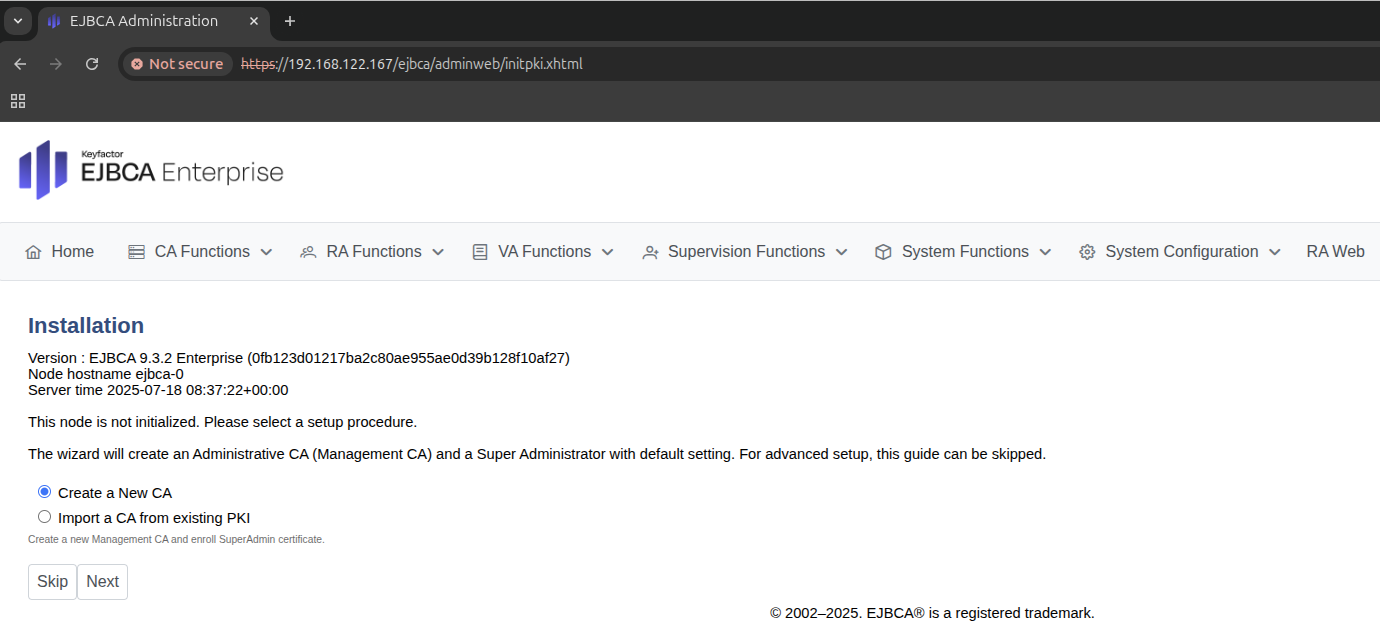
This demonstrated how you can get EJBCA up and running in a Kubernetes cluster for quick tests and demos. For real-world use cases, you need to configure integrations with an external database, an HSM, set up TLS, choose the method for exposing EJBCA to other applications and/or the outside world and more.
For more information on configuring EJBCA to suit your needs, see EJBCA Helm Deployment Parametersand EJBCA Deployment.