Step 3: Changing the IP Address of the Hardware Appliance
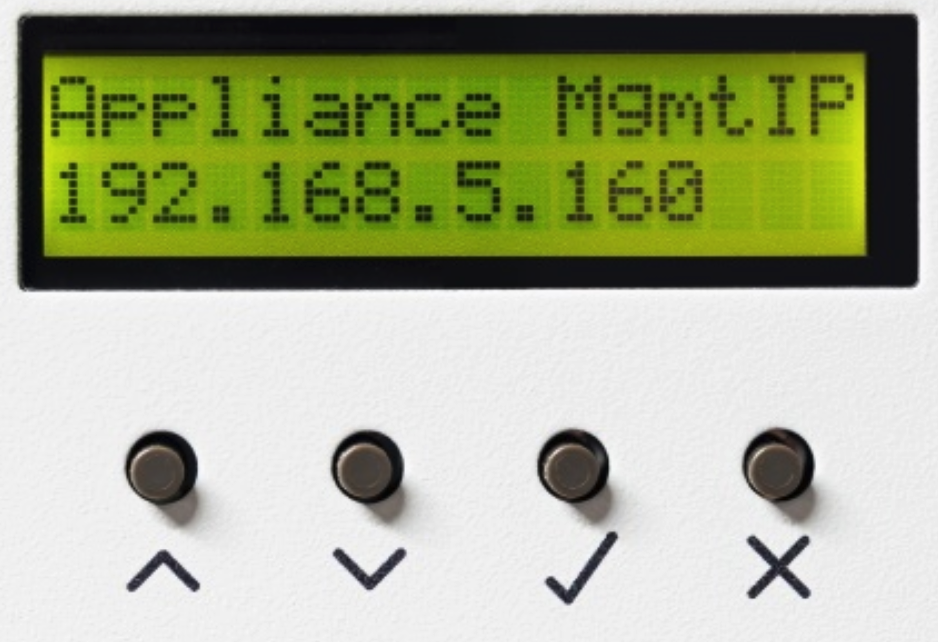
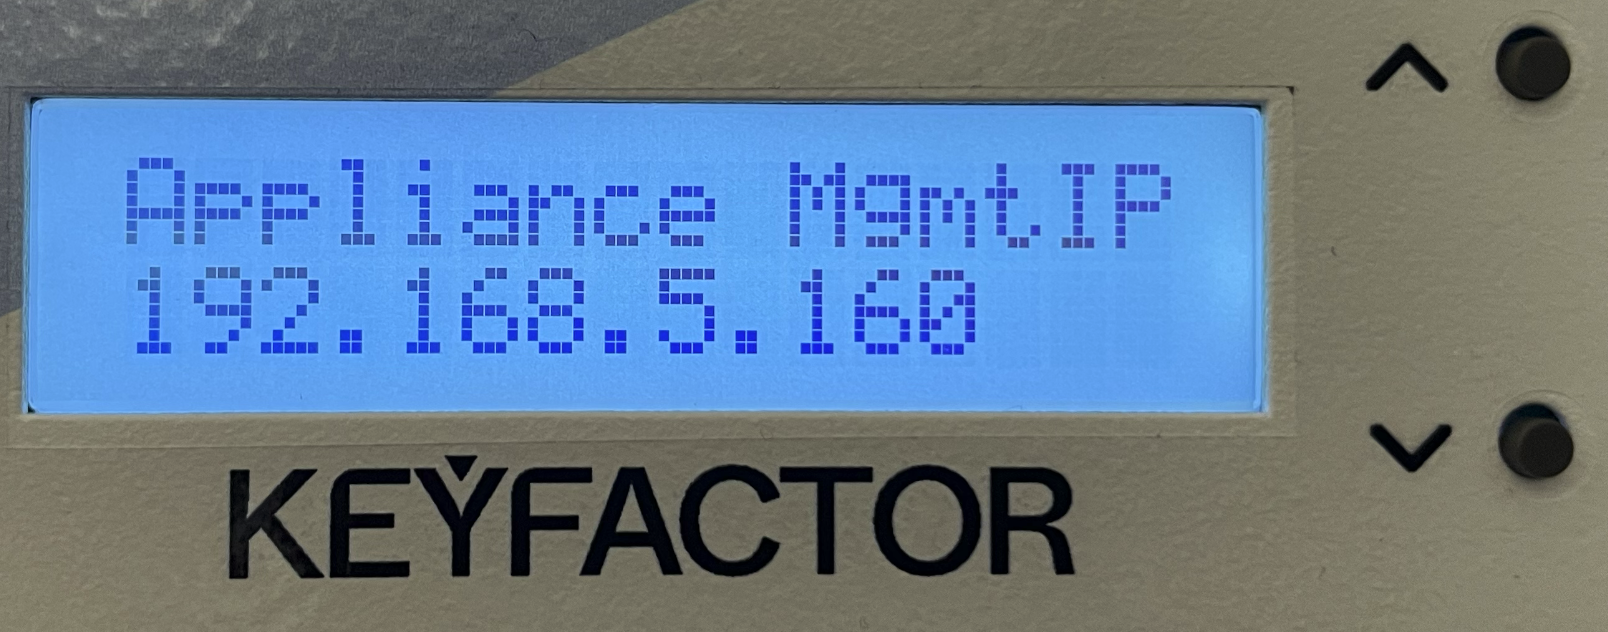
You will always find the IP address of the Management Interface in the front display of the Hardware Appliance. After a factory reset, this will default to 192.168.5.160.

Hardware Version 2

Hardware Version 4
If this default IP address of the Management Interface does not match your network configuration, you can change it to fit your needs. However, it is preset to have a network prefix of /24, resulting in a subnet mask of 255.255.255.0.
As the 100.64.0.0/10 network range is used for the Hardware Appliance's internal networking, IP addresses in this range are not allowed as external management or application network address.
Proceed as follows to change the IP Address of the Hardware Appliance:
Scroll the display pages to the IP address and press ✓ to confirm.
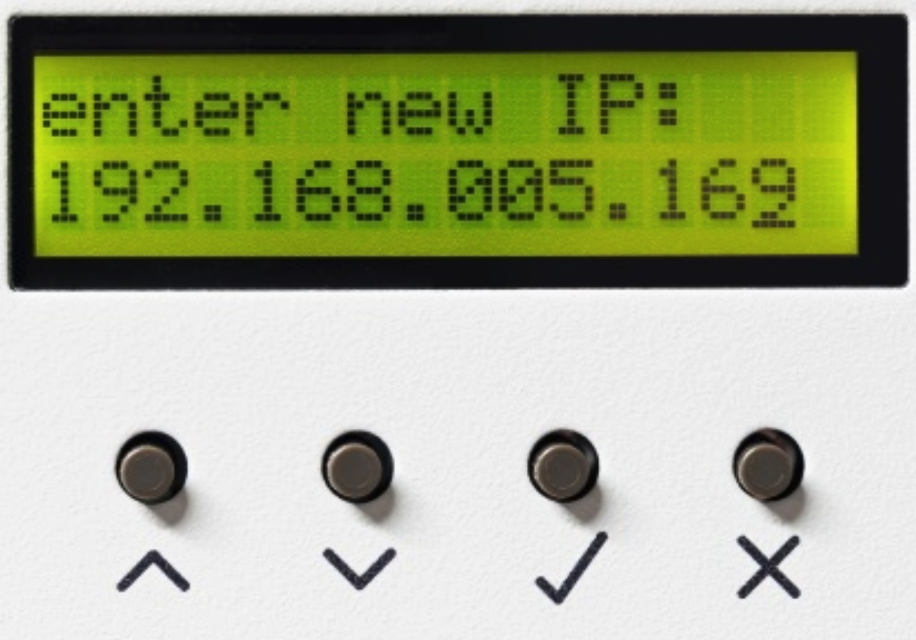
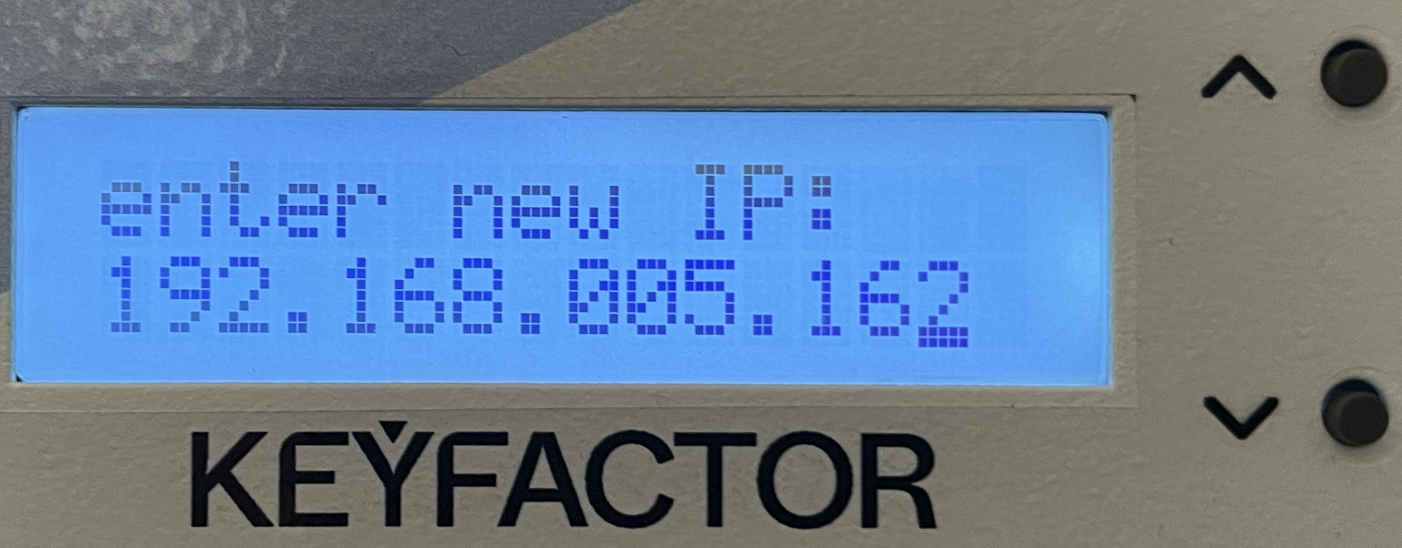
The IP address will be presented with leading zeroes. The cursor will start at the first digit of the first byte of the IP address.

Hardware Version 2
Hardware Version 4
Press the Up and Down buttons to adjust the digit to your target IP address.
Press ✓ to confirm this digit. The cursor will move to the next digit.
Repeat steps 3 and 4 for every digit.
When you confirm the last digit by pressing ✓, a prompt asks you to confirm the IP address.
The IP address will be shown without leading zeroes.Press ✓ to confirm the new IP address.
You can also cancel this operation at any time by pressing the x button.- Take a note of the new Management Interface IP Address. You will need it to connect to the Hardware Appliance via the configurator WebConf.
The new IP address will be committed. Please note that this operation can take up to 10 seconds.
.png)