Configuring a TimeMonitor
It is possible to integrate a TimeMonitor into SignServer. This increases the reliability and security of digital signature processes. TimeMonitor provides a centralized time synchronization service, and the integration with SignServer enables the appliance to ensure seamless and accurate time synchronization for all digital signatures generated by SignServer.
The following section provides information on configuring a TimeMonitor for SignServer.
Log in to your Software Appliance.
Open the Overview page.
Click Admin Web in the Application Overview section.
The SignServer page opens.
Click Add... to continue.
In the top menu, select Worker. You can choose the method you want to use to configure the Worker. In this example we will work with From Template.
Click From Template to continue.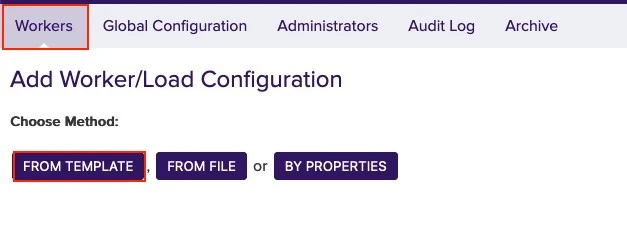
Open the drop-down menu under Load from Template. Here you can select the Worker to be configured. In this example we will work with timemonitormanager.properties.
Click Next to continue.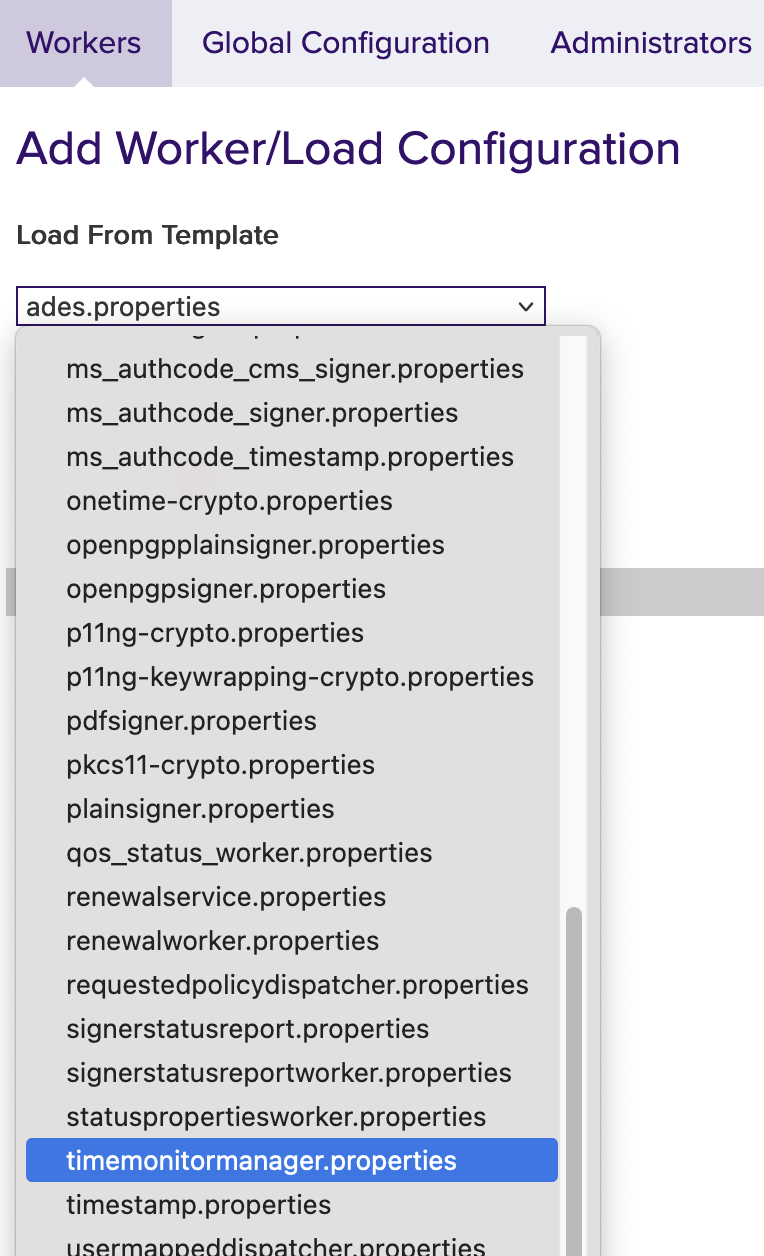
The Configuration page opens.
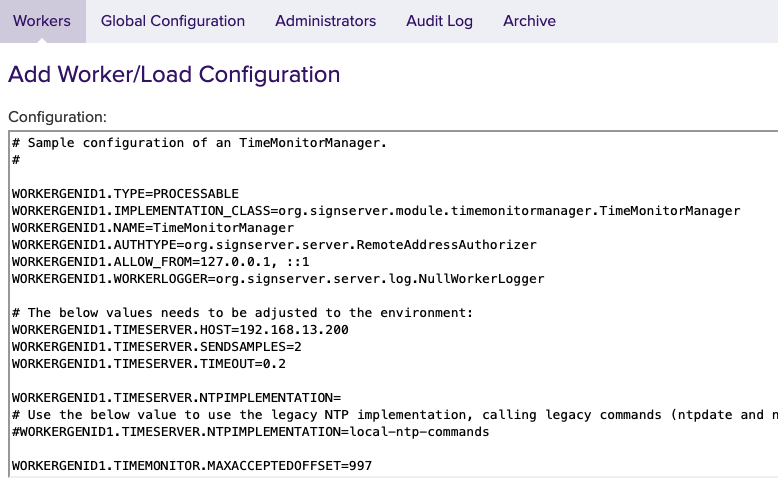
It is possible to make changes directly in the configuration view.
Alternatively, click on Apply without making any adjustments to be able to work in a clearer table format.Click on the TimeMonitorManager (1)
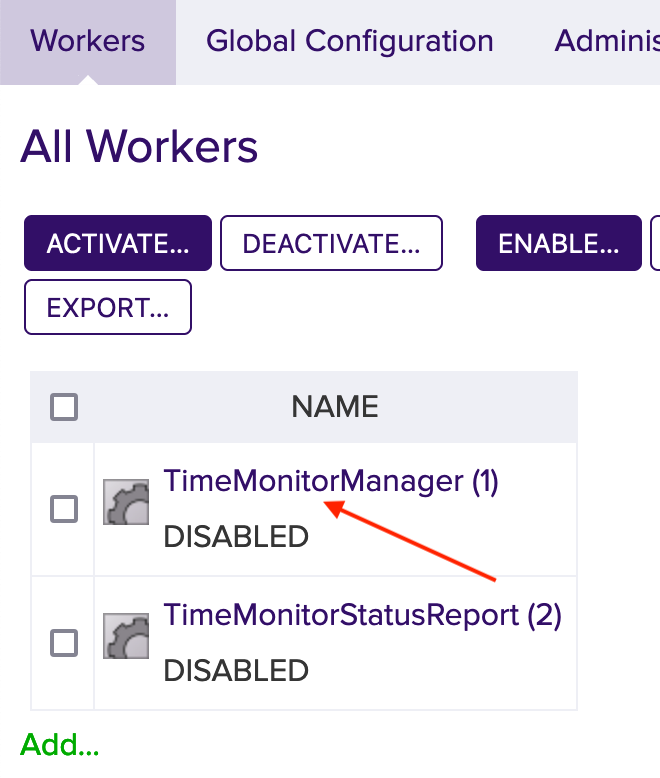
Click Configuration to enter the table format.

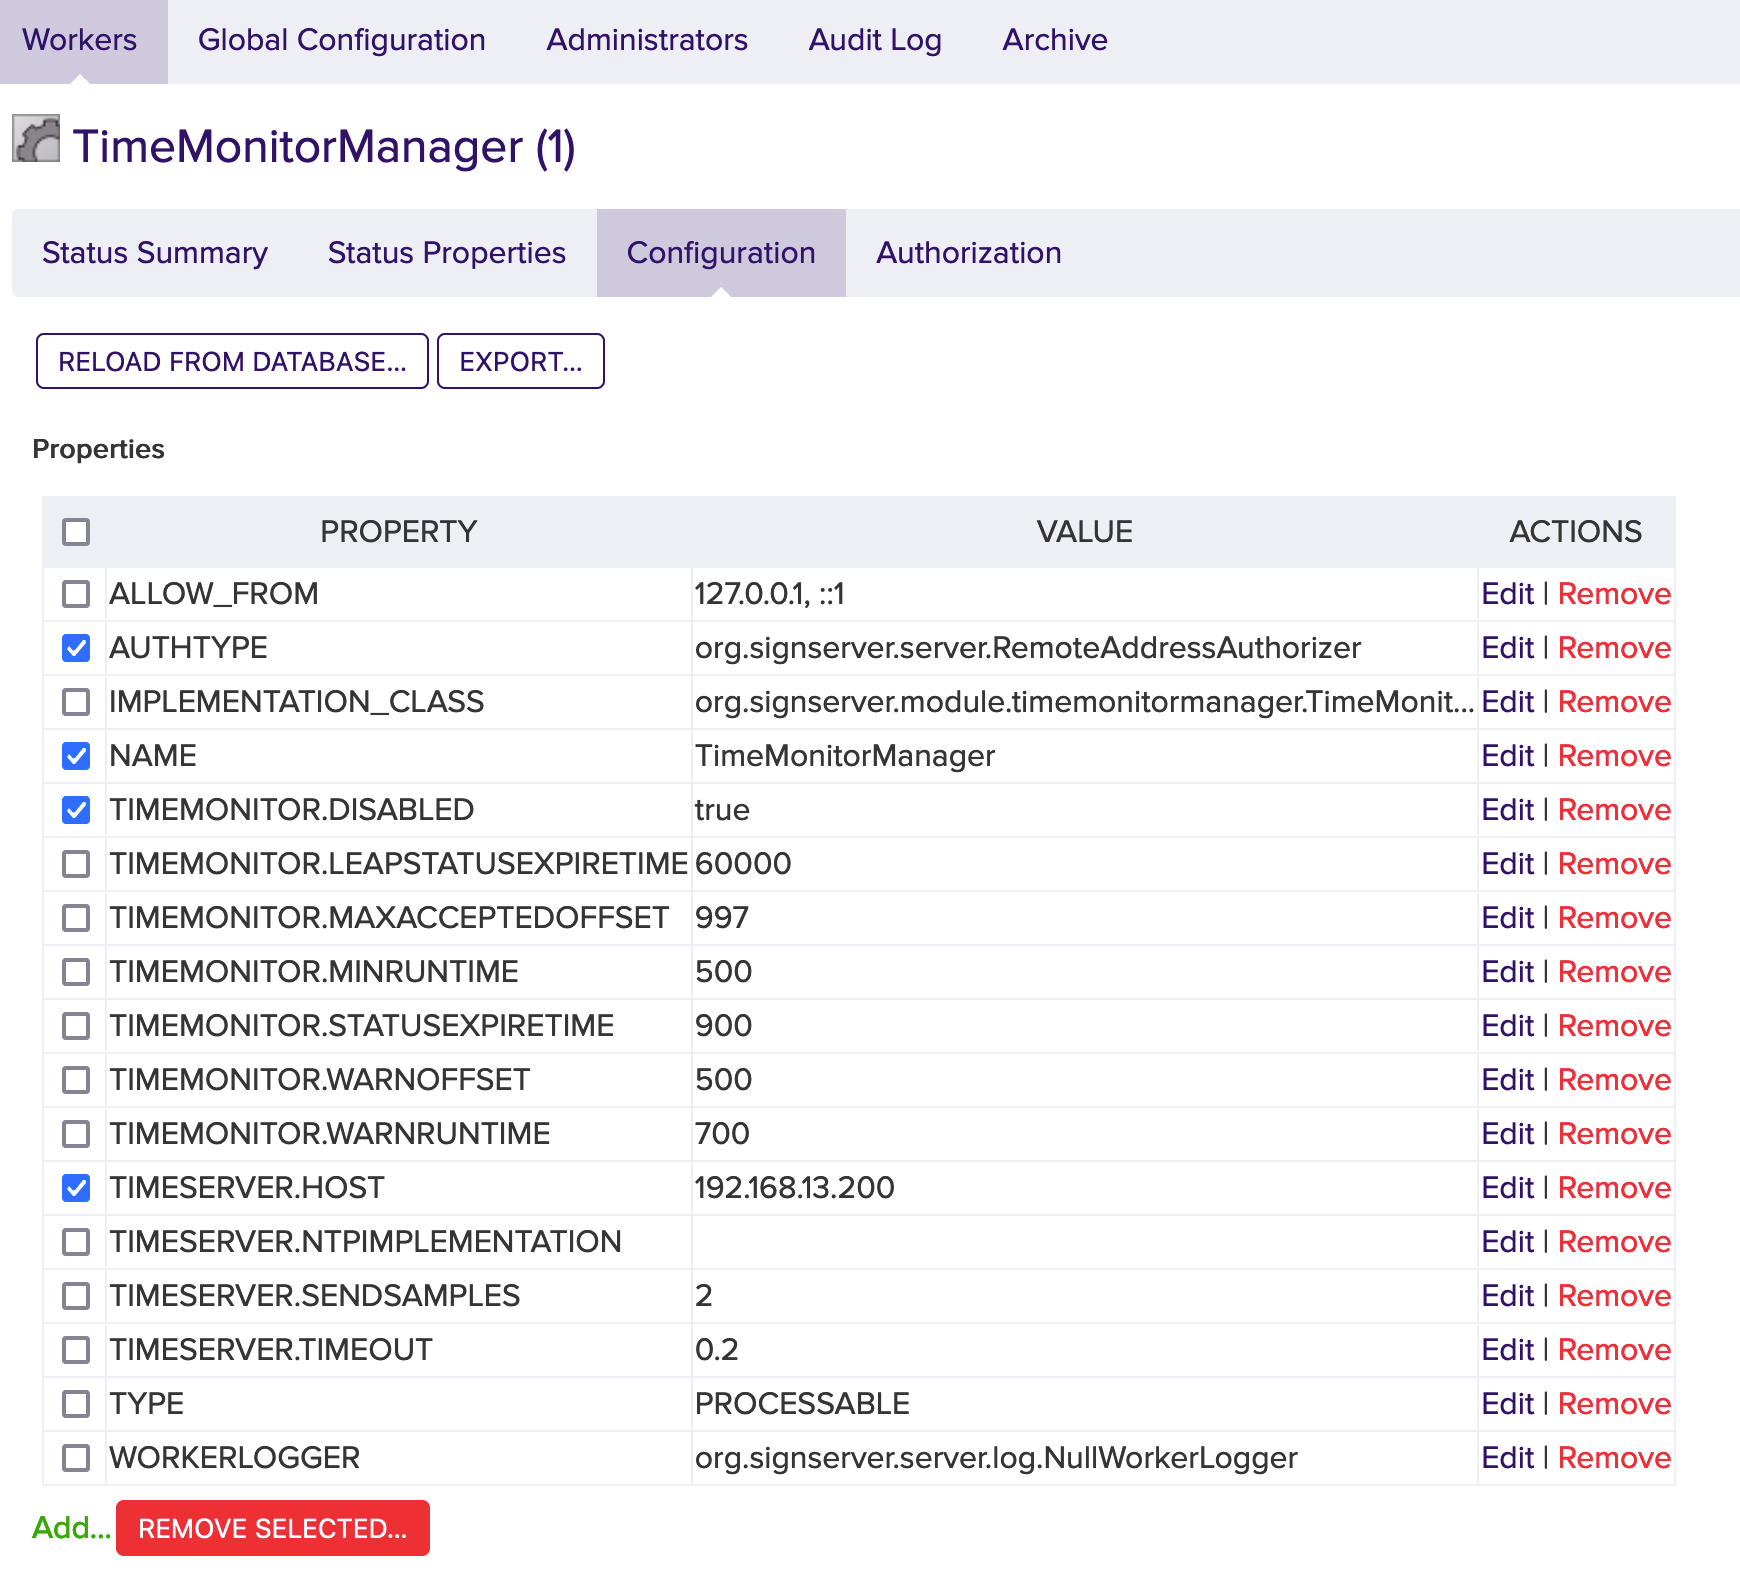
In the line AUTHTYPE click the Edit.
A new window opens.
Enter NOAUTH
Click Submit to apply the change.Next line: NAME click the Edit.
In the edit window enter: TimeMonitorManager
Click Submit to apply the change.Next line: TIMEMONITOR.DISABLED click the Edit.
In the edit window enter: false
Click Submit to apply the change.In the last line to change: TIMESERVER.HOST click the Edit.
In the edit window enter: the IP address of the NTP server.
Click Submit to apply the change.The TimeMonitorManager is now available and displayed in the status overview.
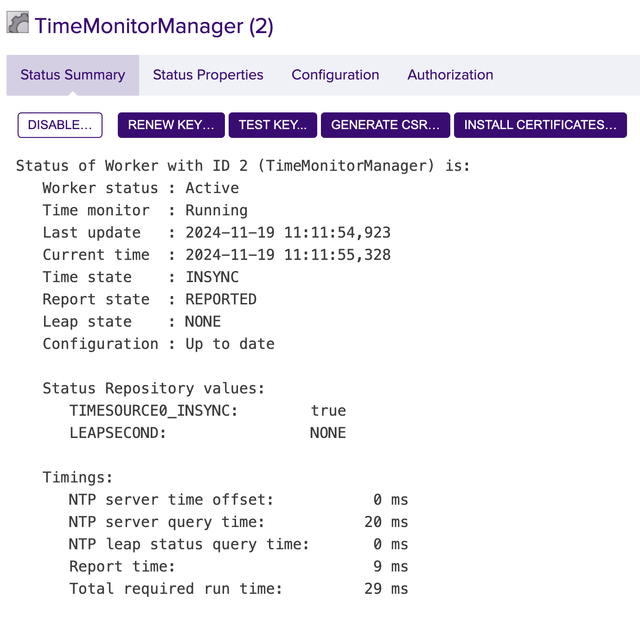
For more information on TimeMonitorManager see SignServer TimeMonitor Application.
.png)