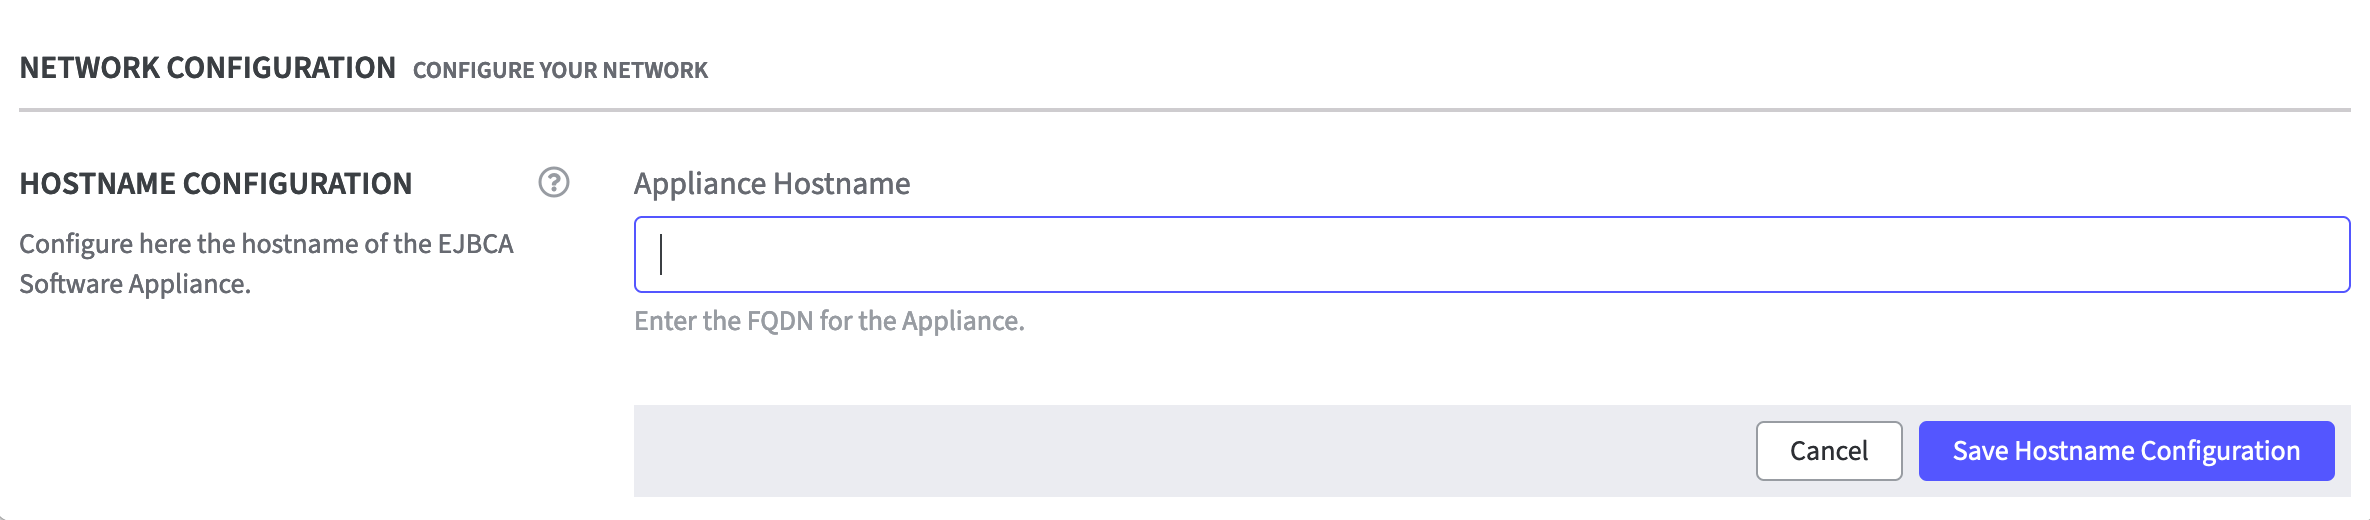
Hostname Configuration
It is possible to configure a Hostname for the Software Appliance.
-
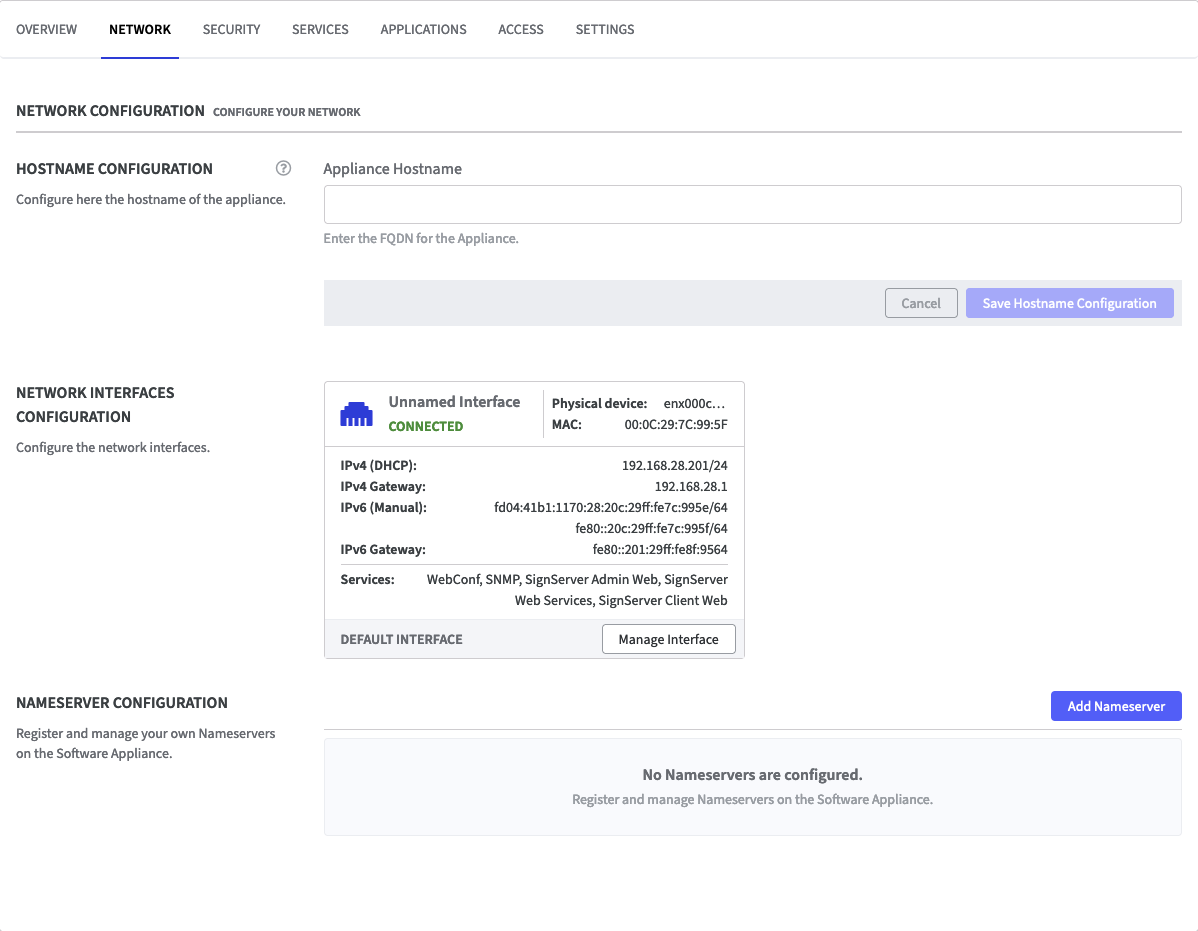
Log in to your Software Appliance and open the Network page.
-
In the section Hostname Configuration you are requested to add a valid Fully Qualified Domain Name (FQDN).
-
Continue with Save Hostname Configuration.
-
A warning appears.
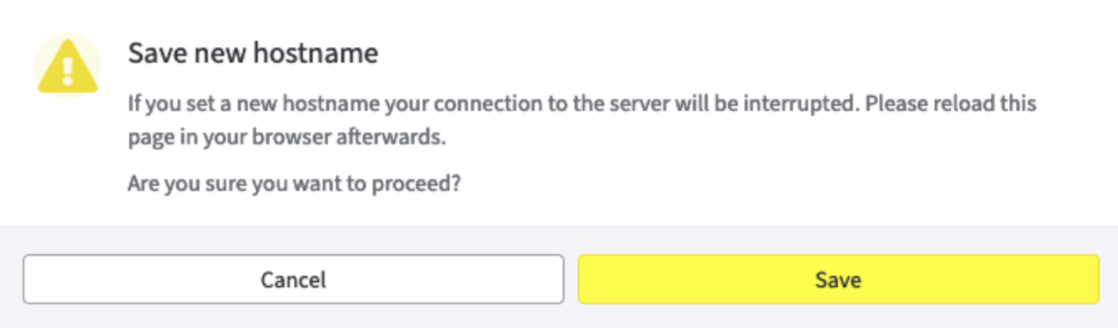
Make sure the hostname can be resolved with the configured IP address of the Software Appliance.
Otherwise you won't be able to access the Software Appliance with the provided hostname.
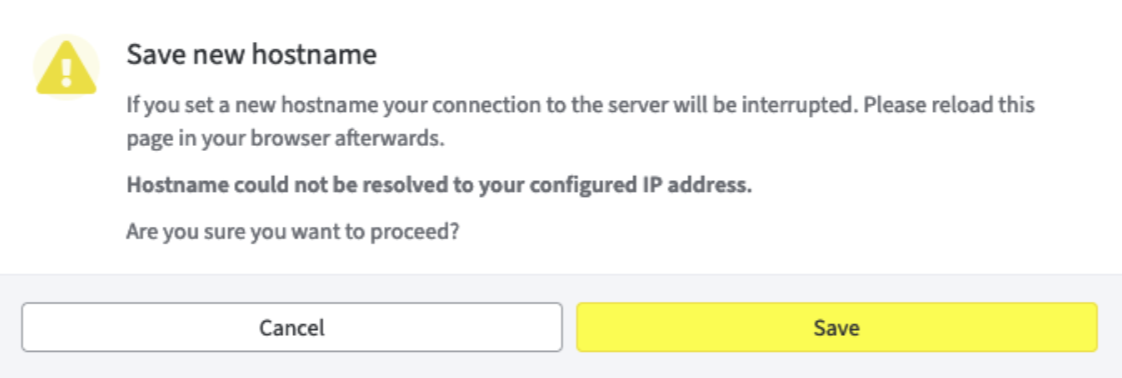
If the hostname entered cannot be resolved via the configured name servers, a different warning will appear.
-
Accept the warning with Save.
-
A dialog appears indicating that the browser will be redirected once the configuration change has been completed. This process takes a few seconds. The Software Appliance can now be accessed via the configured hostname.
To remove the configured hostname follow the steps as described above, but leave the hostname empty.
Network Interfaces Configuration
The section Network Interfaces Configuration, displays all the network interfaces that have been set up through the hypervisor. When the Software Appliance is started for the first time, it identifies the first interface and designates it as the Default Interface with all services enabled. Of course, this can also be configured subsequently. On the Default Interface, at least the Webconf service is always activated.
There can only ever be one Default Interface.
If you select Manage interface to change the settings, the previous Default Interface is no longer set as the default and is replaced by the newly configured interface.
Various information about the connection is displayed.
If the number of possible network interfaces is not already limited by the hypervisor, it is recommended not to set up more than 10 interfaces.
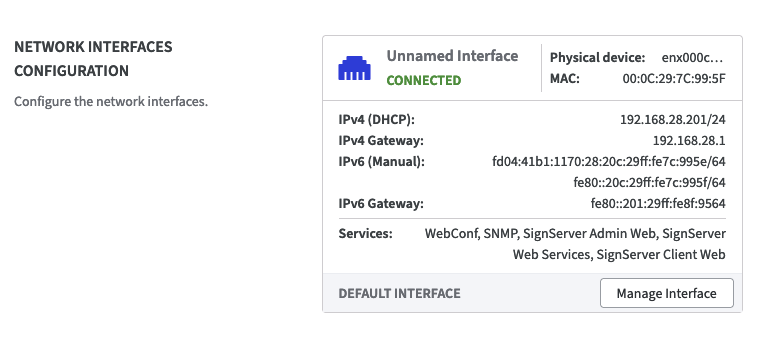
Click Manage Interface to open the corresponding form and change the settings.
Manage Interface
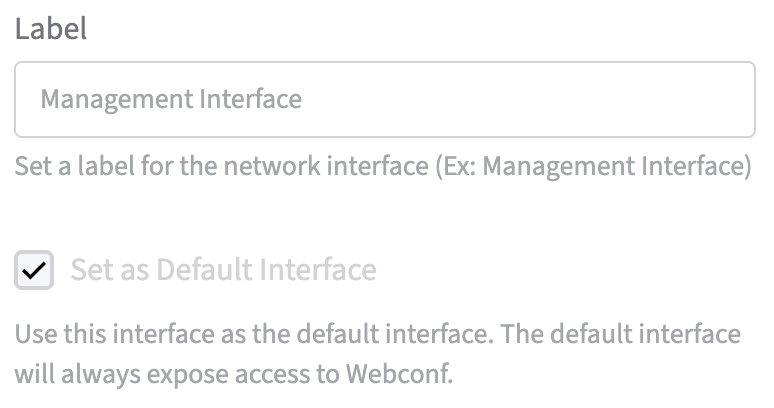
Label:
the option to set a label for the network interface. For example the interface that grants the access to Webconf and is set as Default can be named: Management Interface.
Default:
the checkbox to set the Default: there can be only one Default interface at a time. When this option is enabled for an interface, it is automatically removed from the previous Default interface.
IPV4 Configuration:
use the drop down menu to configure a DHCP or a static IP address.

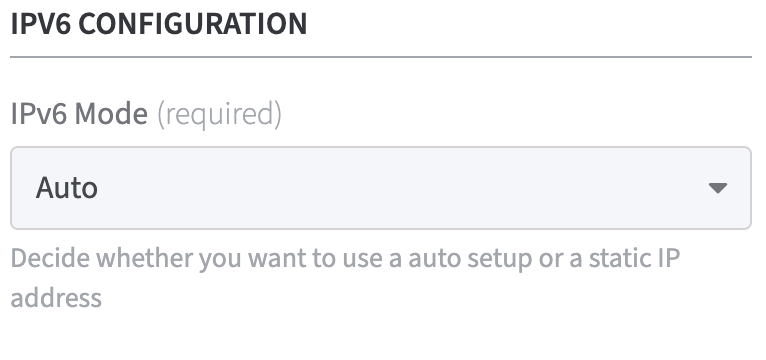
IPV6 Configuration:
use the drop down menu to configure whether to use a auto setup or an IP address.
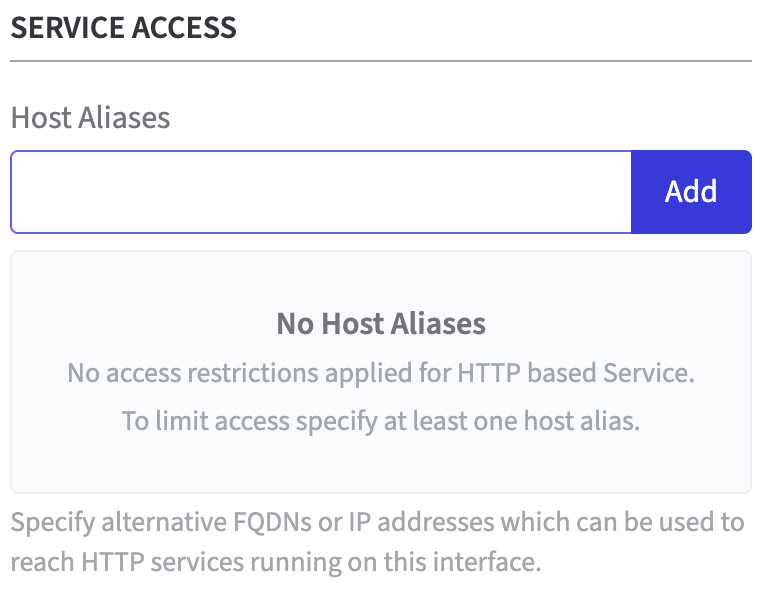
Service Access:
set a Host Alias to specify a list of allowed host header values, as host names and IP addresses. This ensures secure and flexible operation in proxy and non-proxy configurations.
This can be very helpful when:
-
the appliance is preceded by a proxy, and the host header can contain proxy-specific values
-
specific IP addresses for direct access or for testing purposes needs to be allowed
-
or DNS resolution (UseCanonicalName) is unreliable or has security vulnerabilities.
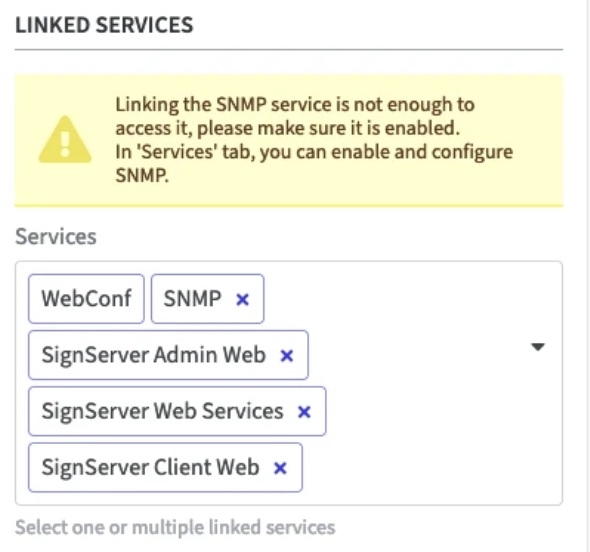
Linked Services:
use the drop-down menu to specify which services should be available on the network interface.
If you select Services on an interface, these are only available if you have also activated a TLS certificate on the interface.
This applies to all services except SNMP.
If no TLS certificate is activated for the service, a warning appears.
Click Save to confirm the settings.
Static Routes Configuration
Static routes for outgoing traffic can be configured here.
This allows routes for individual network interfaces to be defined directly in the Webconf user interface. That way, it is possible to establish connections to external systems, such as HSMs connected via the network, that are not accessible through the default gateway.
This feature improves flexibility in complex network environments and ensures secure connectivity to external resources.
If not specified otherwise, outgoing traffic is routed through the default interface.
-
Log in to your Software Appliance and open the Network page.
-
In the Outgoing Static Routes section, click Add Route to open the corresponding form.

-
In the Add Outgoing Route form:
-
Network Interface: the network interface selection is made via a drop-down menu.
All available interfaces are displayed in the drop-down menu.
By default, the interface configured as the default is selected. -
Name of Outgoing Route:
Enter a descriptive name for the outgoing route to indicate its purpose and destination. -
IP Address: This entry is required.
Defining IPv4 and/or IPv6 routes.
Specify the IP address range for the custom route to be added to the selected interface. -
Prefix: This entry is required. Valid values range from 0 to 32
Specify the Prefix for the custom route to be added to the selected interface.
Use the arrows to the right of the input field or enter the value manually. -
Gateway IP:
Optionally, enter the IP address of the gateway to be used for the custom route here.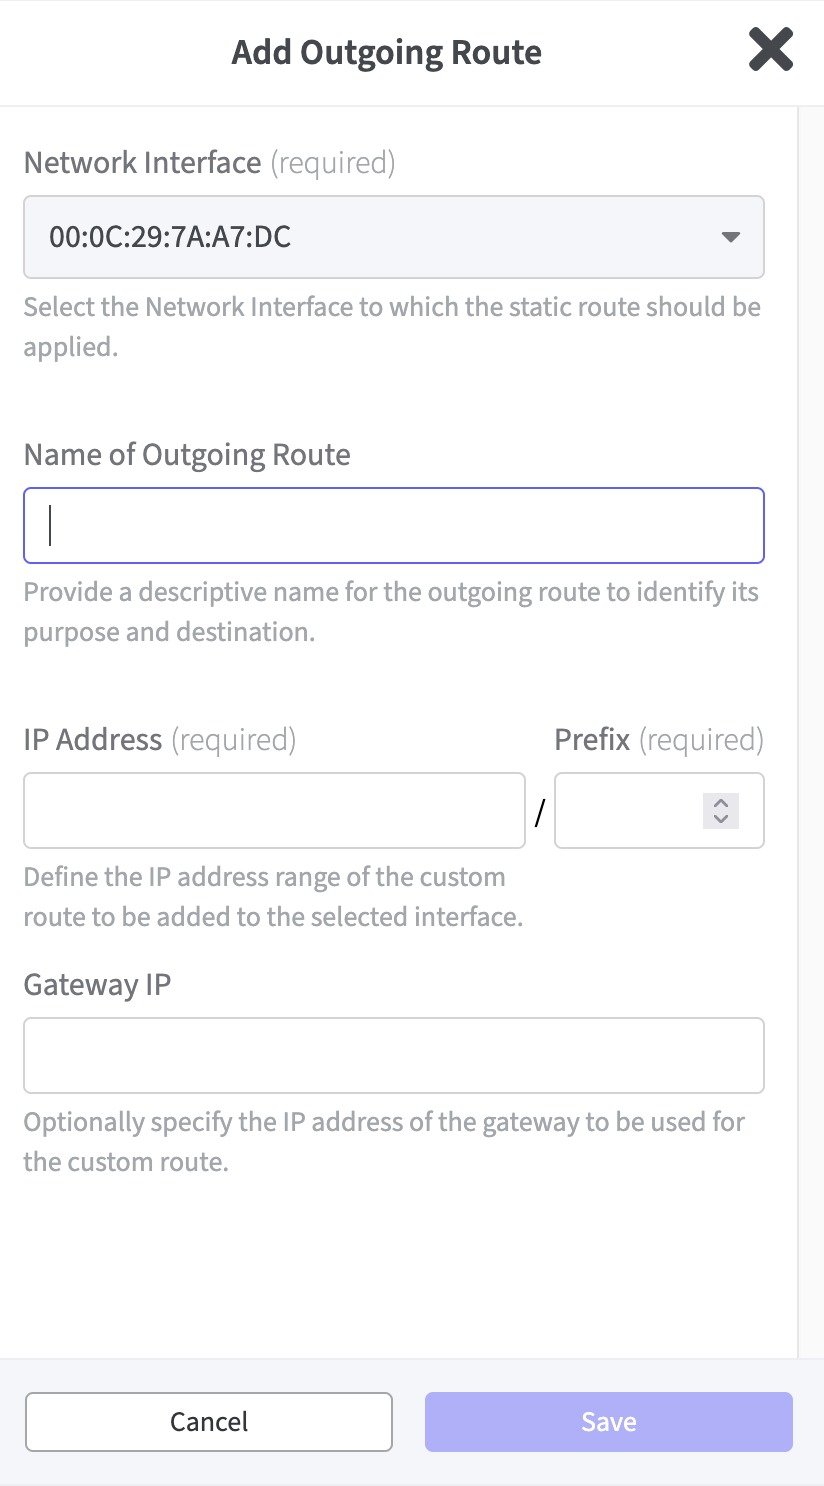
-
-
Click Save to confirm the settings or Cancel to close the form without saving.
-
Only valid IPv4 and IPv6 addresses or prefixes can be saved.
Invalid entries will result in an error message.
When saved a modal dialog confirms: Static routes set successfully.
The newly added static route is now listed in the table in the Outgoing Static Routes section. -
In the last column of the table, Actions, is possible to Delete the configuration.
If this option is selected, a modal dialog will appear asking to verify this action.
Click Remove to confirm. -
If needed, additional outgoing routes can be configured.
The routes configured are saved permanently and retained even after a reboot.
Nameserver Configuration
If you use your own Nameservers on your network, you can register and manage them with the Software Appliance.
-
Log in to your Software Appliance and open the Network page.

-
In the Nameserver Configuration section, click Add Nameserver to open the corresponding form.
-
Enter the IPv4/IPv6 address to register a nameserver. Click Add Nameserver.
-
The added nameserver will now be listed.
-
In the Actions column, you can remove the configured nameserver. To do this, click Remove and confirm the overlay message.
-
If multiple nameservers are configured, the Software Appliance attempts to resolve with all specified servers. This happens in order. If the first server does not respond, the Software Appliance attempts to resolve with the second, and so on. To change the order of nameservers, use the Move Up/Move Down function that appears in the Action column.
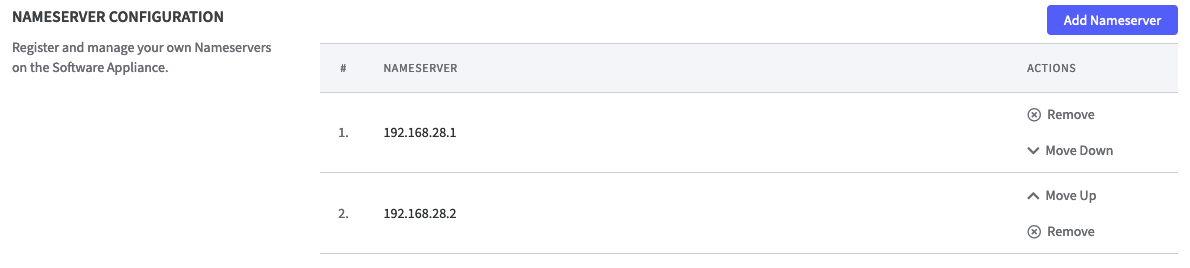
No more than 5 nameservers can be configured.