The following covers how to add users to Command.
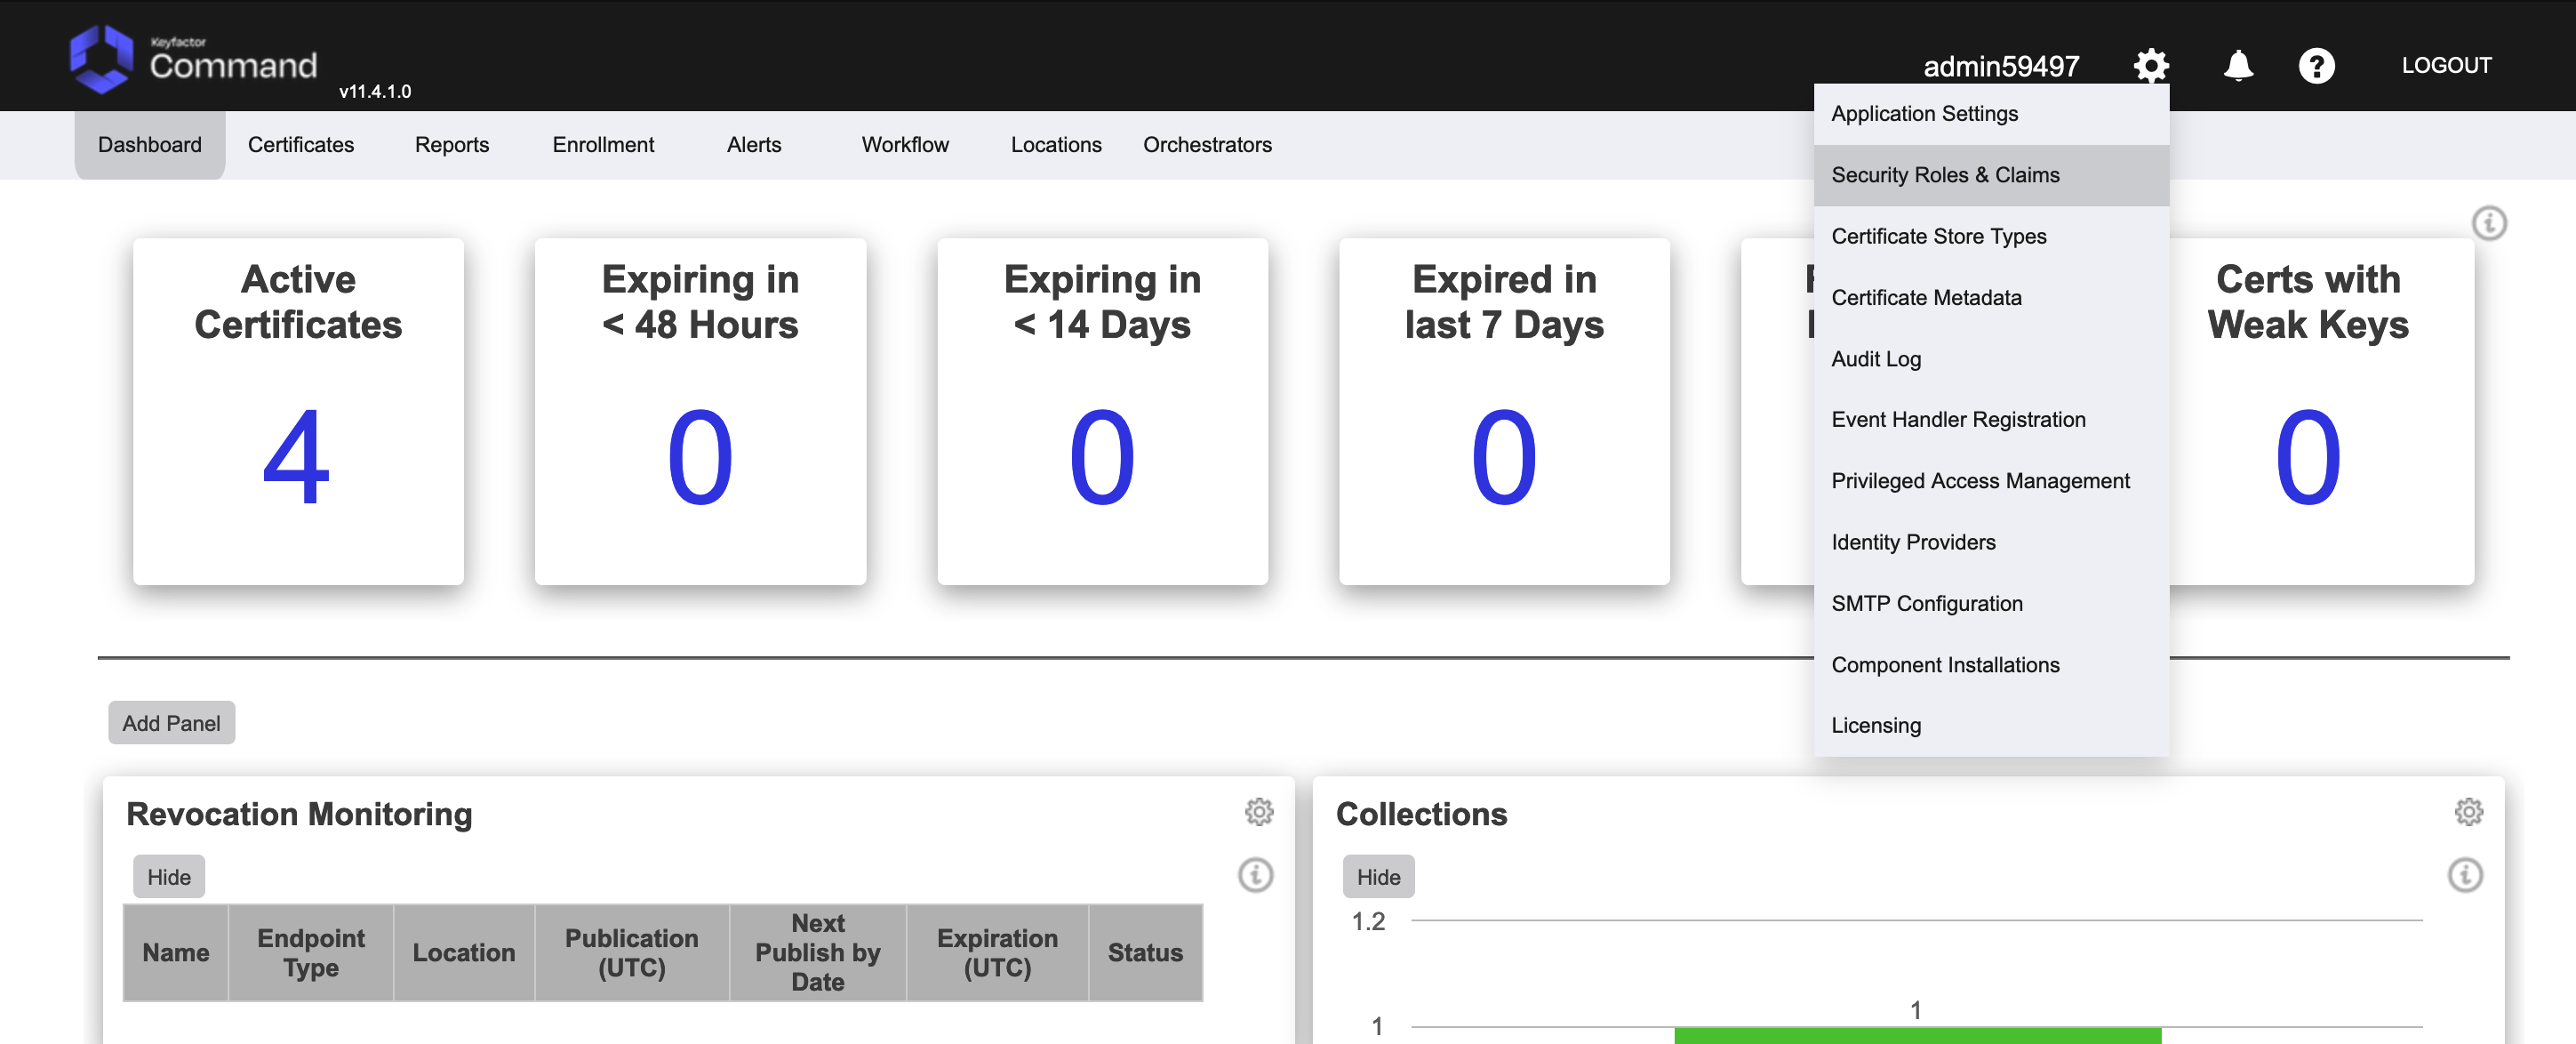
To add a user in Command, add the user via the gear icon near the admin login name (Figure 31) and select Security Roles and Claims.
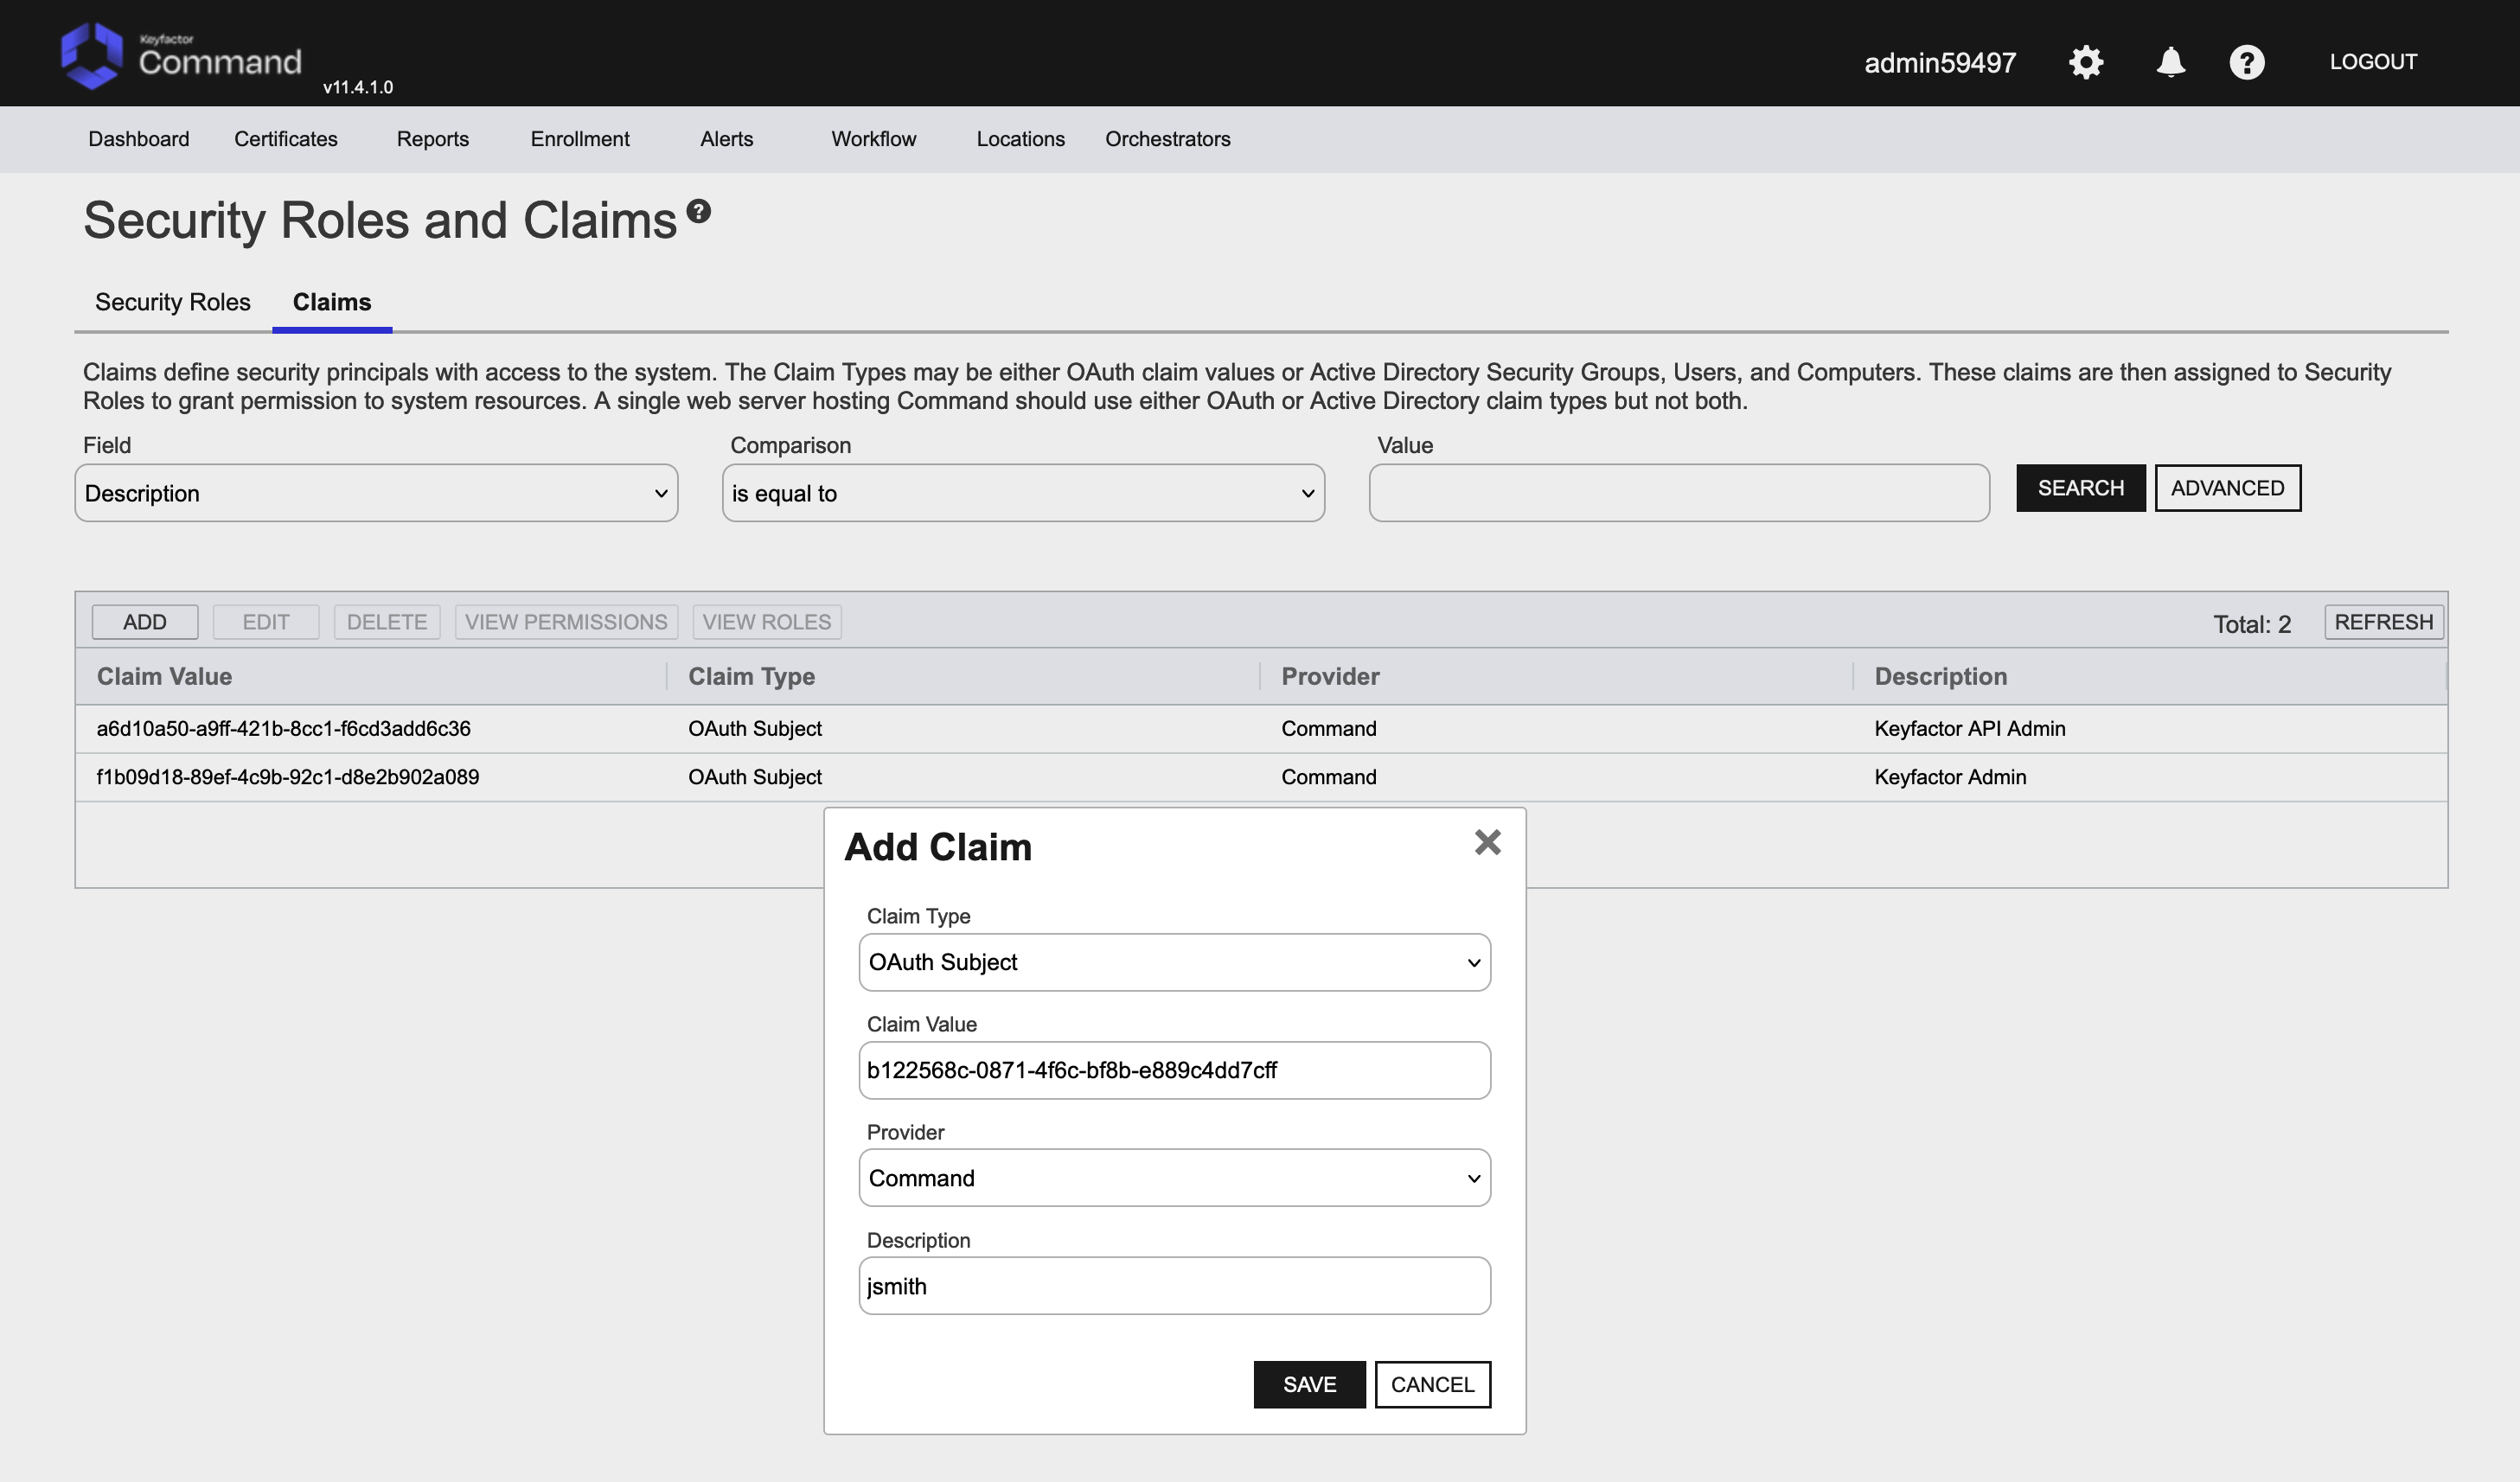
Select the Claims tab and click ADD. Fill out the details in the Add Claim dialog (Figure 32). The values that need populating are:
-
Claim Type - OAuth Subject
-
Claim Value - User ID that was added as shown in Figure 24 above.
-
Provider - Command
-
Description - Value to represent the user. For example “jsmith” in this example.
Click Save.
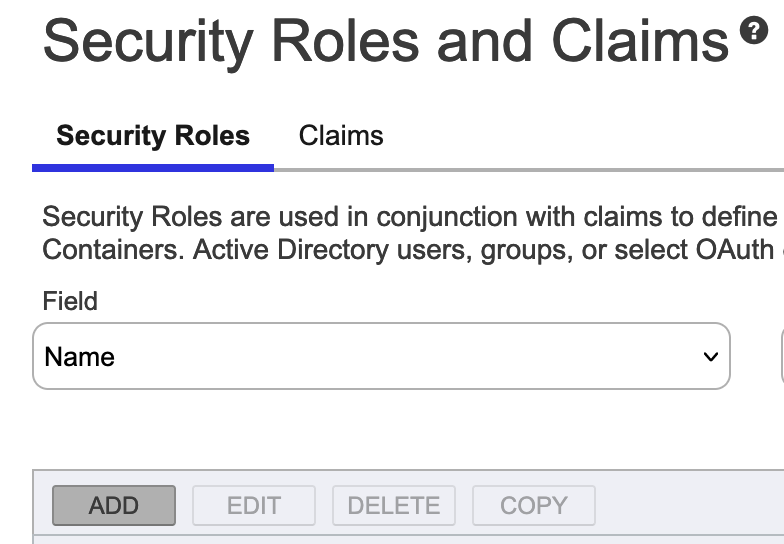
Click the Security Roles tab and then click the ADD button (Figure 33).
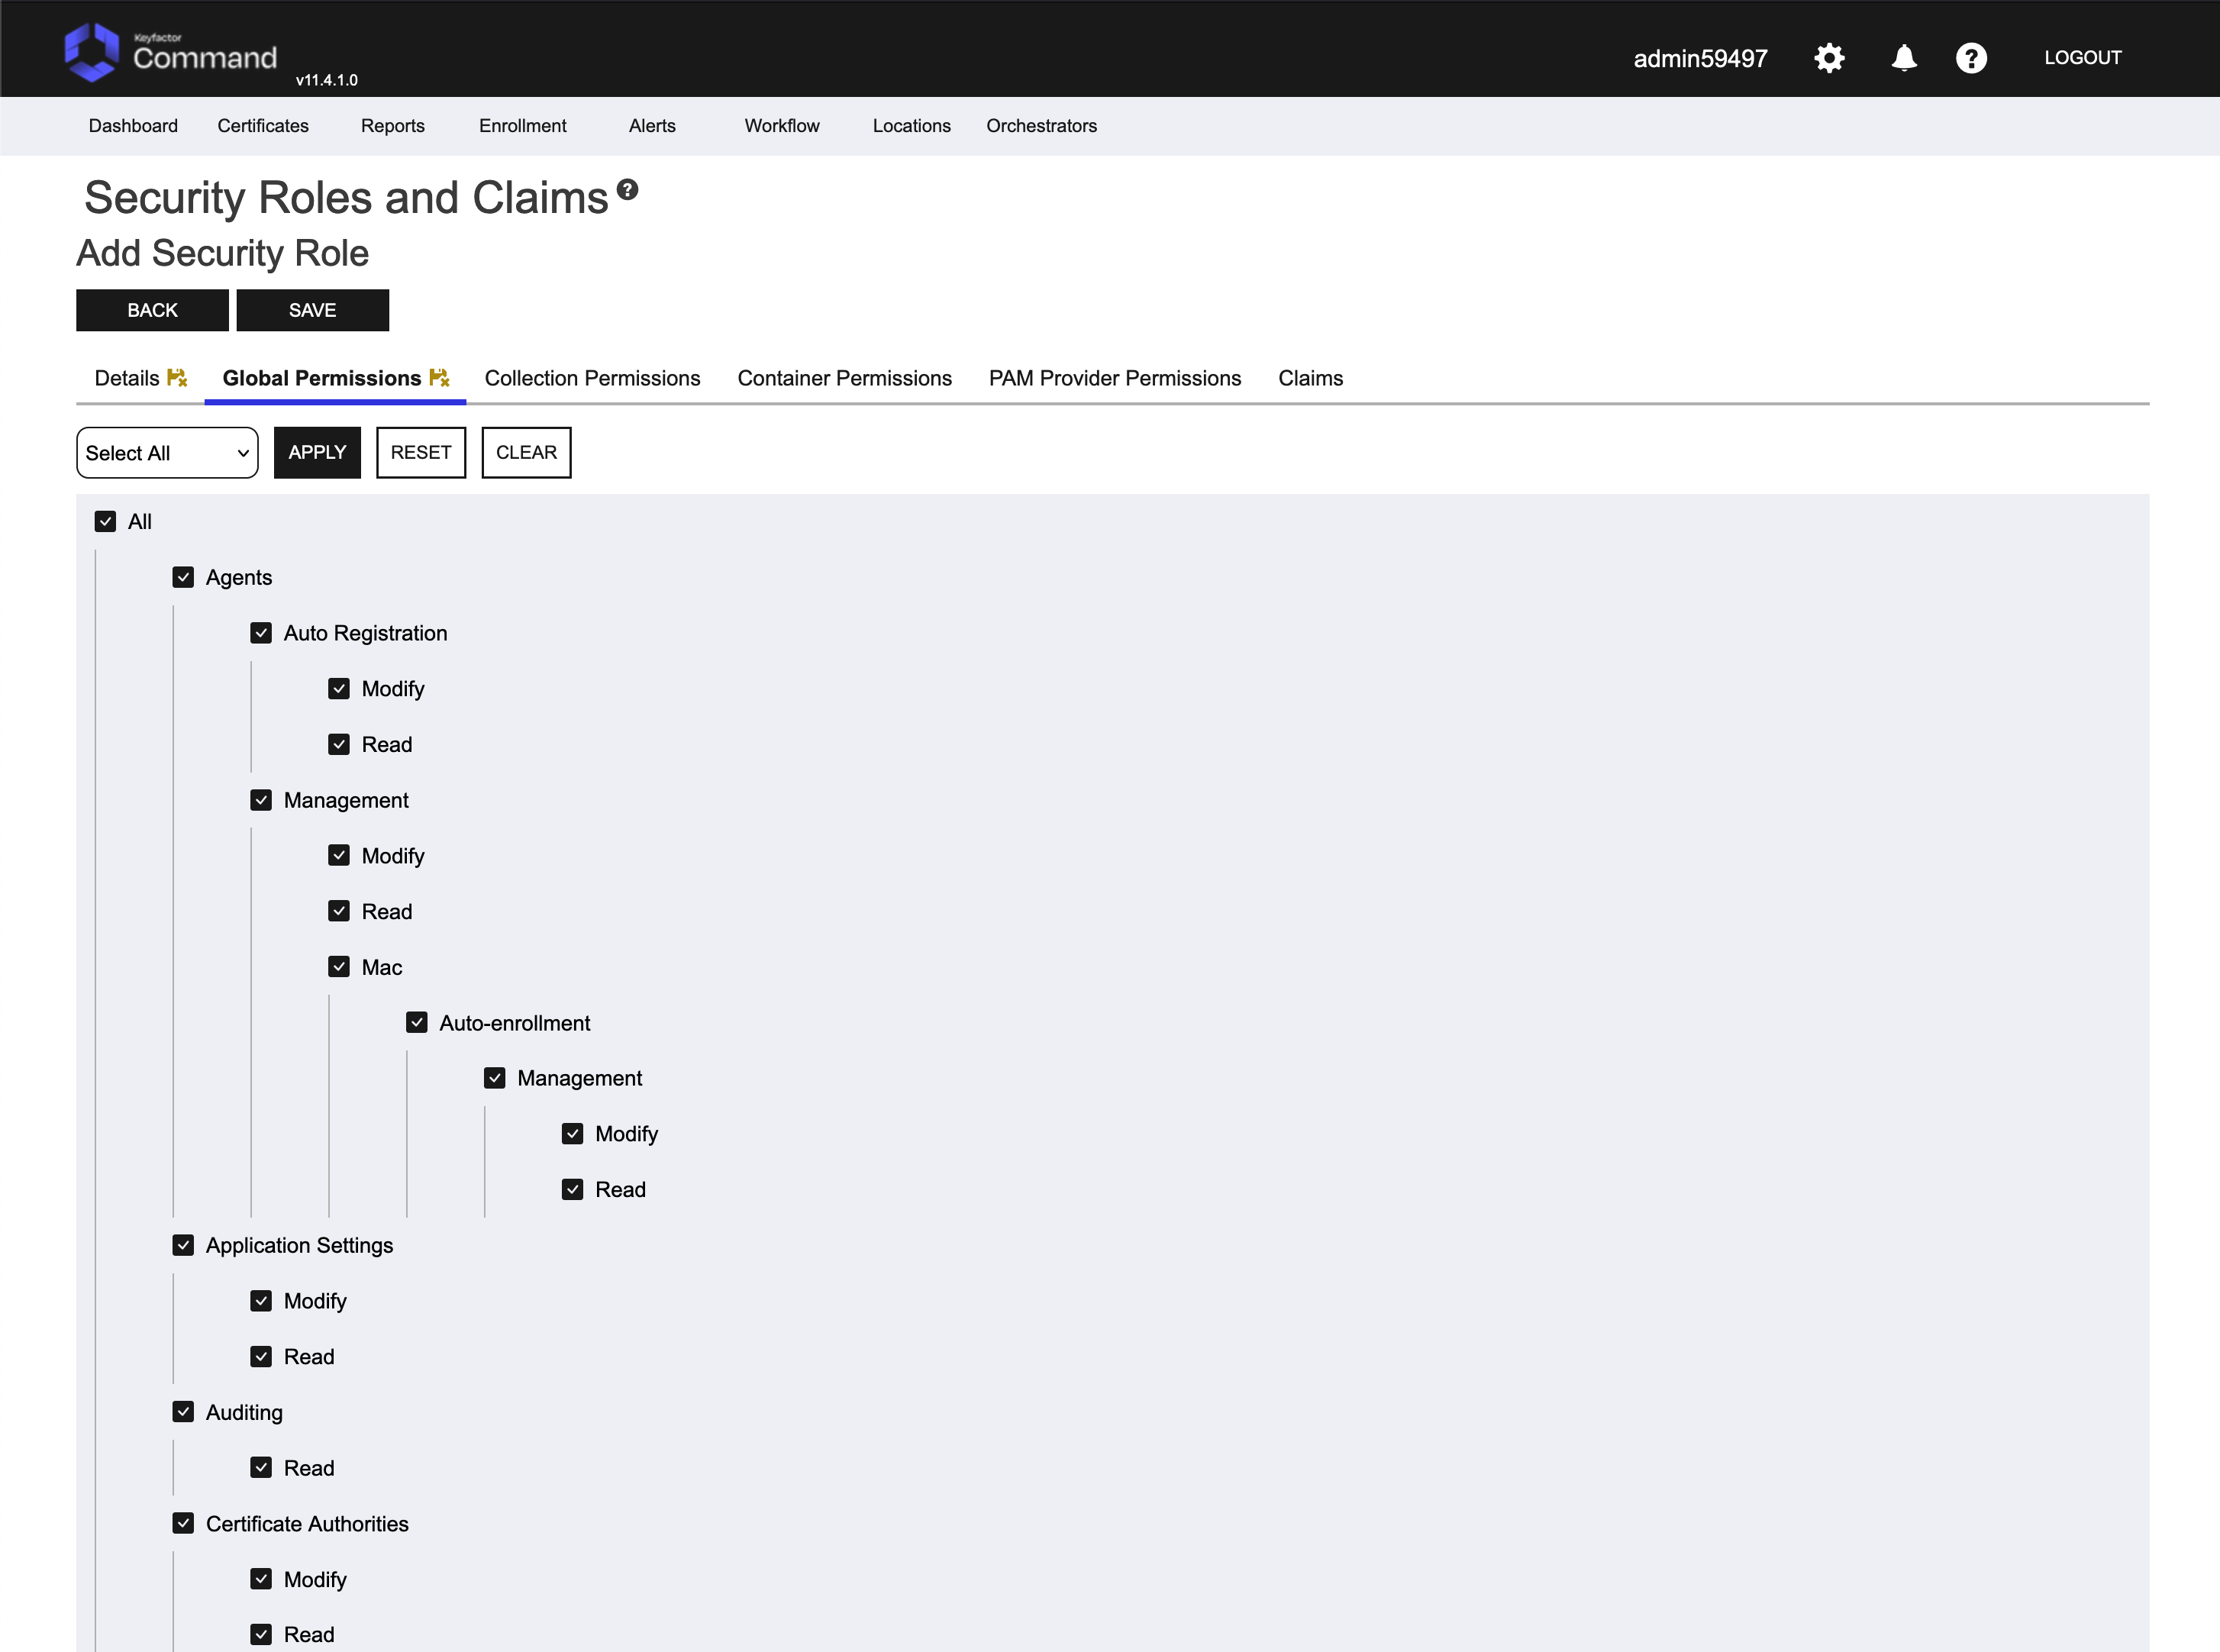
Give the new role a name and a description (for example Command Admins). Click the Global Permissions tab. Define the role with the permissions you would like to grant. In this example we are going to allow all additional users full access to this test drive for evaluation simplicity. Select the Select All option in the drop down and select the All checkbox (Figure 34).
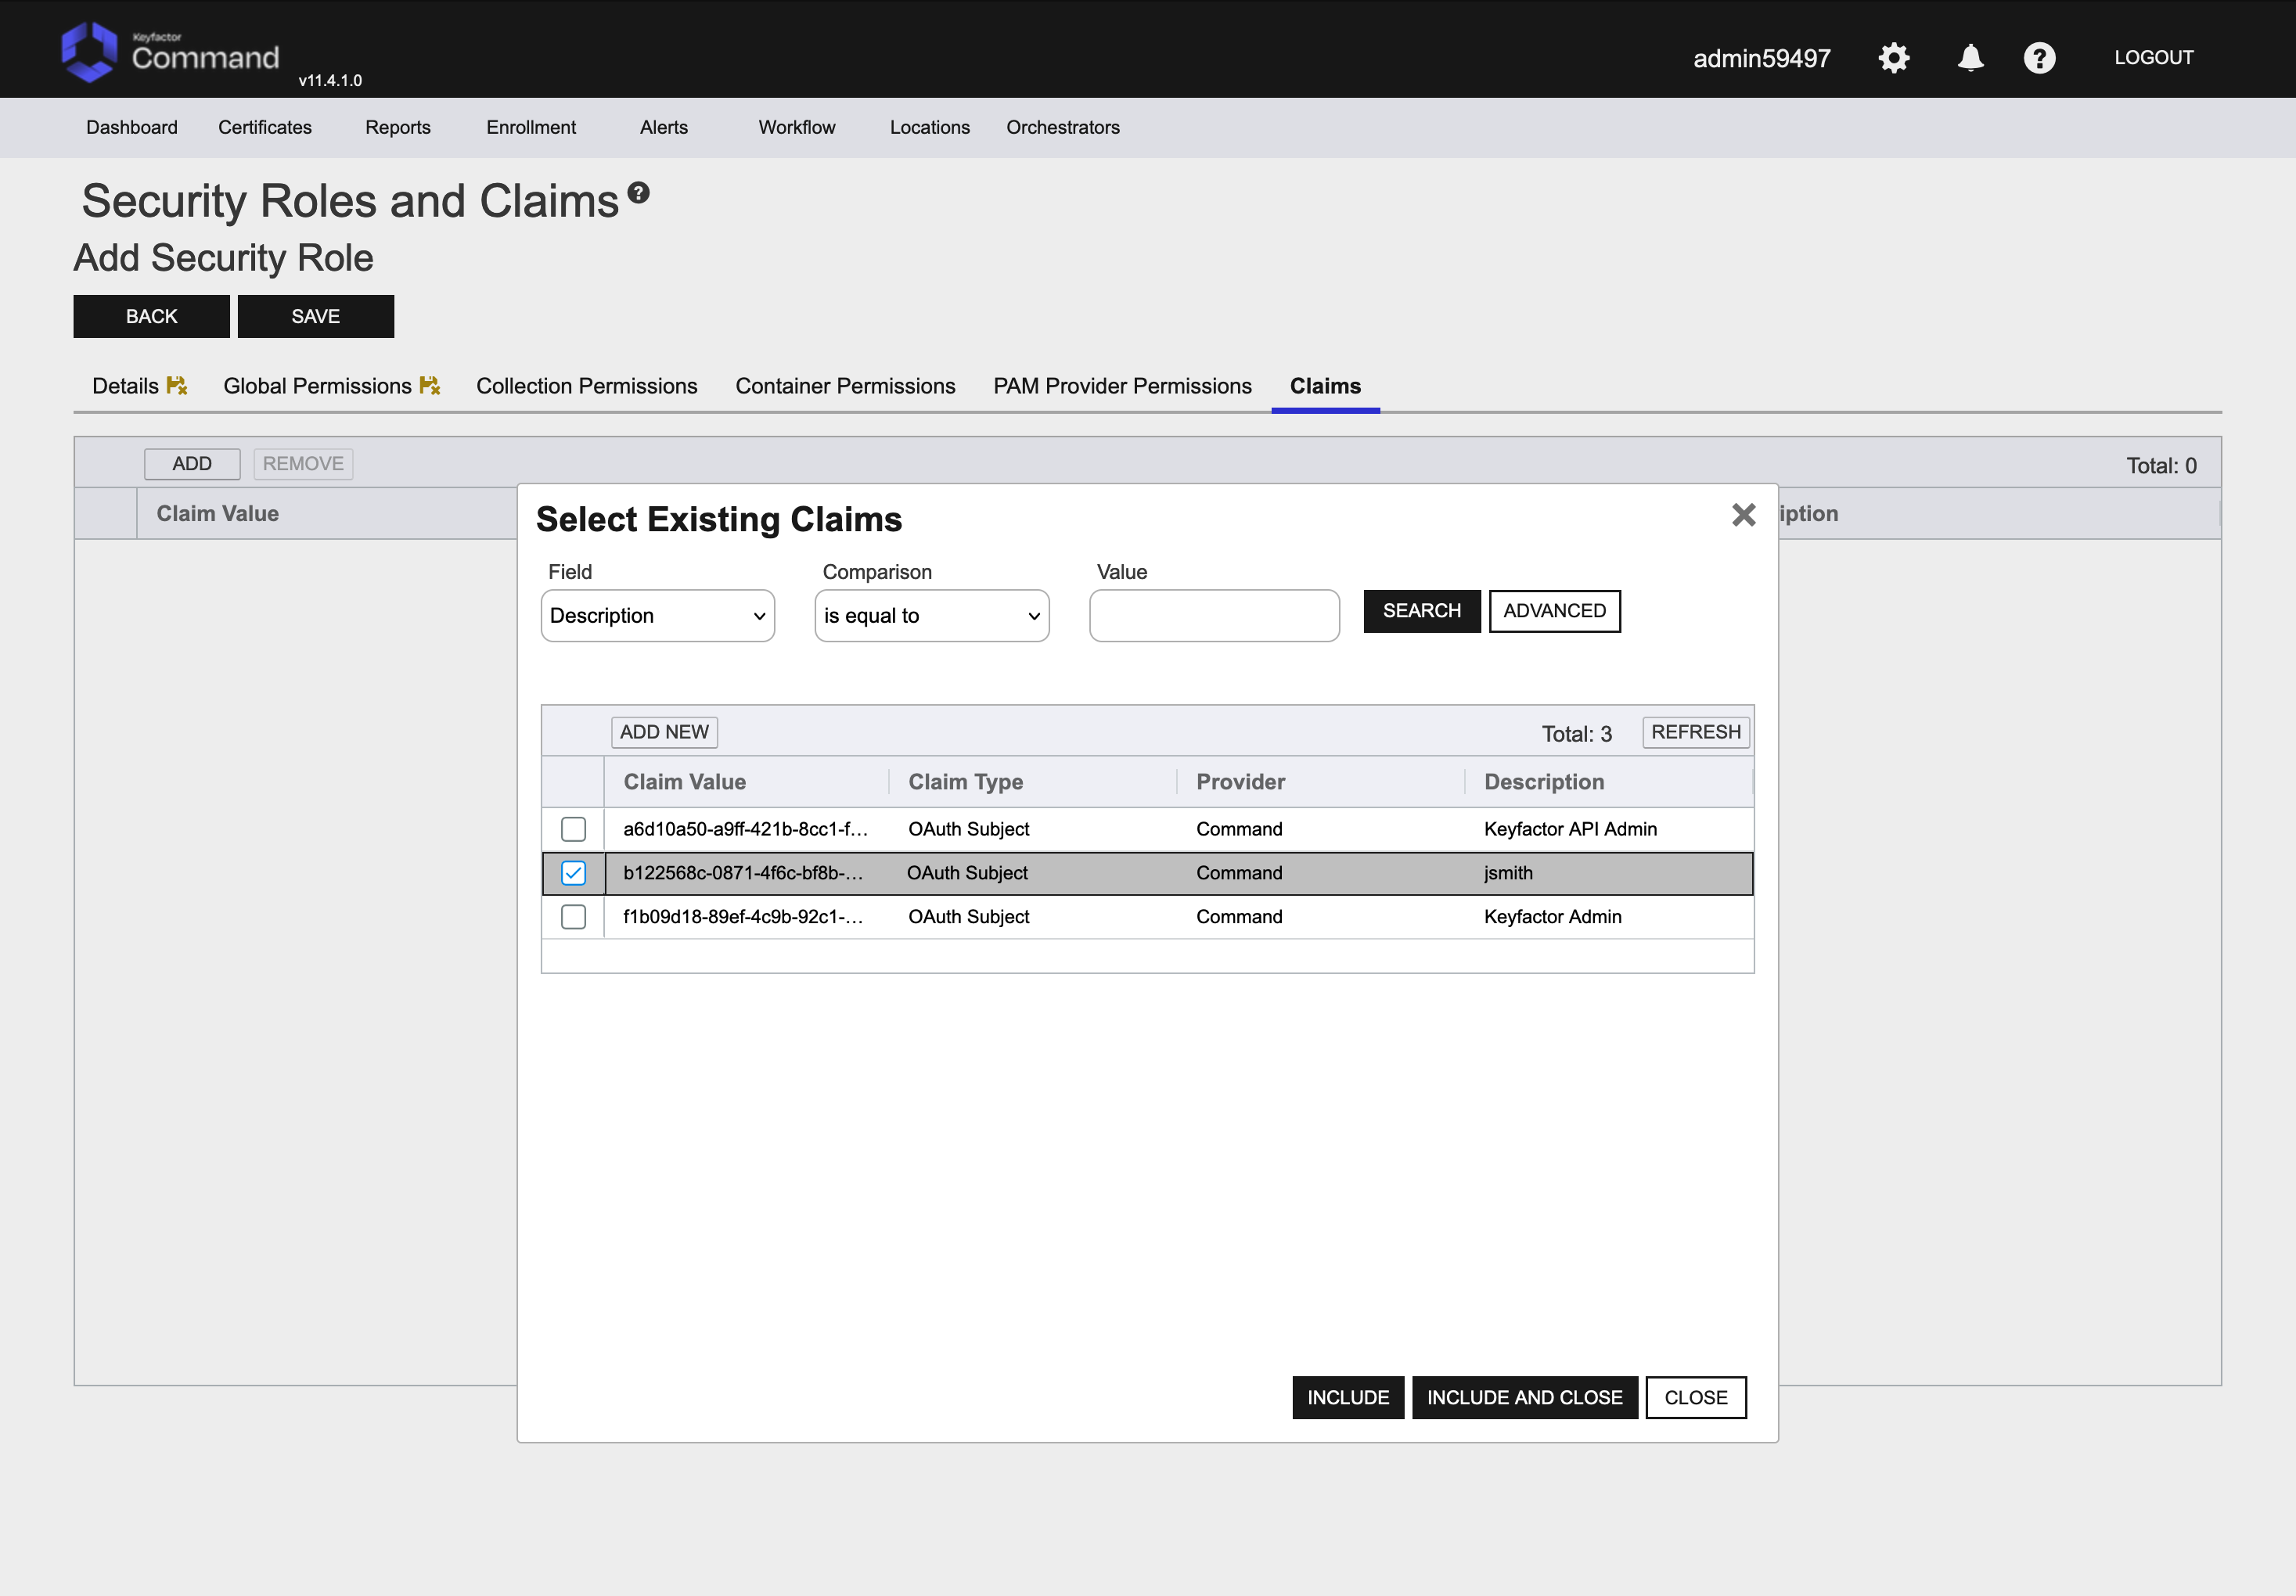
On the Claims tab, select the desired user (jsmith in our example) and click the Include and Close button (Figure 35). Click Save.
Have the user login with the new username and password at the Test Drive Command URL (for example https://<TEST DRIVE URL>:/KeyfactorPortal)
New users should add the Management Certificate as outline above in the section “Adding ManagementCA Certificate” so they don’t get browser warnings.
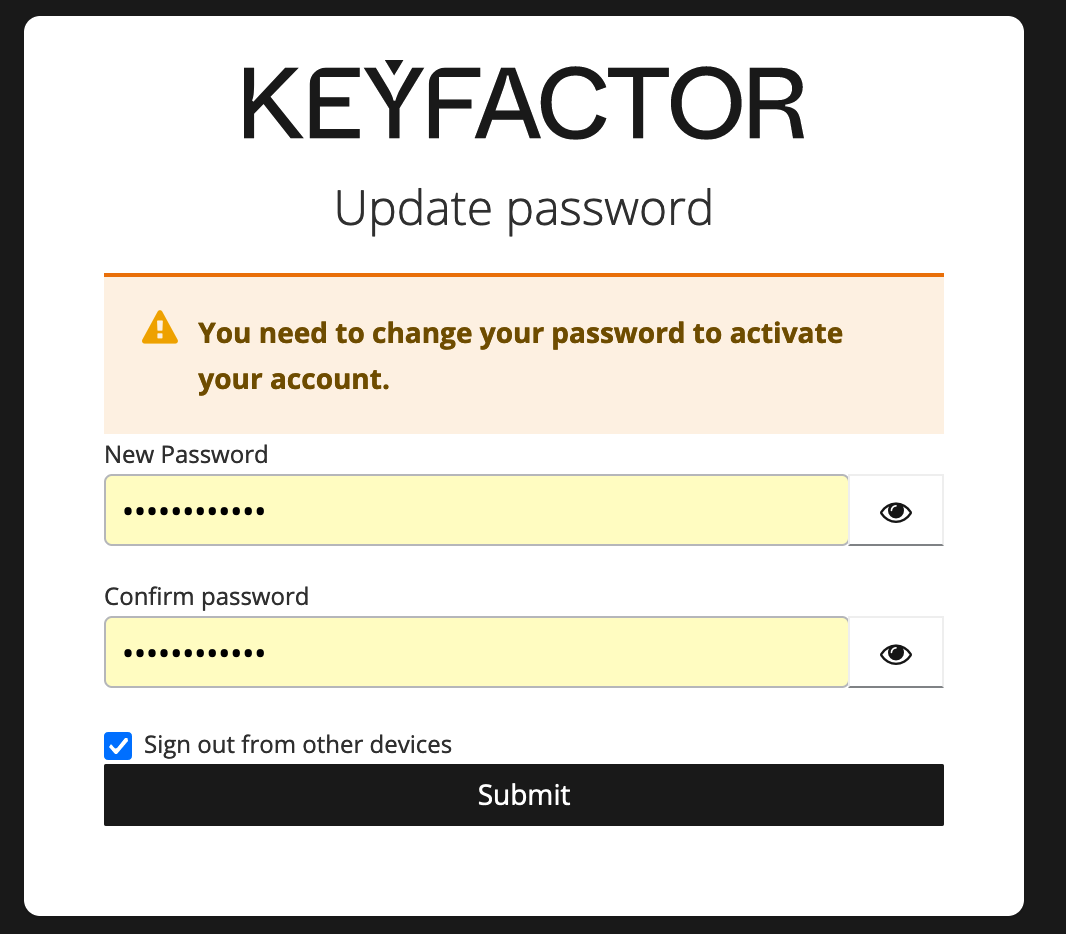
The user will get the Keyfactor Login screen. Enter the new users username and password. If you left the “Temporary” slider on, they will be prompted to change their password (Figure 36) if not already done.
Once done, the new user will be logged into the EJBCA Administration web with the new username reflected at the top (Figure 37).
