Creating a Policy
To create a new policy, navigate to the Policies section from the top menu bar and select New, which will bring up the Policy creation wizard.
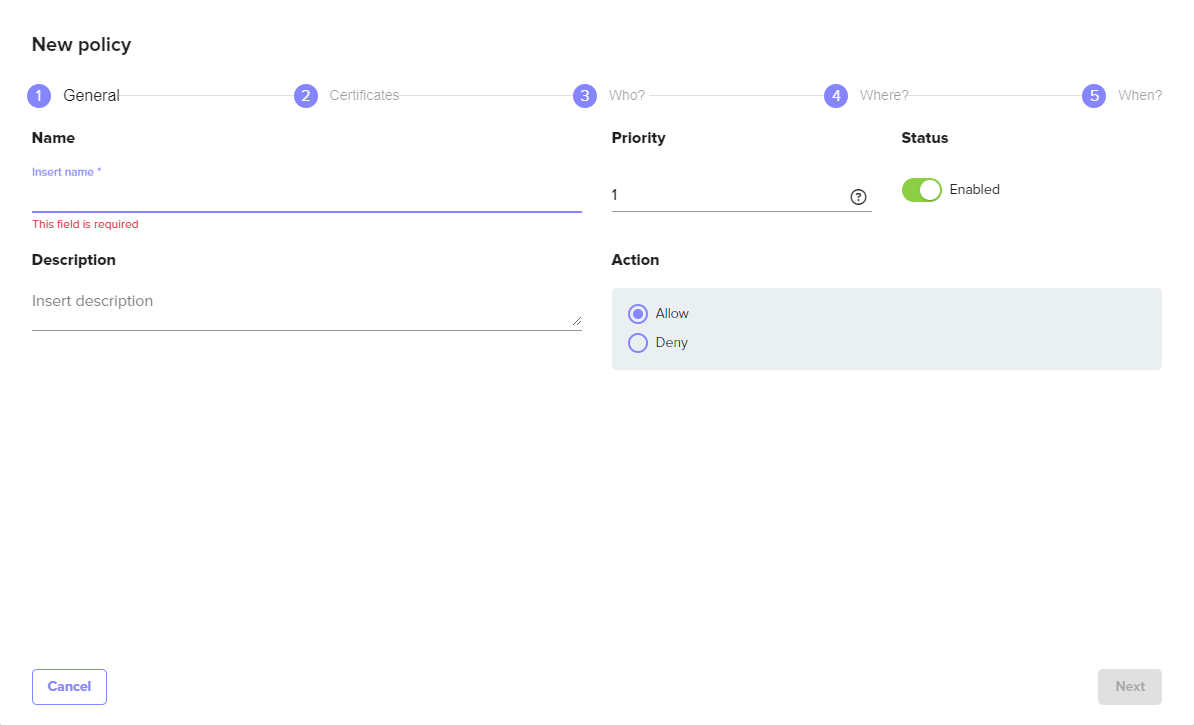
General
Setting | Description |
|---|---|
Name | The descriptive name for the Policy. |
Priority | Priority sets the order in which policies are applied to users or groups that have multiple assigned policies. Where 0 is the highest possible priority. Do not assign policies with the same level of priority to the same user or group of users as this can cause the policies to be applied inconsistently. |
Status | Status sets whether the policy is Enabled or Disabled. An Enabled policy will be active and enforced while a Disabled policy will be inactive / not enforced. |
Description | Optional additional information about the policy. |
Action | Defines whether the policy will Allow or Deny the use of the certificate based on the defined parameters of the policy. |
Quick Tip Remember that users assigned as the “Owners” of a certificate have access to that certificate superseding any configured policies. For more information see Certificate Operations.
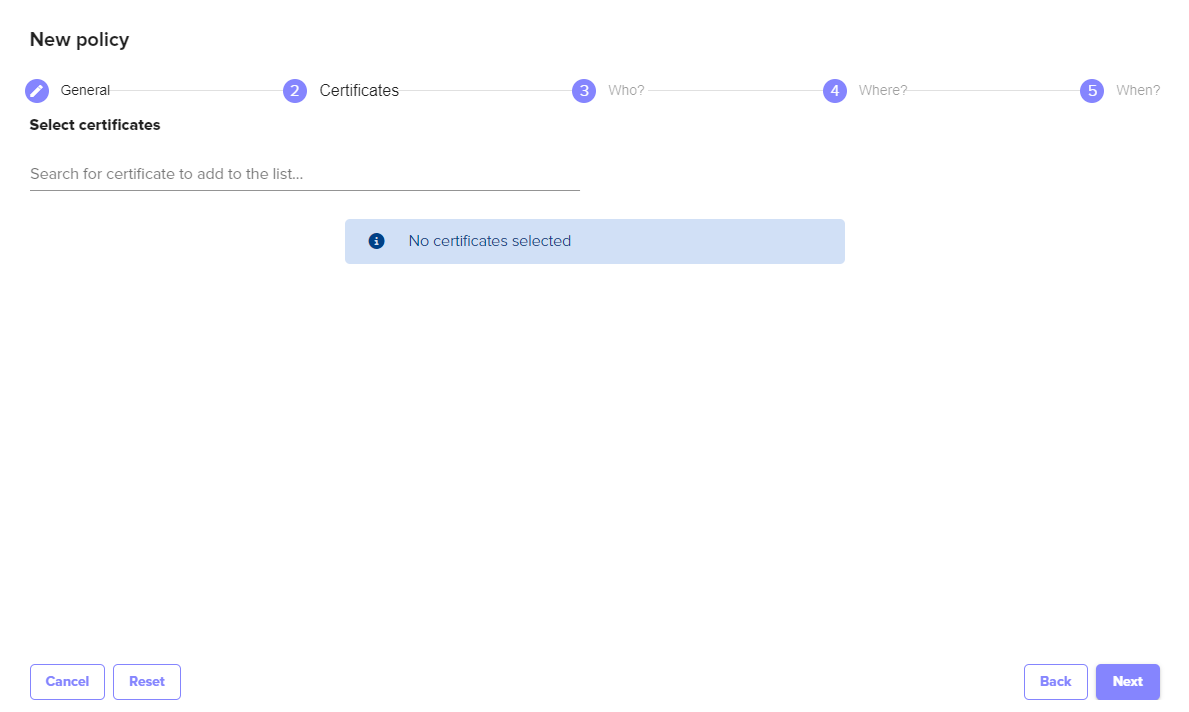
Certificates
The Certificates section of the Policy creation wizard defines what certificates or groups of certificates this policy will apply to.
Setting | Description |
|---|---|
Select Certificate(s) | Start typing to populate a list of certificates and certificate groups to choose from for the policy. The certificates available in this list will depend on which certificate groups the currently authenticated user has access to based on their defined role. For more information see Creating a Role. |
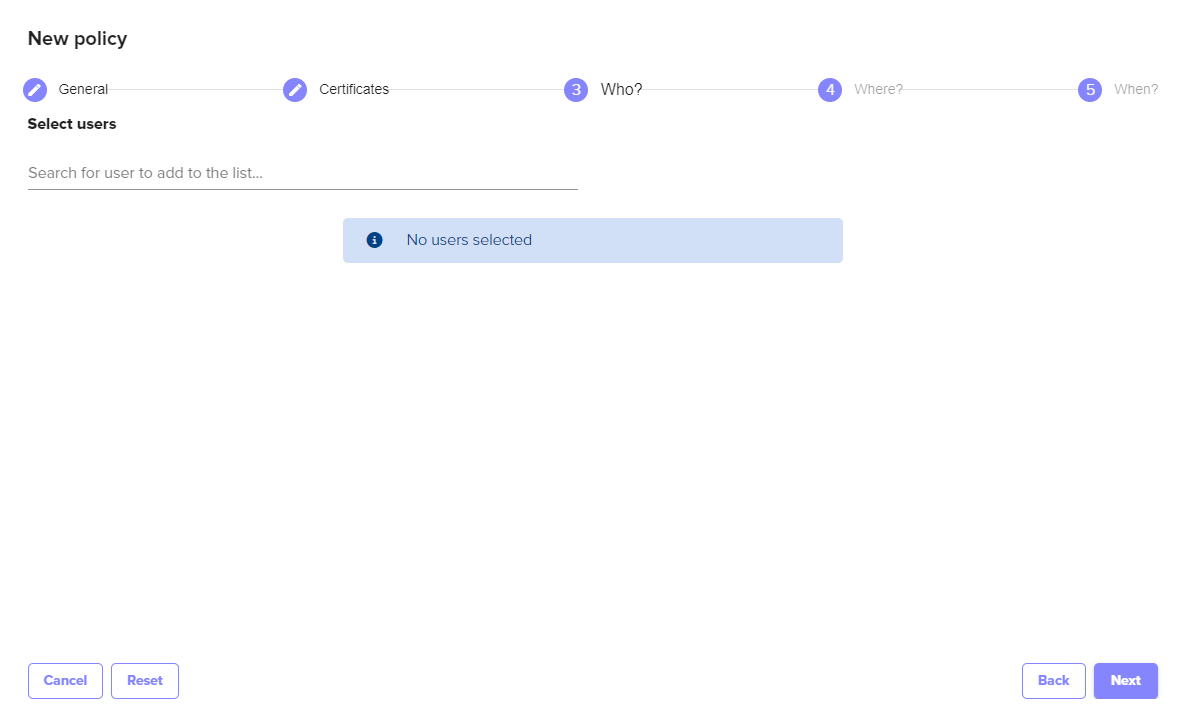
Who
What users or groups of users will this policy apply to.
Setting | Description |
|---|---|
Select User(s) | Start typing to populate a list of users and user groups to select from. Multiple users and groups of users can be selected. |
Where
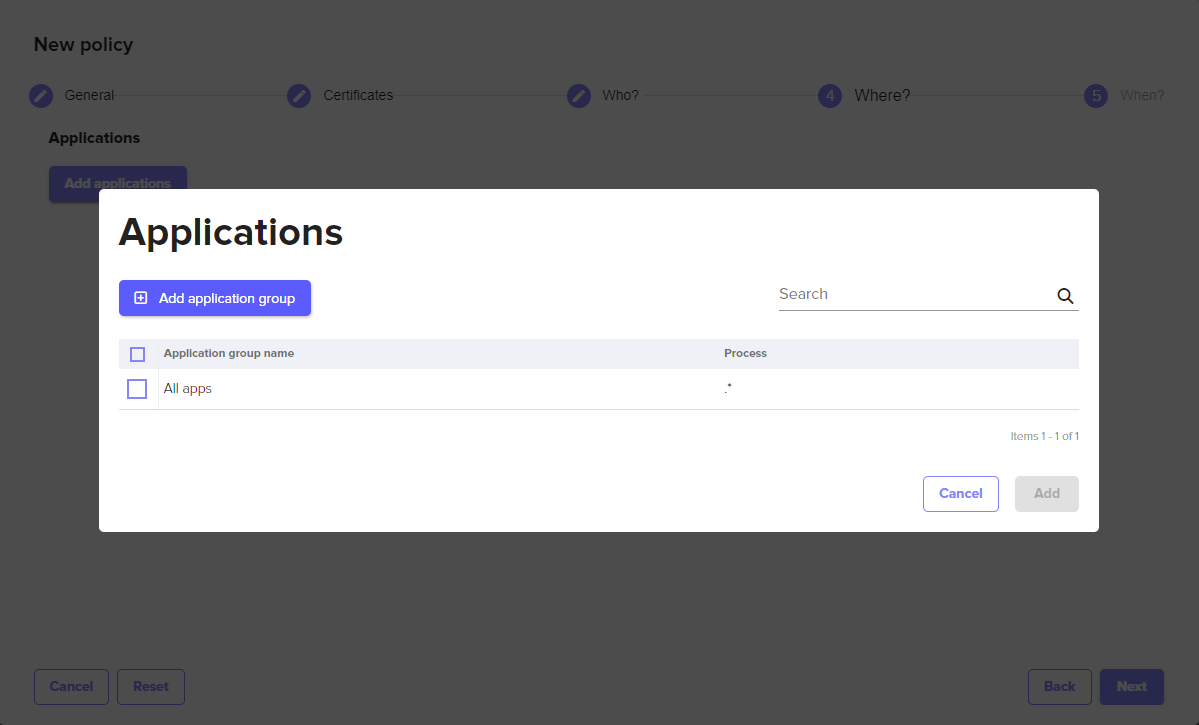
What applications or regular expressions should apply to this policy. Select Add Applications to bring up a list of created applications.
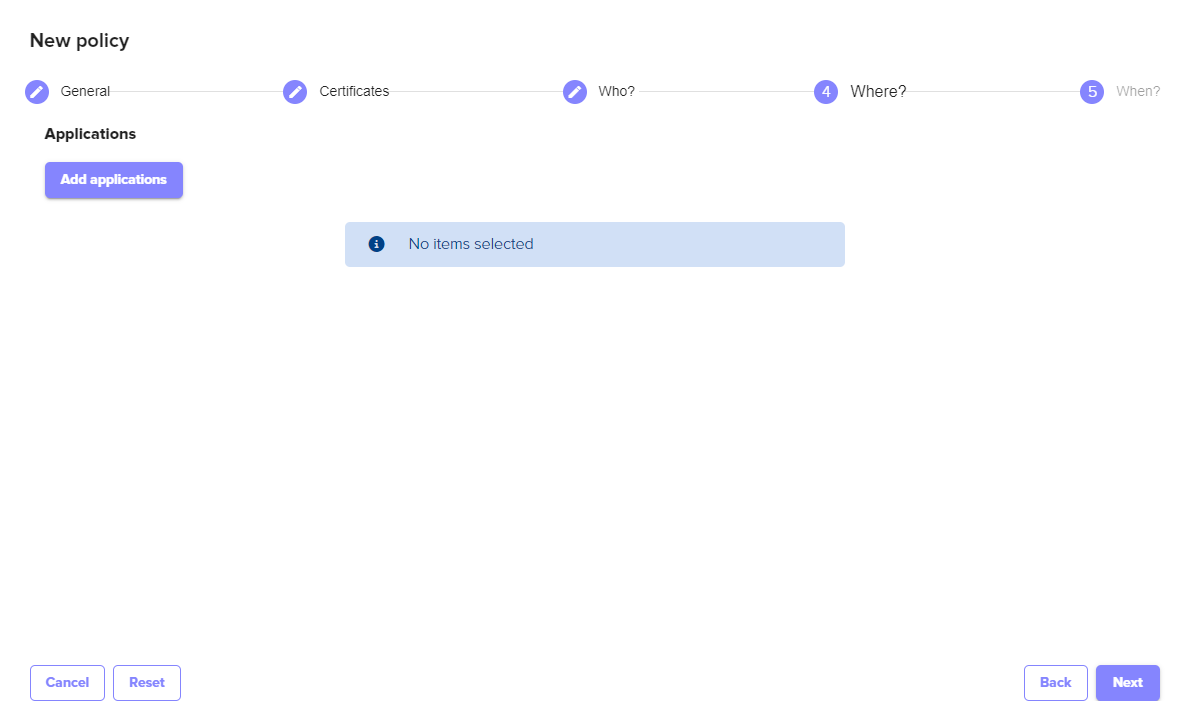
After selecting Add Applications in the Policy creation wizard you will see any applications that have been defined in Signum. It is possible to define a new Application directly from this menu by selecting Add Application Group on this screen if none have been defined. For more information see Applications.
Setting | Description |
|---|---|
Applications | Add applications that have already been created or create a new one. For more information see Applications. |
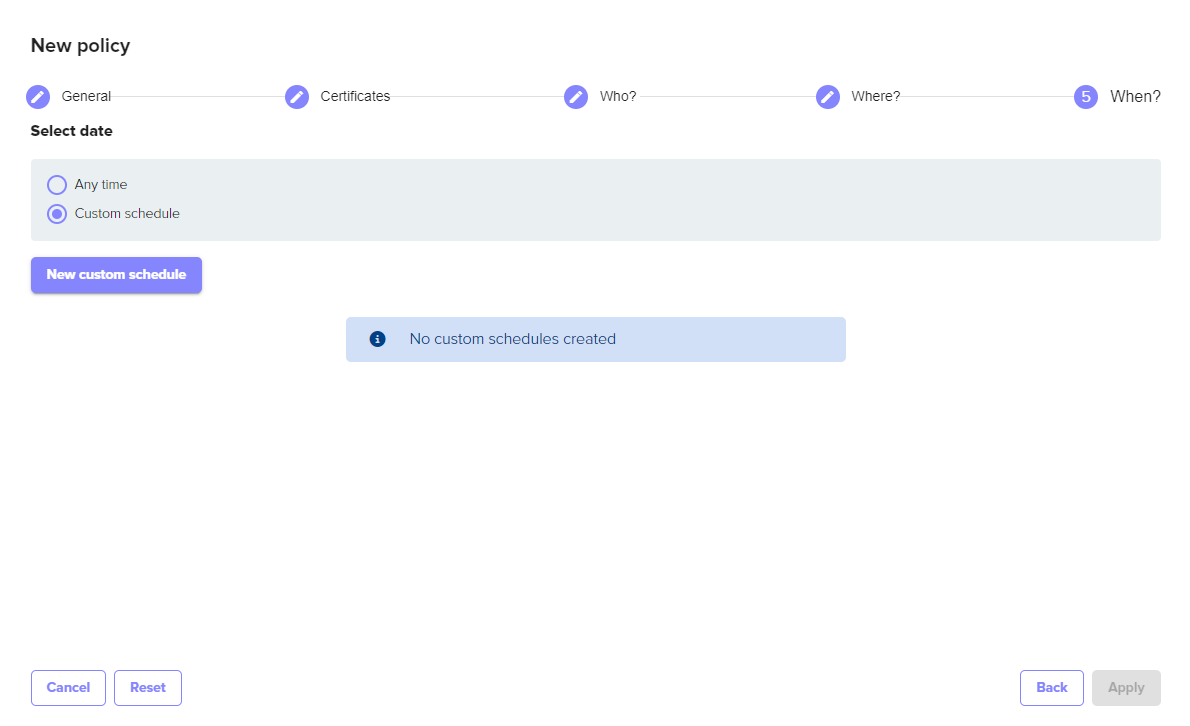
When
Optionally, allows for defining a schedule for when the policy will be applied.
Setting | Description |
|---|---|
Any Time | This is the default option. This policy will always apply. |
Custom Schedule | Allows for defining a custom schedule for when the policy will apply. Uses UTC. |
Selecting New Custom Schedule brings up options for creating a specific schedule about when the policy will apply.
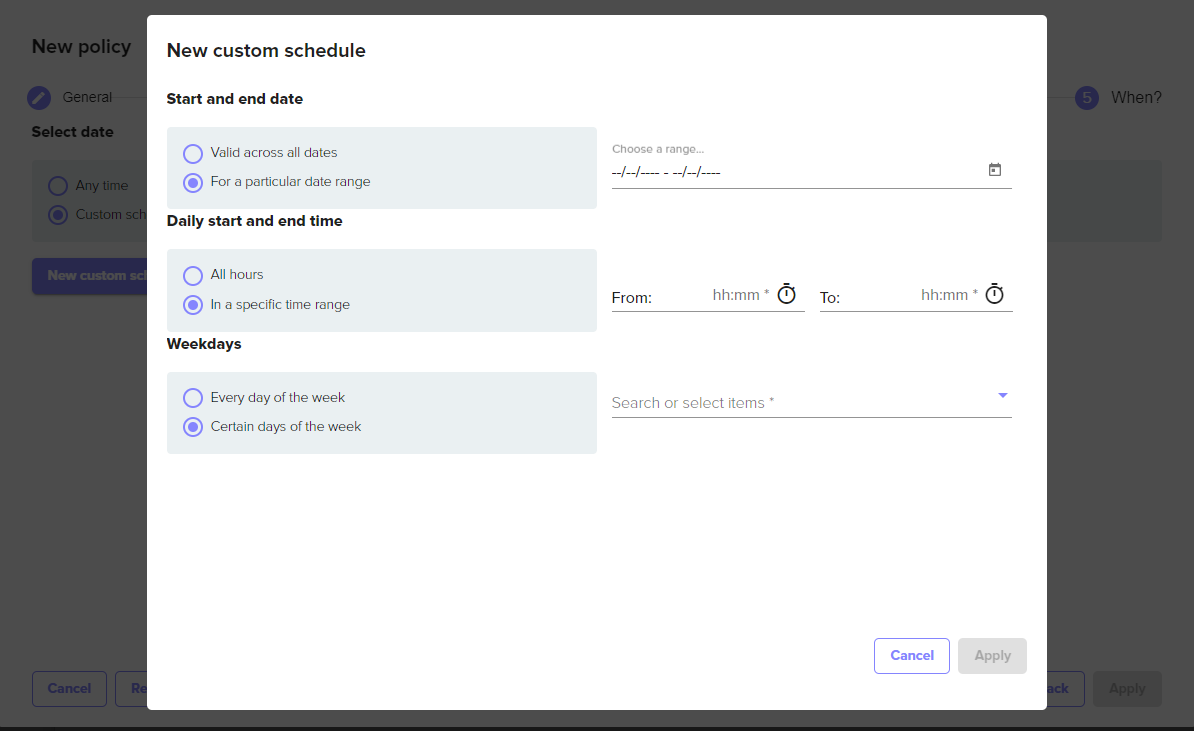
Signum uses Universal Coordinated Time (UTC) for measuring the time and dates for policies.