Backup using Azure Snapshot
To backup an instance of EJBCA Cloud, you can either use the CLI script included on the instance or create a snapshot in the Azure Portal. This section describes how to backup using an Azure snapshot. For information on how to backup via script, see Backup via CLI Script.
For additional information, refer to the Microsoft Azure documentation on how to Snapshot a disk.
Backup using Azure Snapshots
To backup the instance by taking a snapshot in the Azure Portal, do the following:
- Access the Azure Portal at https://portal.azure.com and click Create a resource.
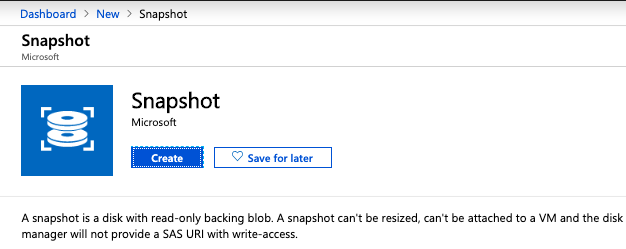
- When the word "Snapshot" appears, select it.

- Click Create.

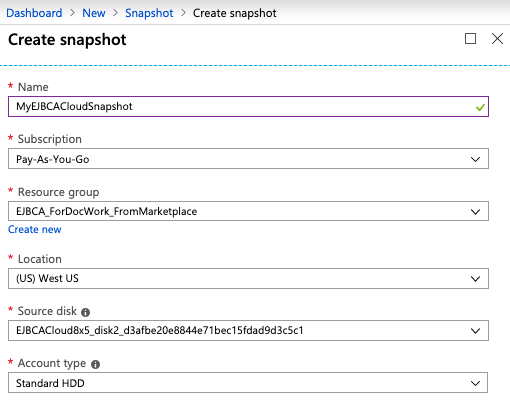
- Enter a Name in the name description field, select a Subscription, Resource Group, Location, Source disk and associated Account type, and then click Create.

- Repeat for all of the disks associated with your instance.
- Snapshot creation starts.

- Once the snapshot is accessible, it shows a message that it was successfully created.

.png)