Configure EJBCA Cloud VA Instance
The following covers how to configure an EJBCA Cloud AWS Validation Authority (VA) instance using the EJBCA Cloud VA configuration wizard.
Step 1: Host Settings
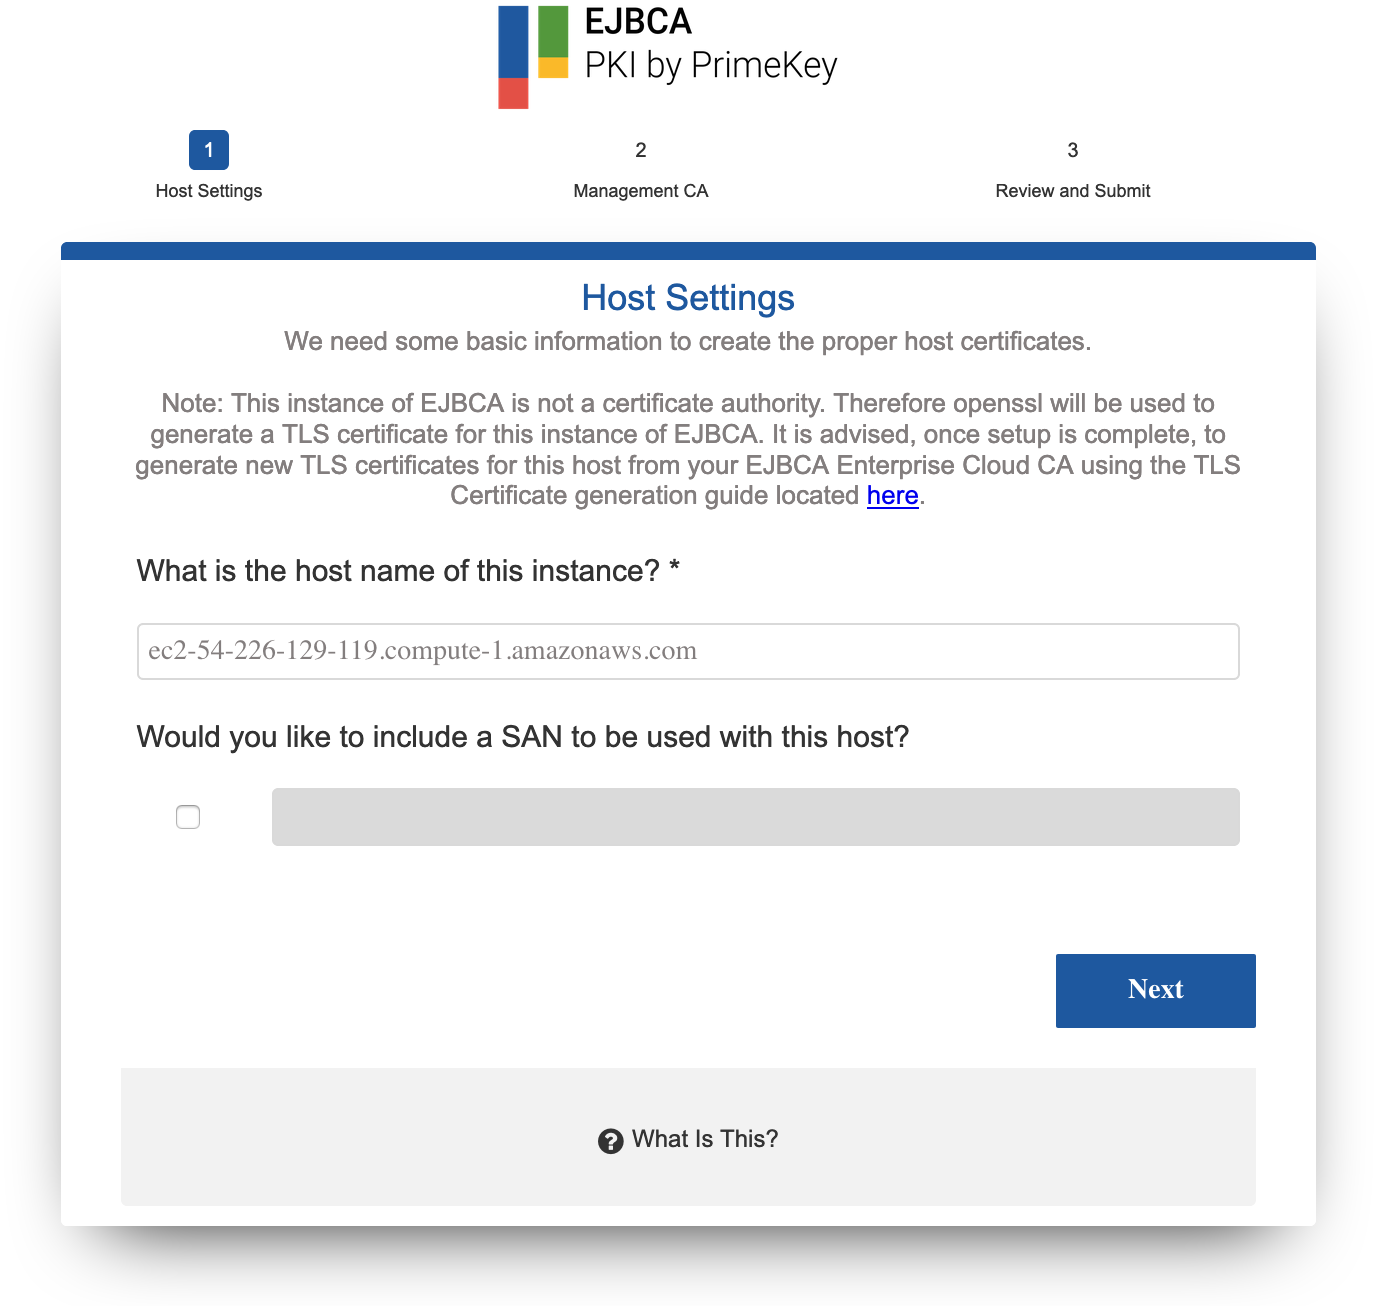
In the first step, you enter the host settings for the instance.
- Enter the public IP into your browser to access the configuration wizard. You will get a TLS browser warning. This is because the instance has a self signed certificate so that it can come up using SSL/TLS. Accept to proceed with the configuration.
- The host name is automatically detected but can be changed. The host name must match the name of the host or DNS name that will be entered into a browser when accessing the Administration Interface of this EJBCA installation.
- Using a Subject Alternative Name (SAN) with this host can be done so that a public URL can be used to access EJBCA. For example, if you would like to use https://pki.company.com/ to access a cluster of hosts, you can enter that DNS name into the wizard to be added as a SAN in the instance's TLS certificate. To use this feature, select the option specify a valid domain name. Note that the wizard will not verify that the domain name is a valid domain, but will confirm that the syntax is a recognized domain format.
- Click Next to continue to the ManagementCA configuration.

Host Settings Fields
The following lists available fields.
Field | Description |
|---|---|
Host name | Hostname of the host that EJBCA is going to be installed to (auto populated). |
SAN | Alternate Name to be included in the certificate generated for this host during the installation. |
Step 2: ManagementCA Configuration
Use Existing (Import) ManagementCA
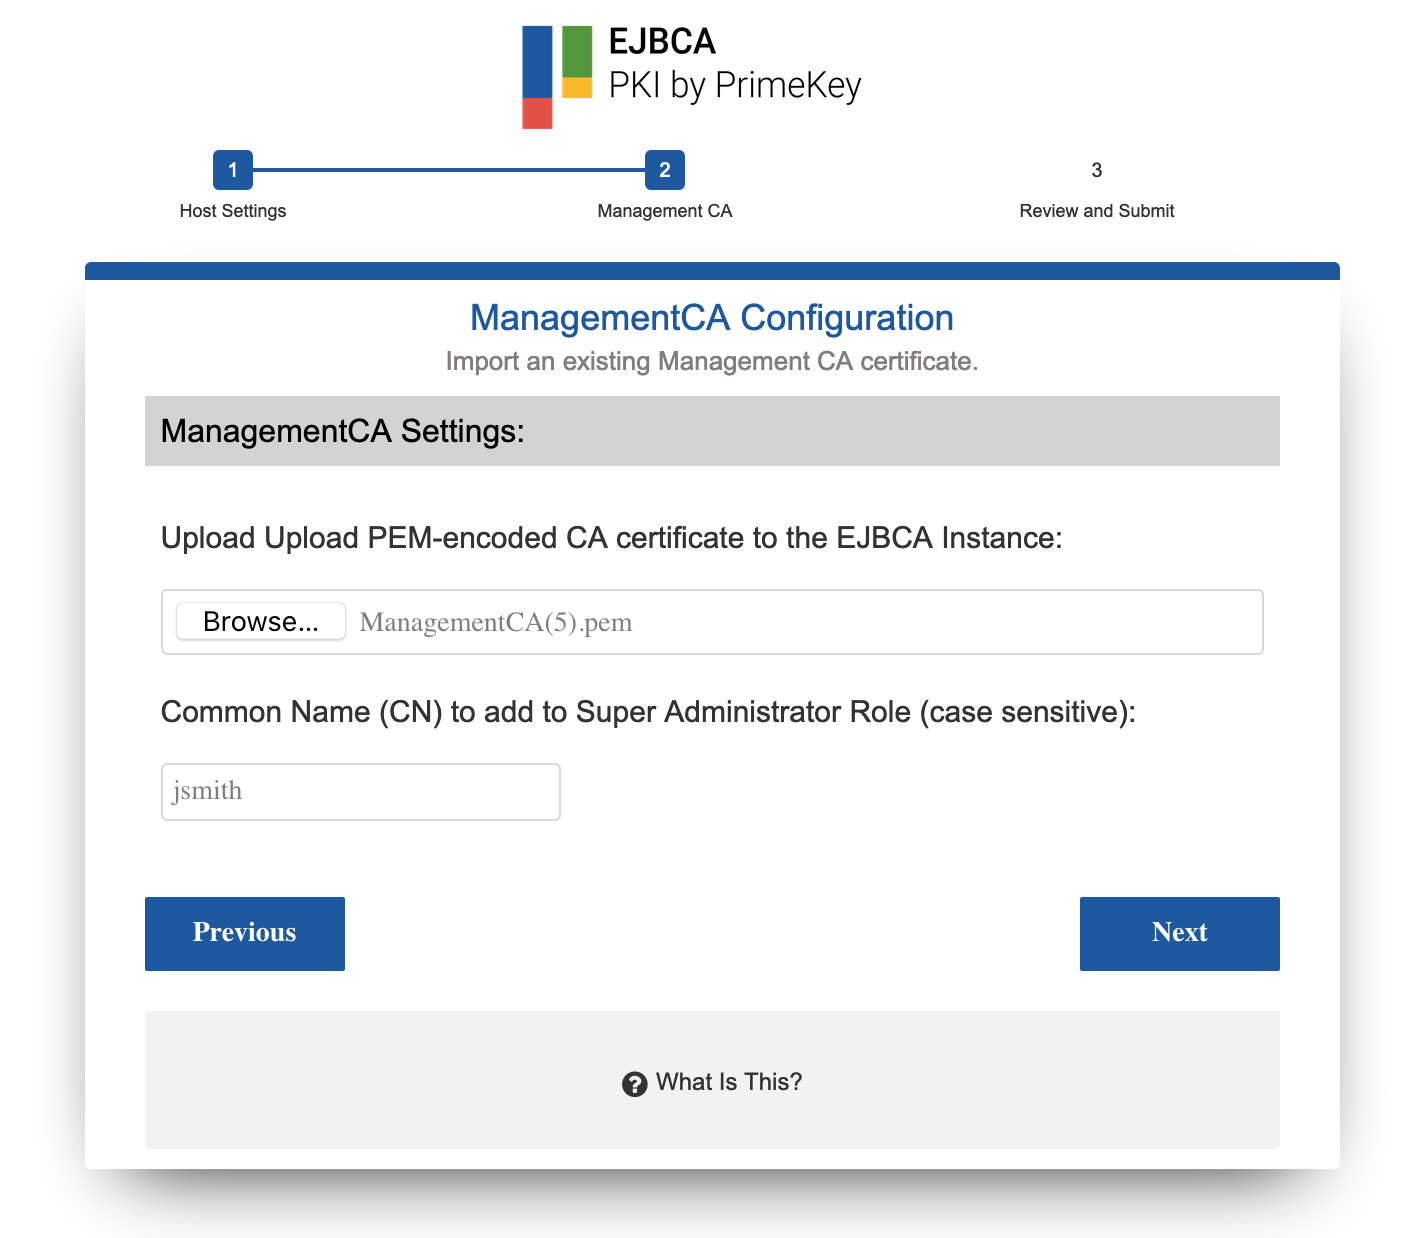
You can import an existing ManagementCA to the instance and have certificates from that CA be allowed access to this installation.
When importing an external ManagementCA, a role will be added for the supplied, case sensitive, Common Name (CN) provided. For example, if you supply "jsmith" as the username to be added, you must have a keystore issued to "jsmith" from the CA whose public certificate you are providing. Most common use case is an existing ManagementCA from another EJBCA installation and a SuperAdmin certificate to match.
You must have a keypair generated with the Common Name supplied from the CAs public certificate you are uploading to this instance when choosing Import CA.
To use an existing Management CA with this instance, do the following:
- Click Browse and select the public certificate from the existing Certificate Authority.
- Enter the Common Name (CN) for the user for which you have a keystore from this CA. In this example we will use "jsmith" since we have a certificate with the name jsmith issued from an existing managmentCA.
- Click Next to continue to the Review and Submit page to review a summary of all settings.

Step 3: Review and Submit
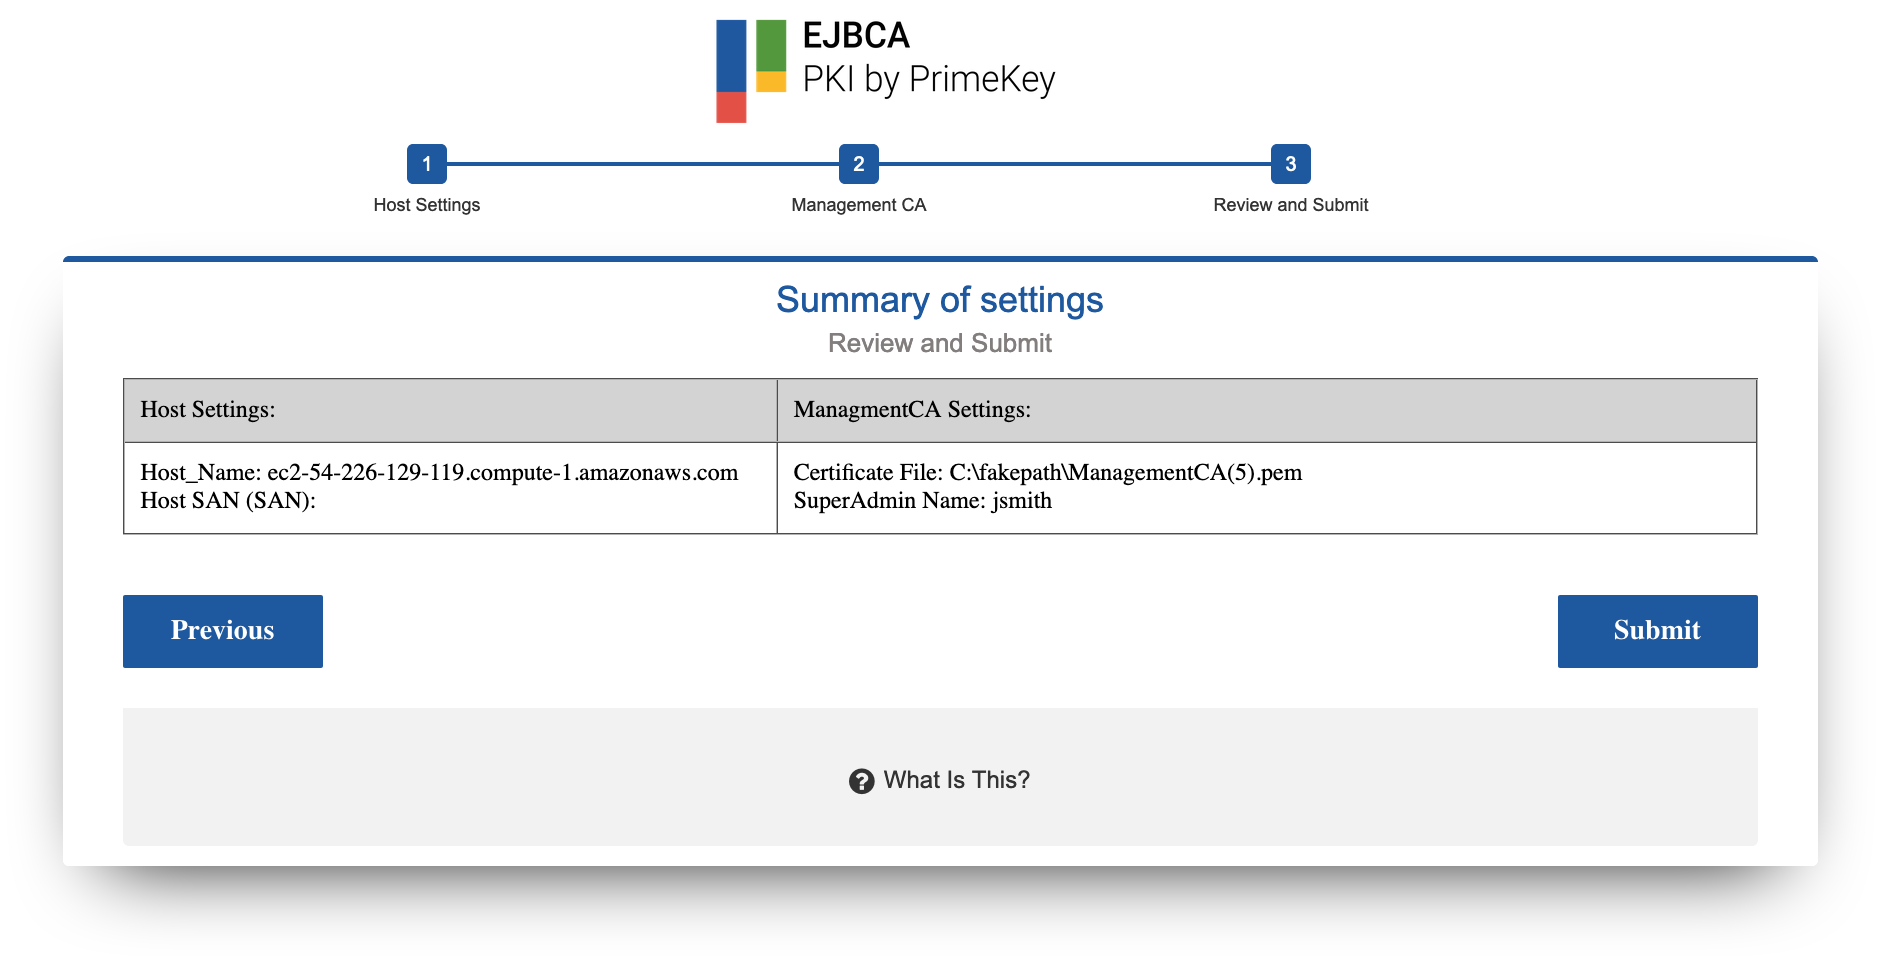
The Review and Submit page provides a summary of all the settings.
Once you have reviewed the settings, click Submit.
If for any reason you need to go back, click Previous and make changes accordingly.

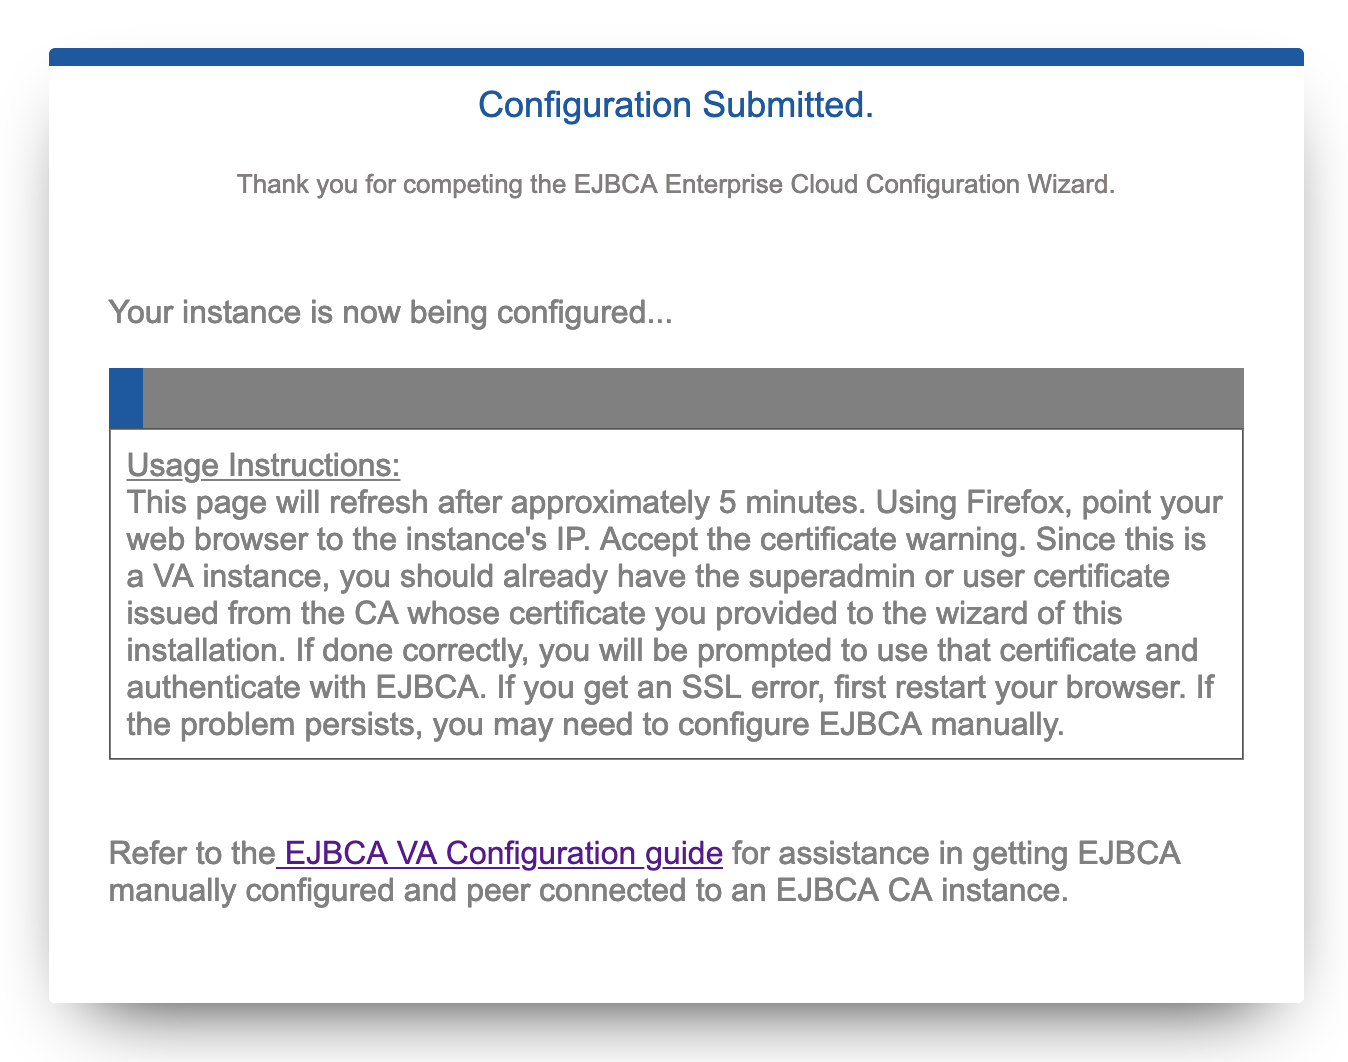
Once you click Submit a timer will begin. At this point your instance configuration with your chosen settings is starting. The page will automatically refresh and you can proceed to the next section.

.png)