Create Issuing CA Certificate Profile
To create an Issuing CA Certificate Profile, do the following.
Click Certificate Profiles under CA Functions to open the Manage Certificate Profiles page.
Click Clone next to the SUBCA profile to use that profile as a template.
Specify Corporate Issuing CA Certificate Profile and click Create from template in Name of new certificate profile.
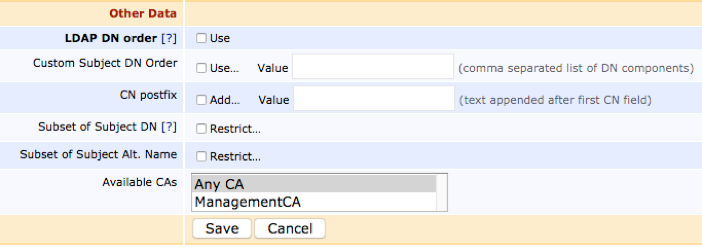
Click Edit on the Corporate Issuing CA Certificate Profile and specify the following.
Available key algorithms: Select desired key algorithm, for example, RSA.
Available bit lengths: Select desired bit lengths, for example, 2048-4096.
Validity or end date of the certificate: Specify the validity 15y7d.
Select CRL Distribution Points, if desired.
NOTE To allow clients to fetch the CRL from the CA directly and have Apache in front of EJBCA, remove port 8080 from the URL and change the DNS name as required. EJBCA does not know if Apache exists and internally responds to 8080 in most cases.
Example URLs:From EJBCA Server directly:
http://ip-172-16-0-148.ec2.internal/ejbca/publicweb/webdist/certdist?cmd=crl&issuer=CN=Corporate_Issuing_CA,O=Corporation,C=US.Served from Webserver:
http://crl.corporate-dns-url.com/corporate_issuing_ca.crl.
Clear LDAP DN order (to get X509 DN ordering) for greater compatibility with systems that use certificates.

Click Save to save the Issuing CA Profile.
.png)