Launch EJBCA Cloud AWS VA Instance
This section describes how to launch EJBCA Cloud from AWS Marketplace.
The EC2 Console is a web interface that allows you to configure the EJBCA Cloud instance details from a web browser before you launch it. Follow the instructions below to launch an EJBCA Cloud instance.
Locate EJBCA Cloud in the AWS Marketplace
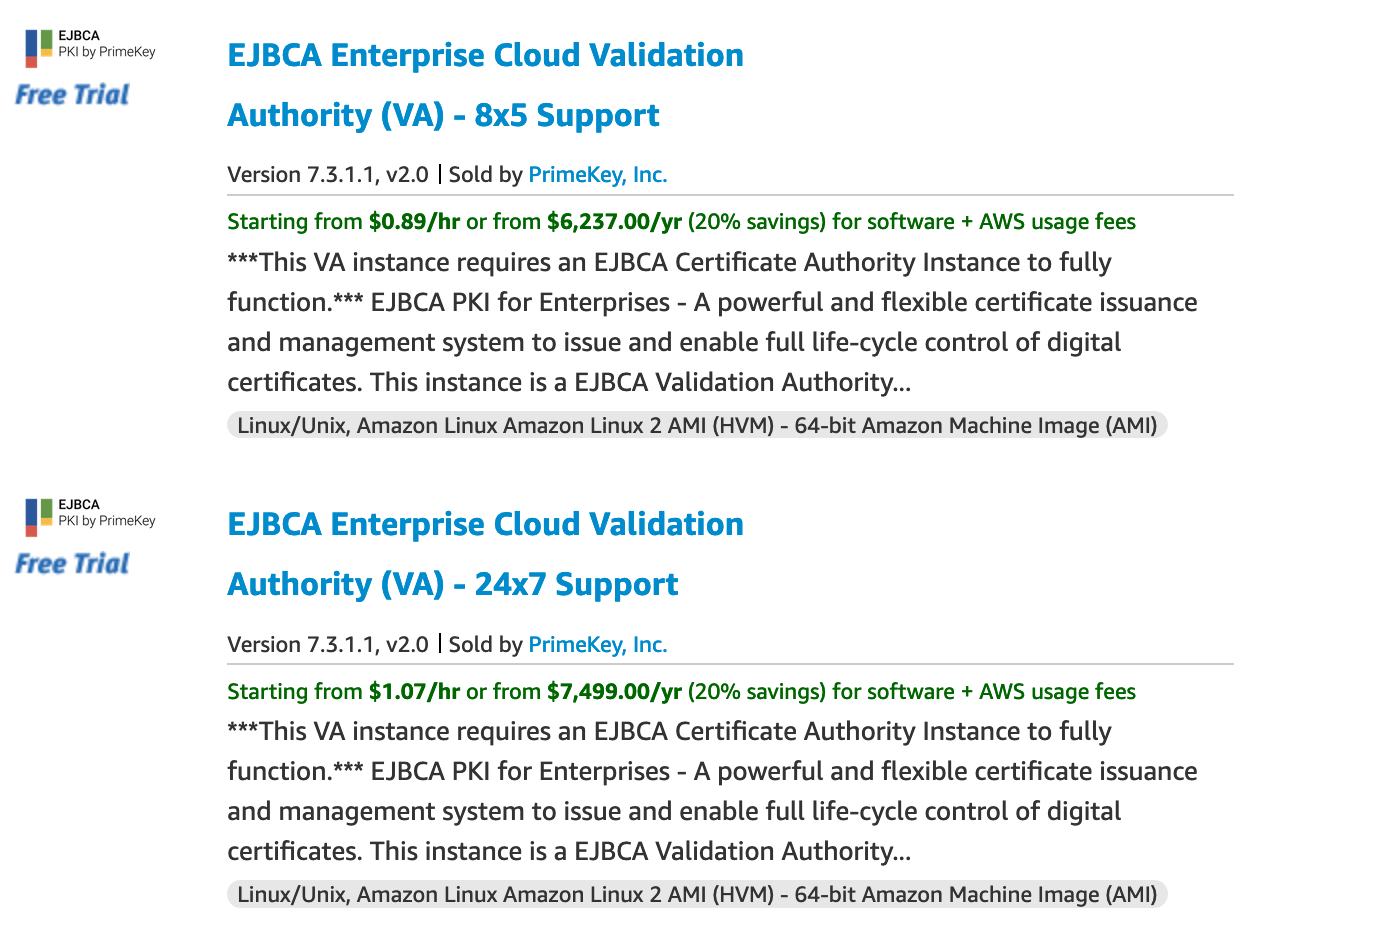
Browse to the AWS Marketplace and search for "primekey" to display the following two results: one for EJBCA Enterprise Cloud Validation Authority (VA) - 8x5 Support and the other for EJBCA Enterprise Cloud Validation Authority (VA) - 24x7 Support. ![]() These instances are functionally identical but priced differently depending on the level of support you would like from PrimeKey.
These instances are functionally identical but priced differently depending on the level of support you would like from PrimeKey.
Select the instance type to use by clicking its name, and click Continue to Subscribe.
Launch the Instance
To launch the EJBCA Cloud VA instance, do the following:
- Review the listing information as desired, select Continue to Subscribe and then, once ready, click Accept Terms.
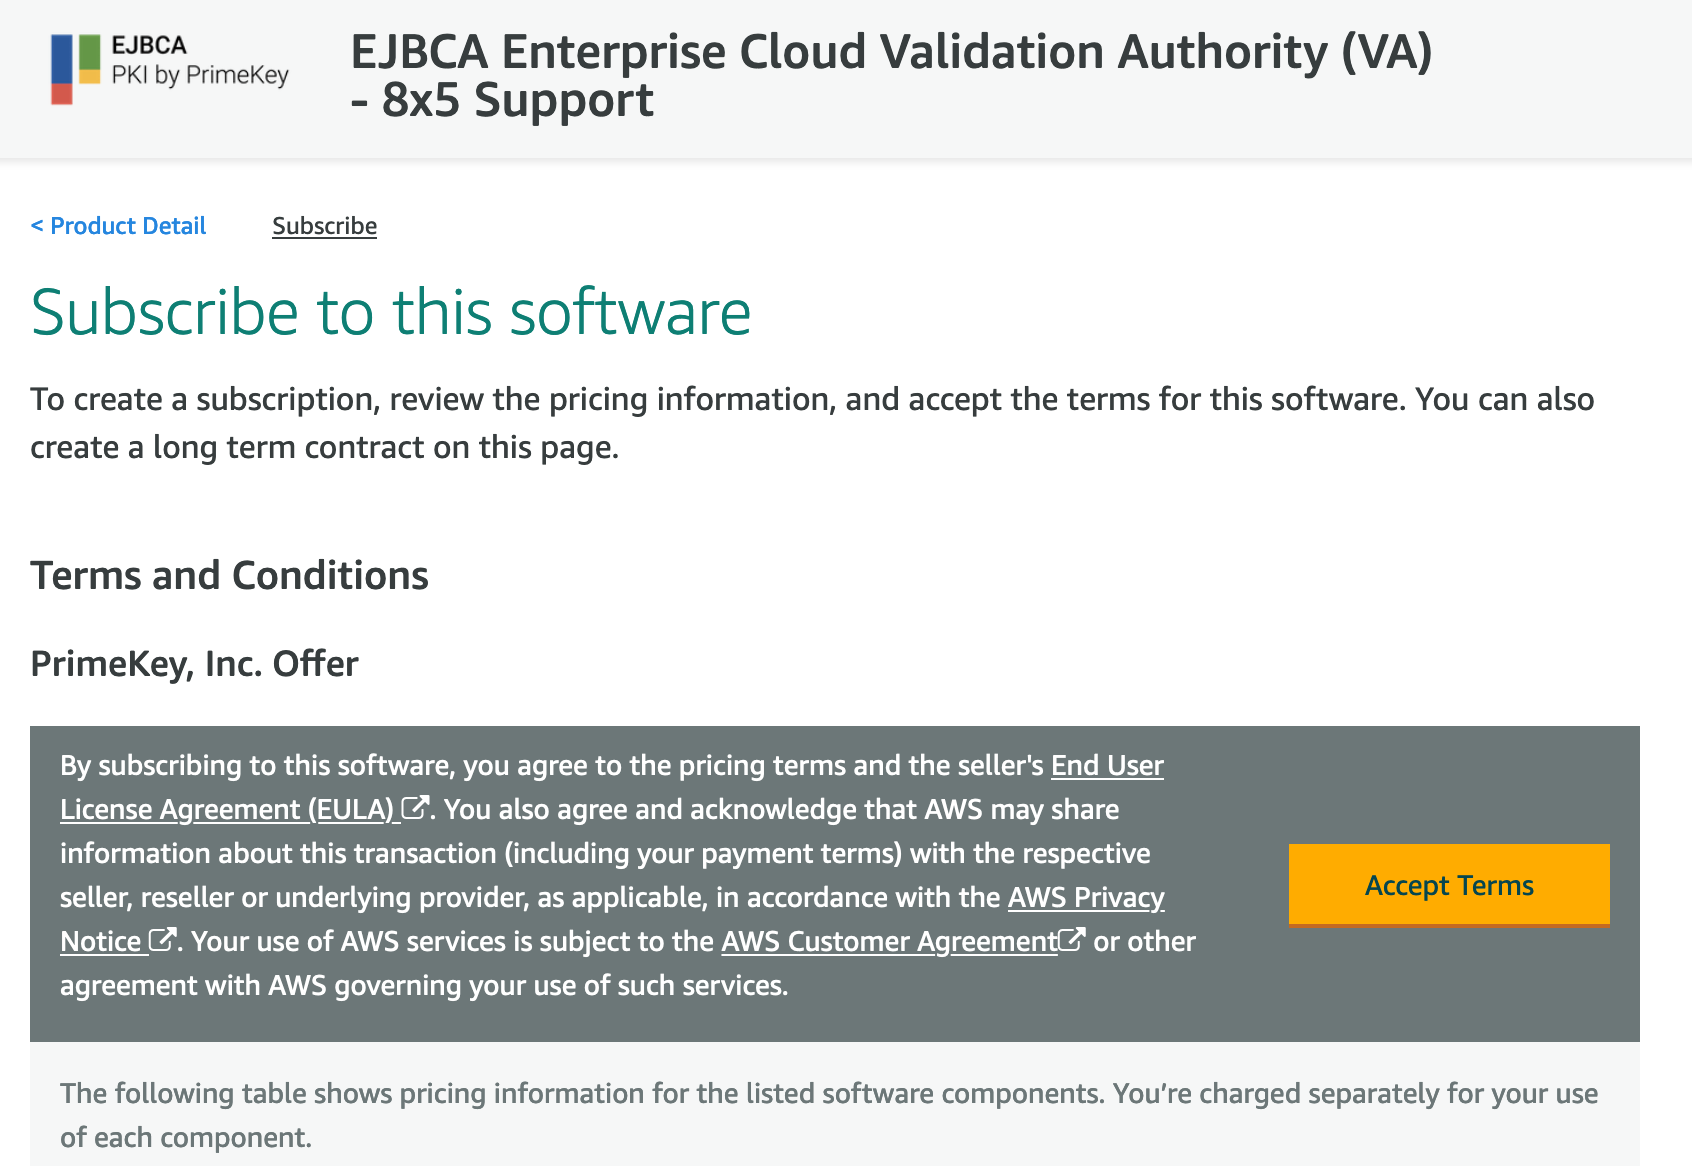
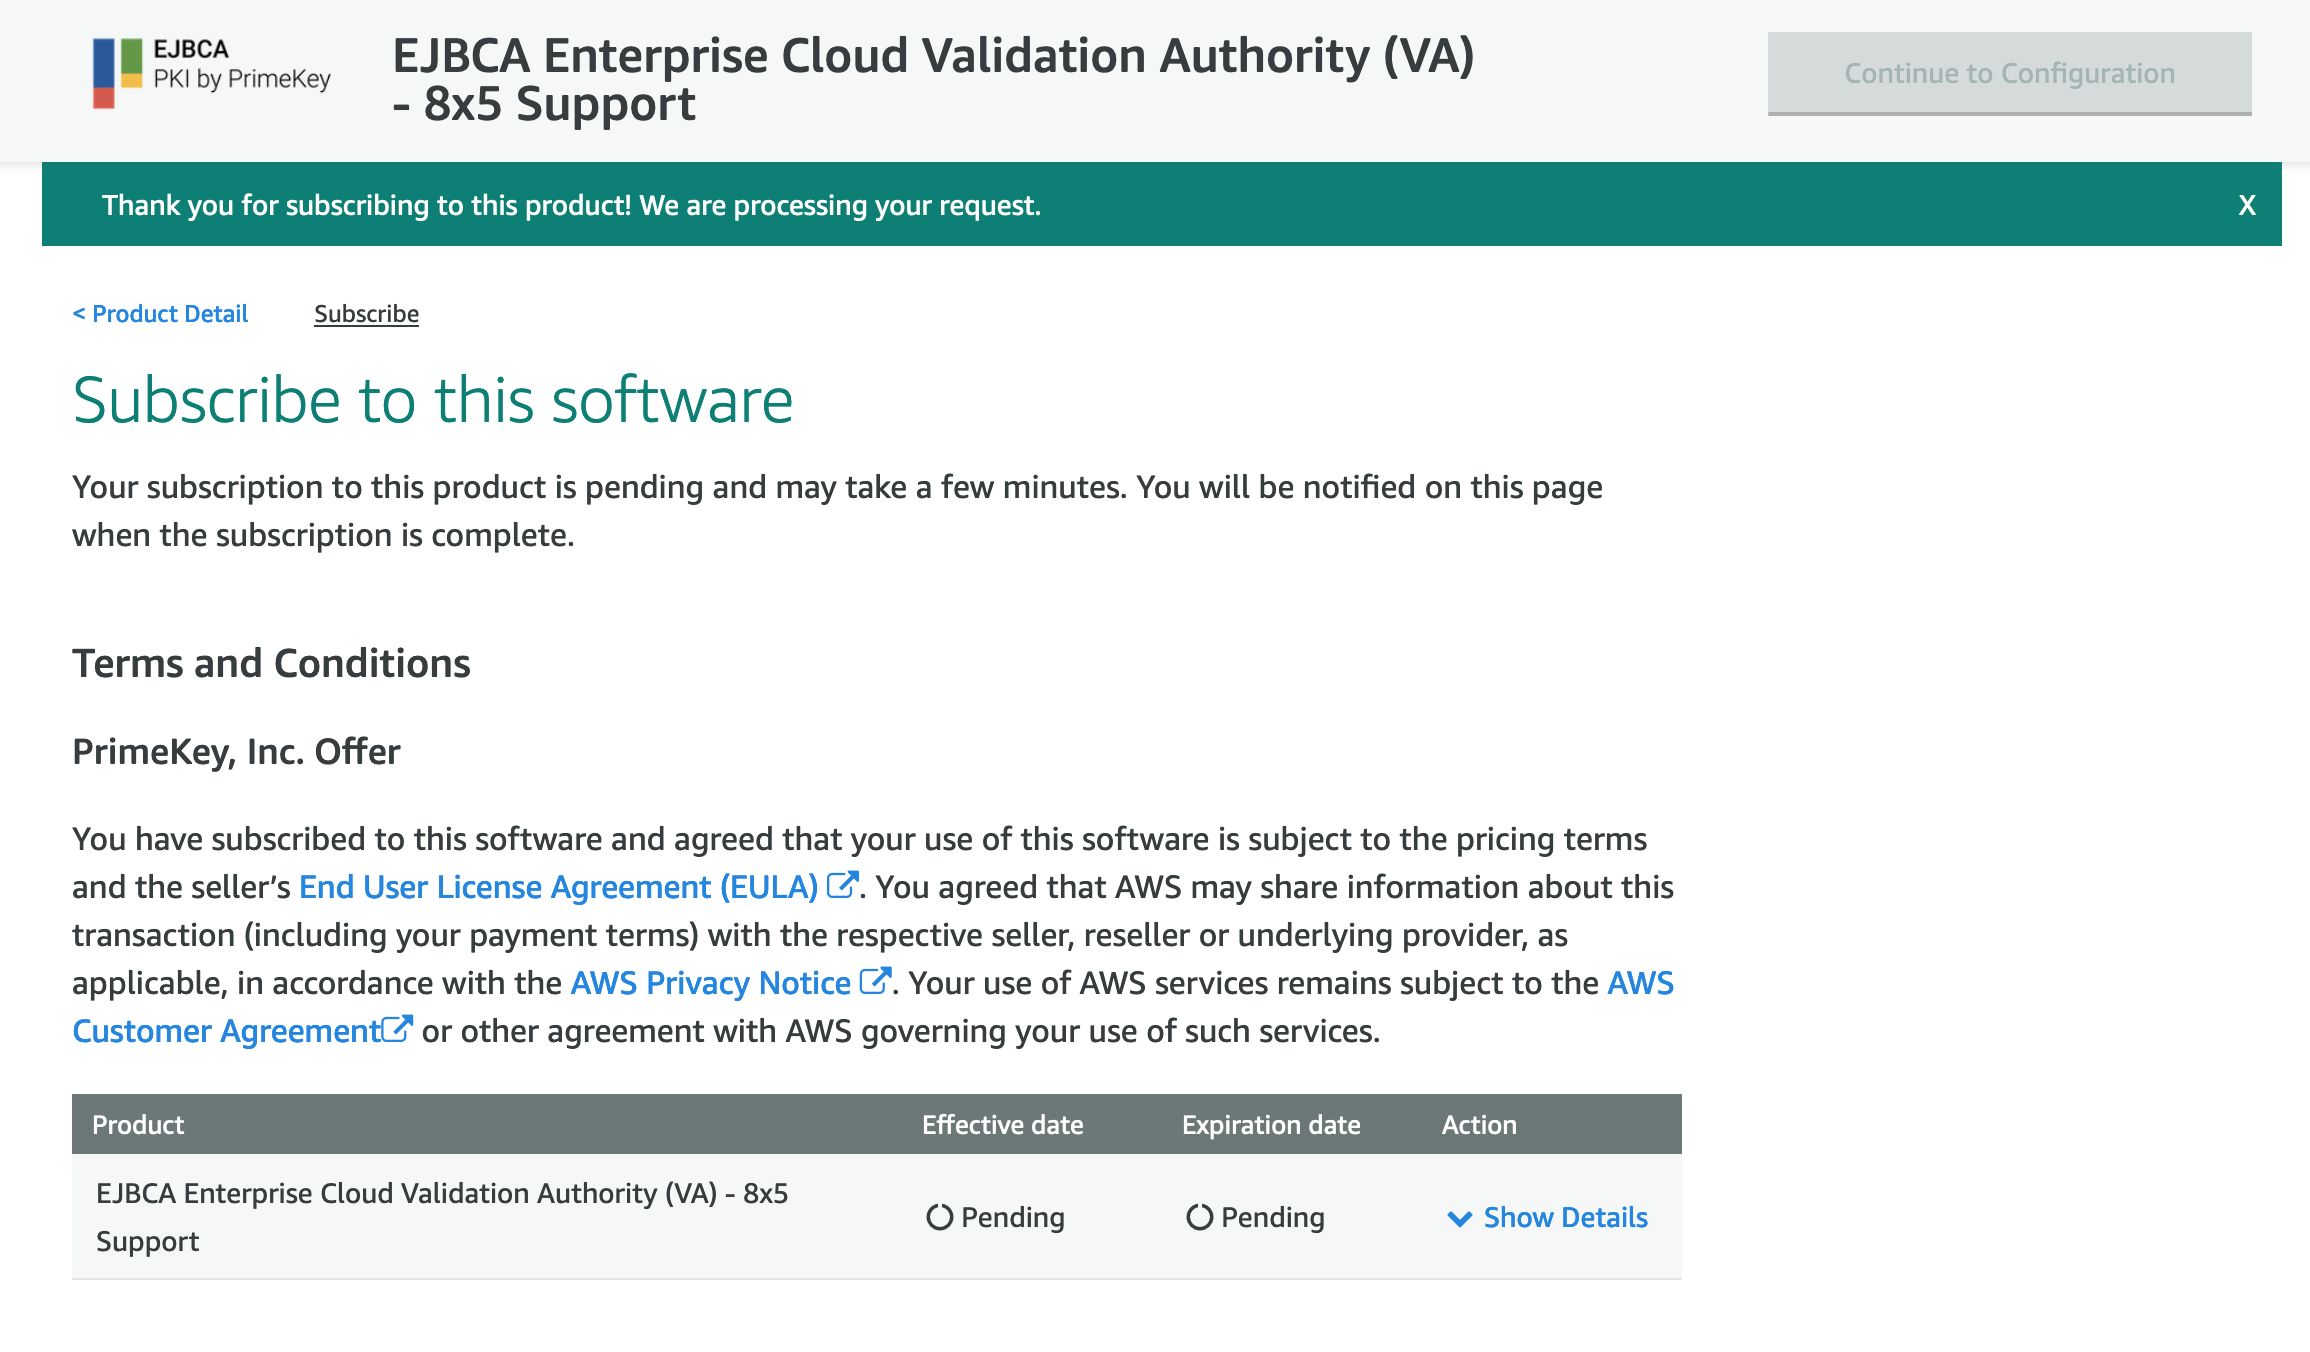
- Once you accept the terms, AWS will enable your subscription to the software. Note that this takes approximately 1 minute.
- Once completed, the Continue to Configuration button is enabled and the date you subscribed to the software is displayed.
 The AWS will only bill you during the time that the instance is running.
Click Continue to Configuration.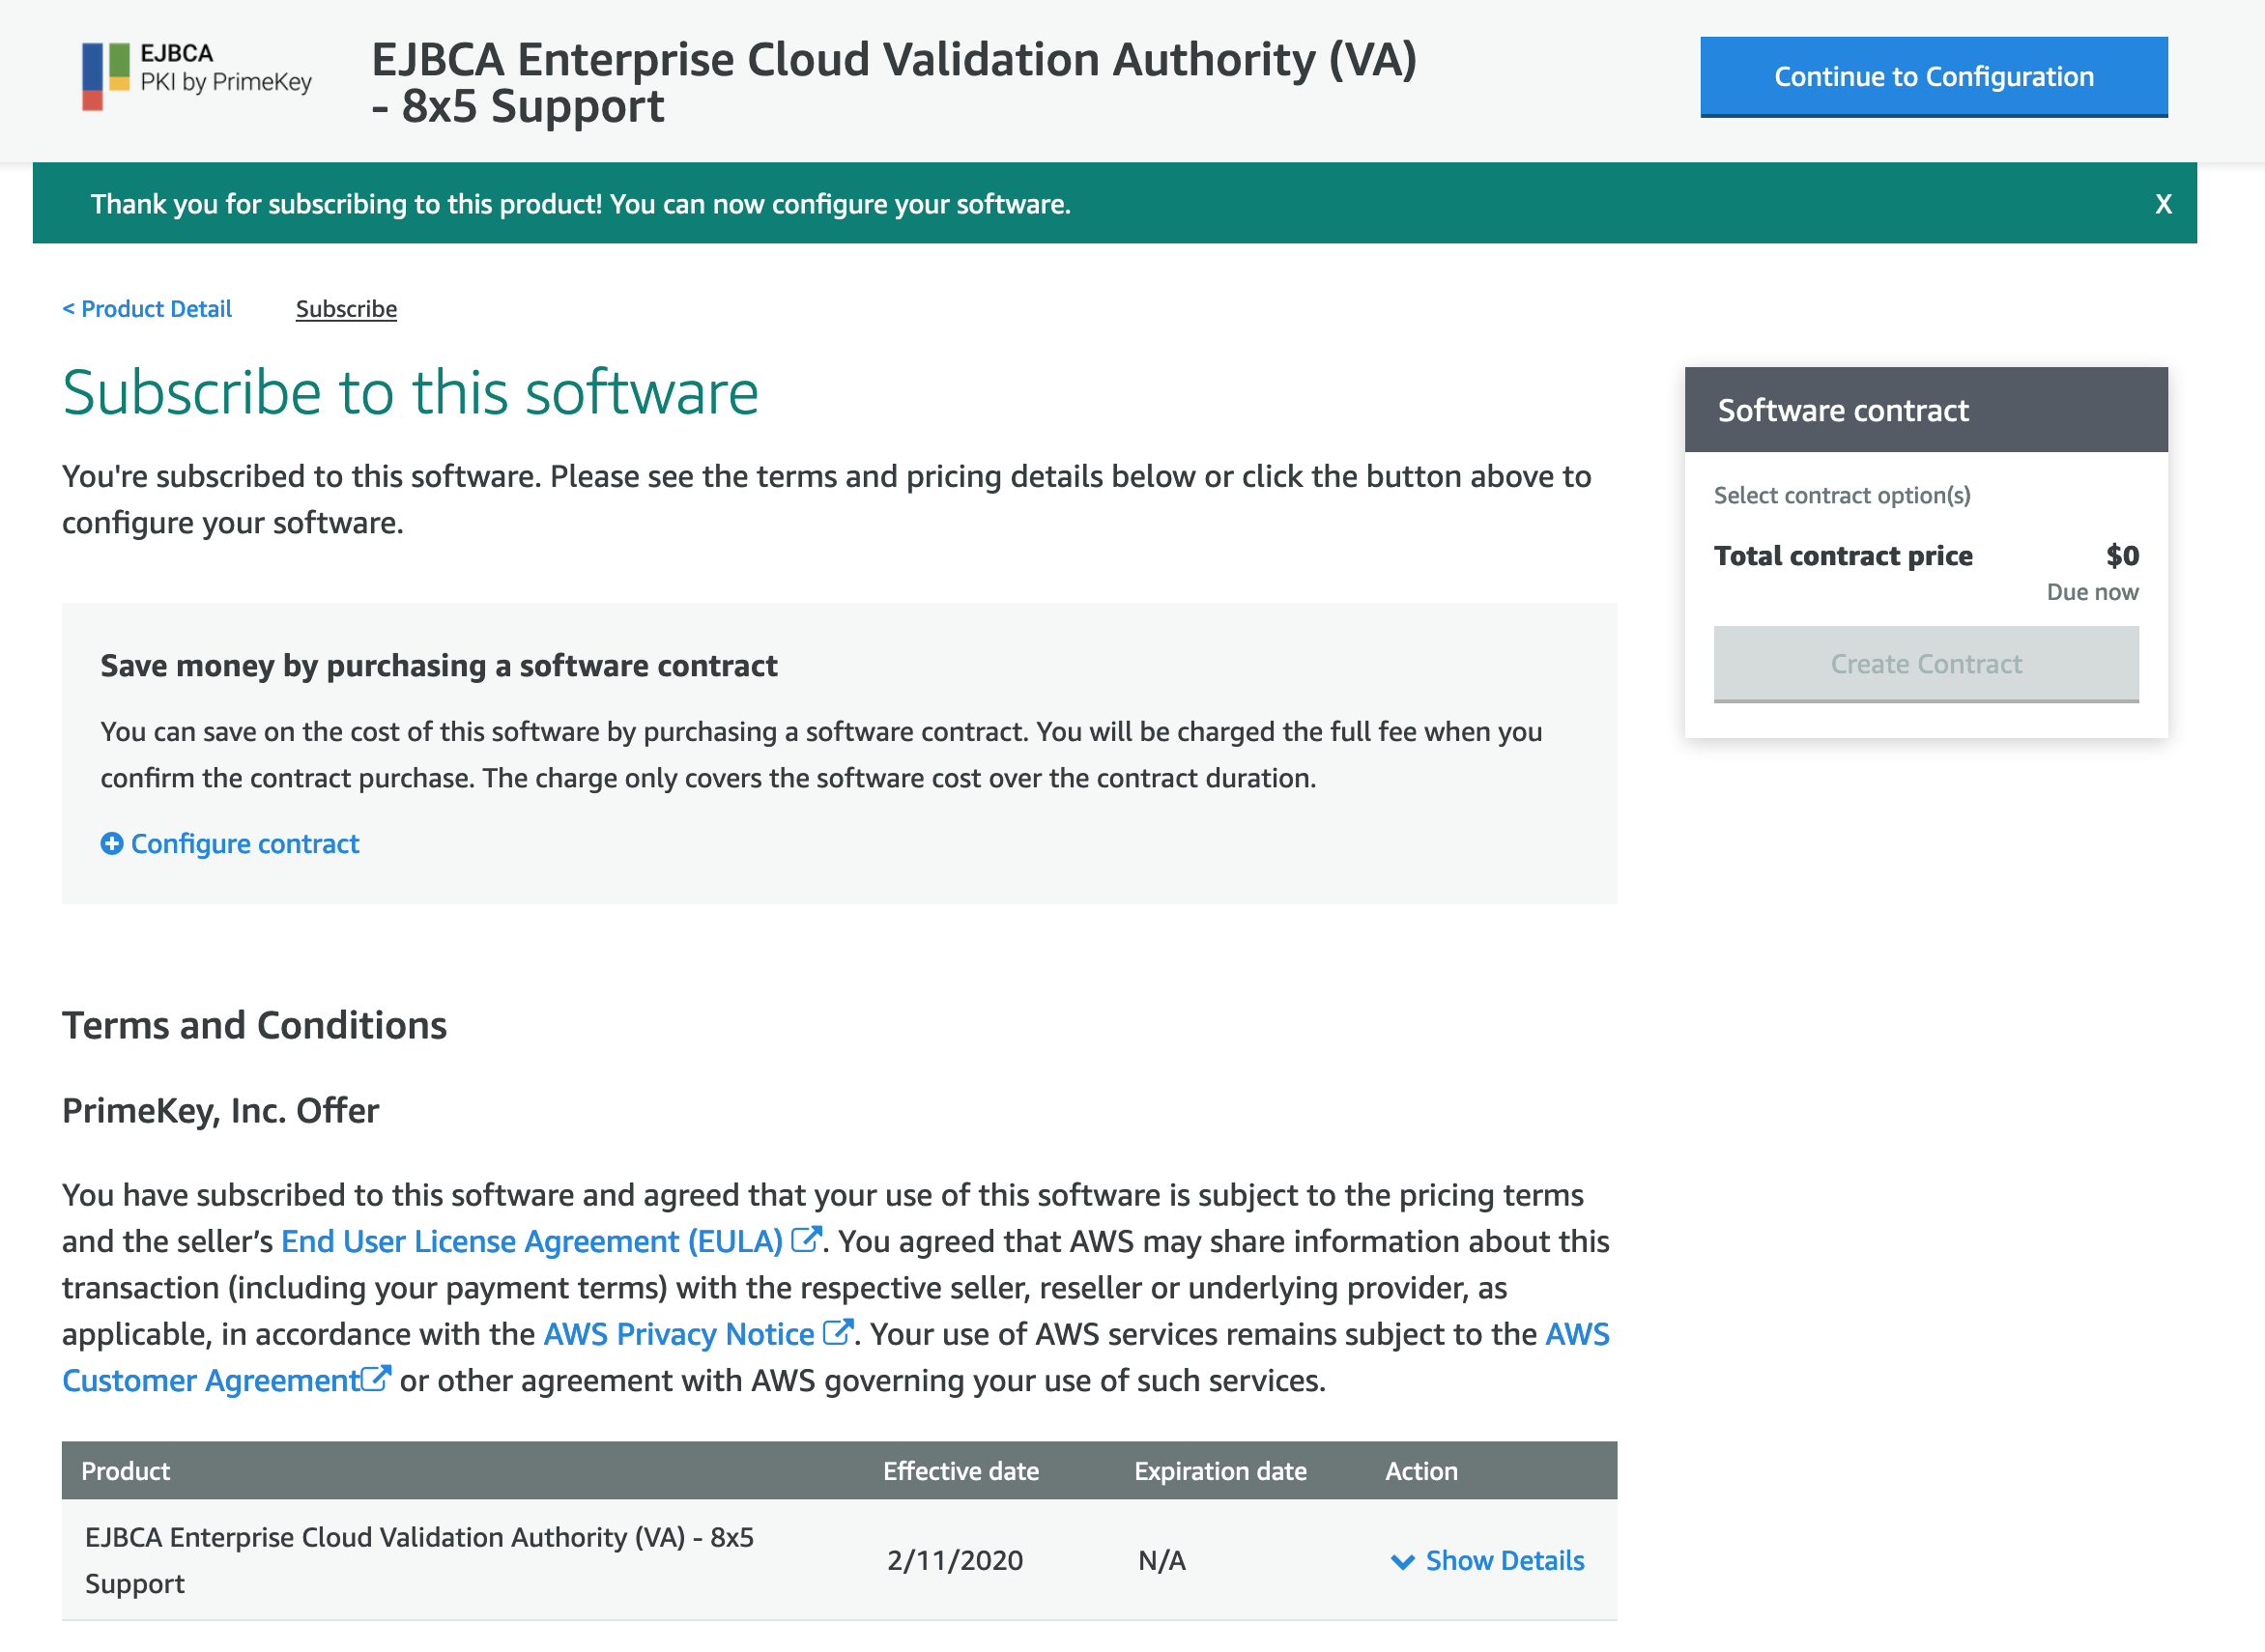
- Review the options, selecting a different region or version as desired. It is recommended to pick a version that matches your EJBCA version. Click Continue to Launch.
- On the Launch this Software screen, review the following settings and then click Launch.
- Choose Action: Launch from Website.
- EC2 Instance Type: The type t3.large is recommended. If you need more power, choose a larger instance or for testing purposes, pick a smaller instance. Note that smaller instances will not be able to handle sustained load with only 4GB of memory, but are adequate for a PoC.
- VPC Settings: Select the VPC to deploy to within your organization, or create a new one.
- Subnet Settings: Select the subnet configured for your organization.
- Security Group Settings: PrimeKey has pre-defined security group that allows 80, 443 and 22. If acceptable, click Create New Based on Seller Settings and edit the allowed IPs and Security Group Names as desired. It is recommended to choose Custom IP and enter your IP with /32 to allow just that IP you are coming from to access the instance (for example 10.10.10.10/32). If you would like to use an existing Security Group, select it from the list. For more information on getting started with Amazon Virtual Private Cloud (Amazon VPC), refer to the AWS Documentation on VPCs and Subnets.
- Key Pair Settings: Specify the name of the key pair you plan to use to access the command line of the EJBCA instance. When you later connect to the instance, you must specify the private key that corresponds to the key pair you specify now when launching the instance. For information on creating a key pair using Amazon EC2, refer to the AWS Documentation on Amazon EC2 Key Pairs.
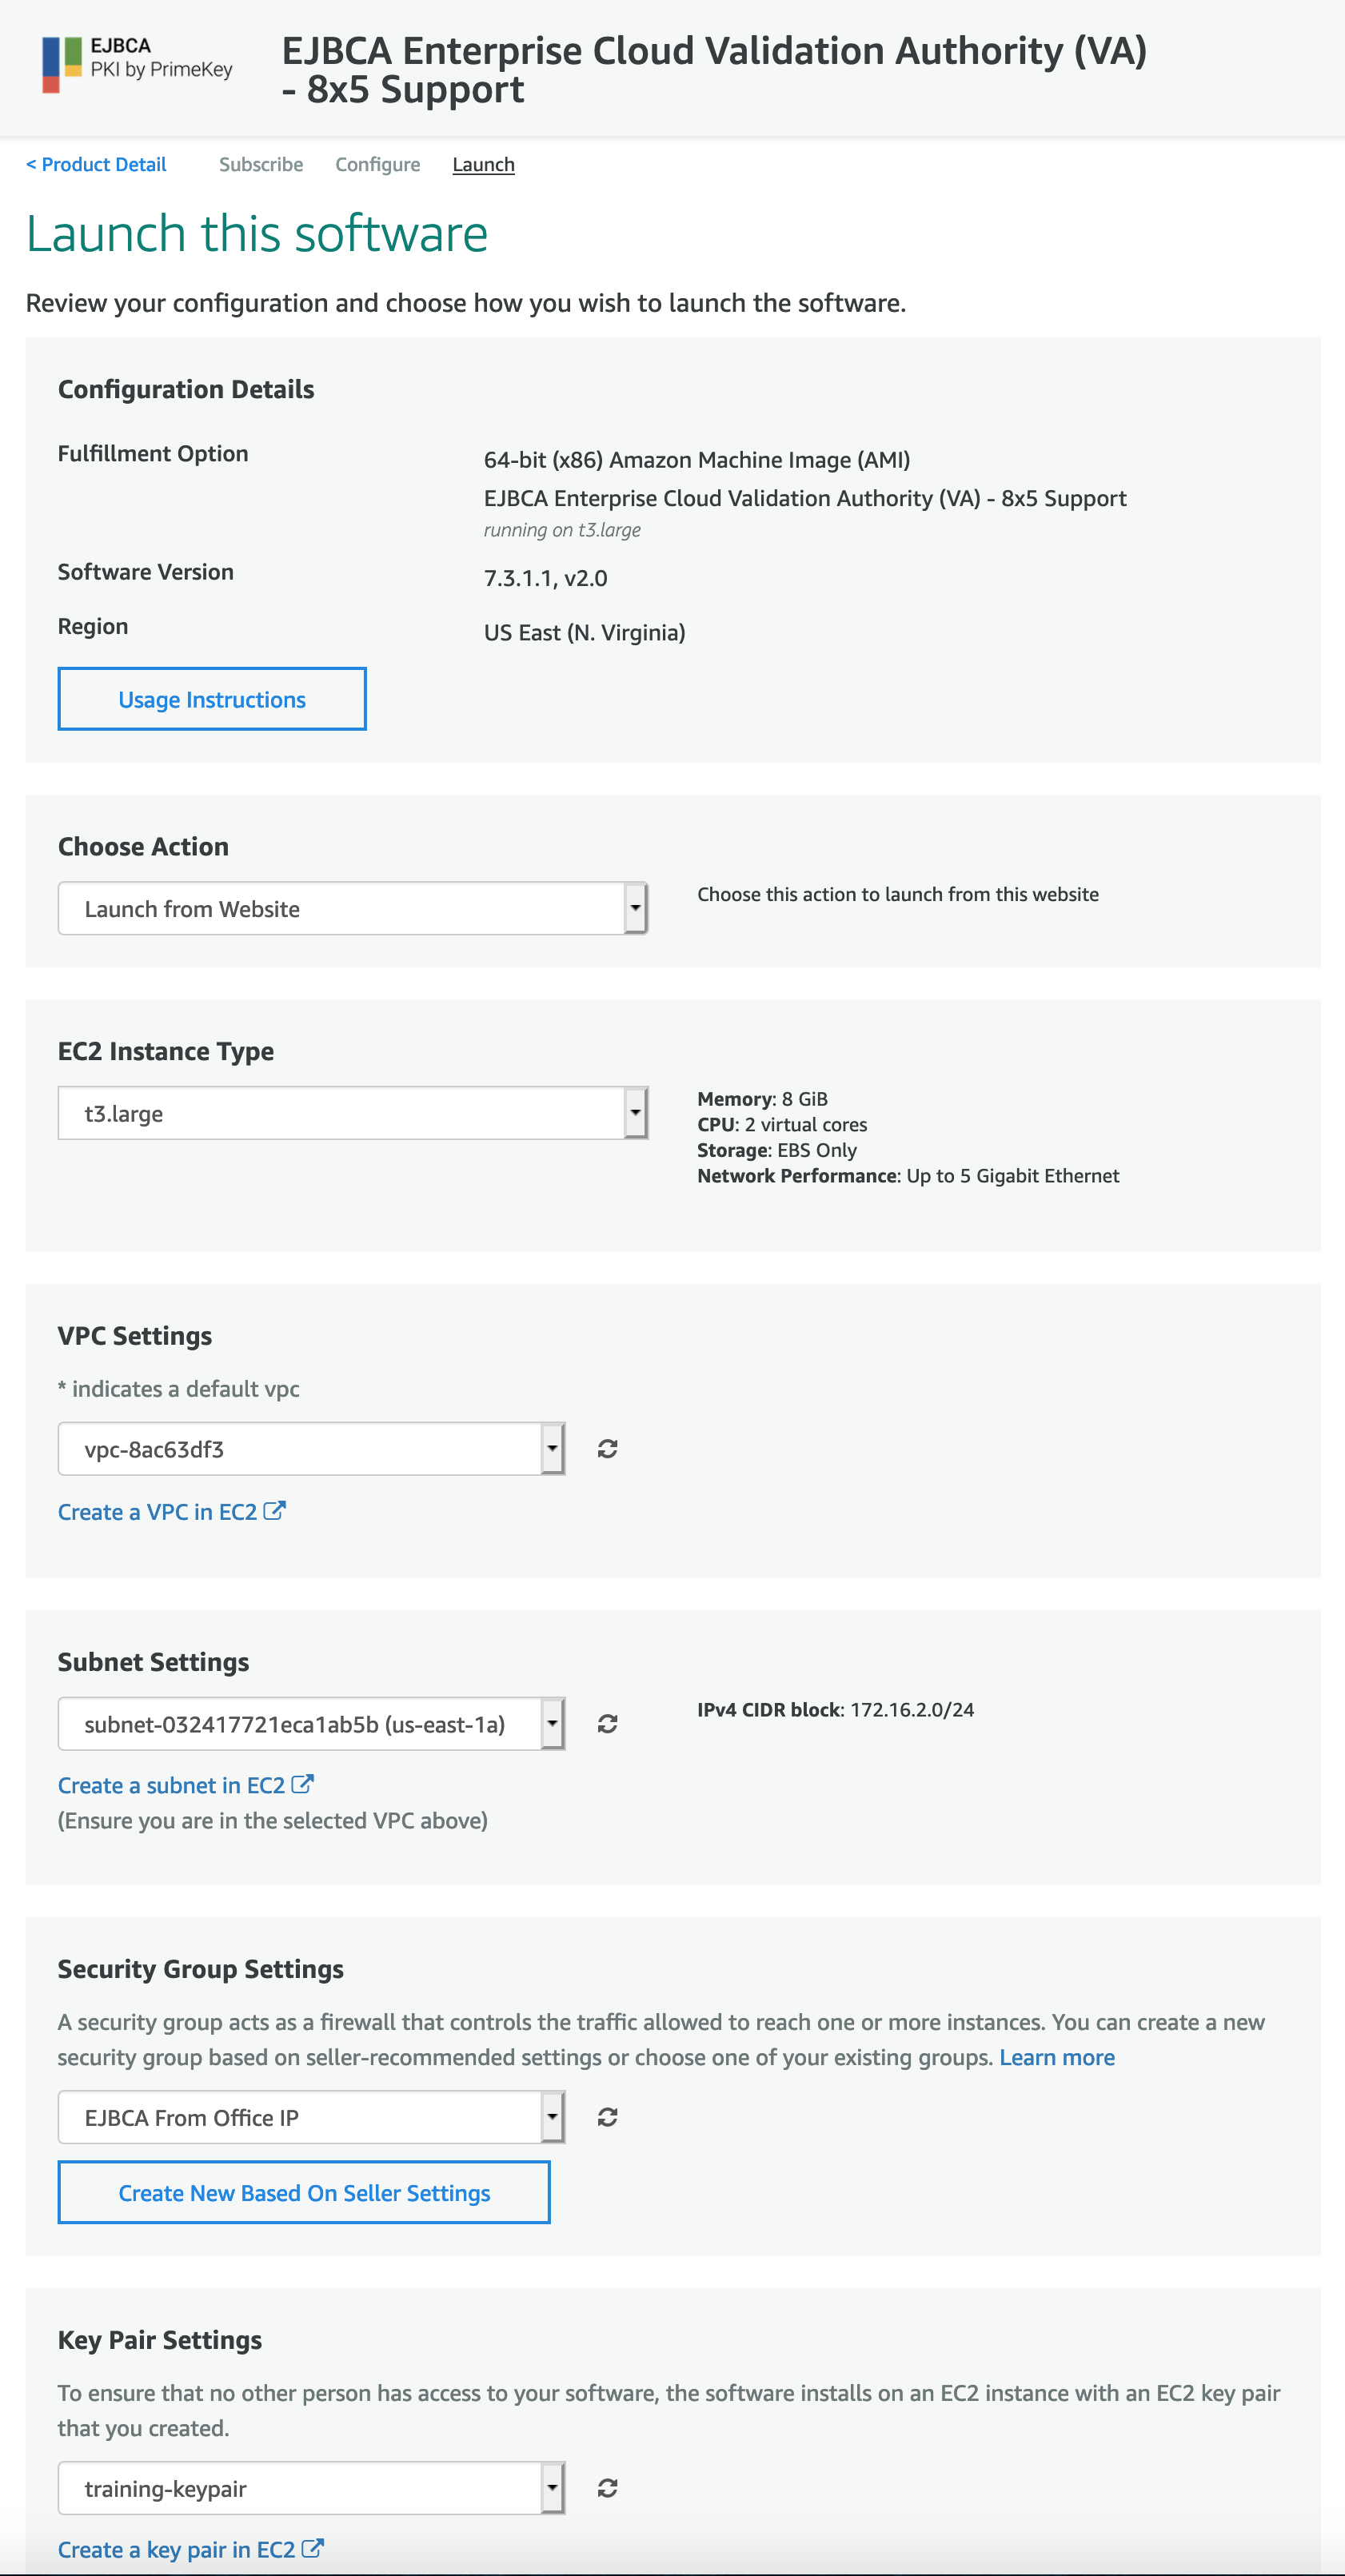
- Click the EC2 Console link shown in the green area.
Confirm Running Instance
To confirm that the EJBCA Enterprise Cloud VA Instance, verify that the Instance State changes from Initializing to running, indicating that the EJBCA Cloud VA instance is started.
![]() Note that it may take several minutes for your instance to launch.
Note that it may take several minutes for your instance to launch.
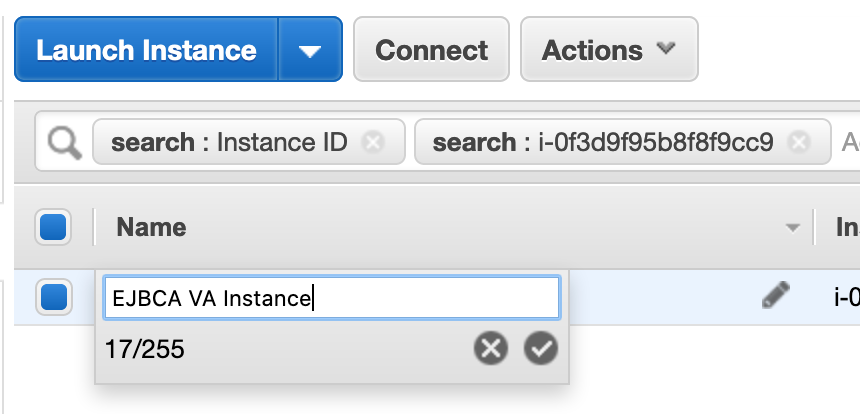
Click the pencil icon next to the name to change the name and make the instance more easily identifiable.
.png)