For EJBCA Software as a Service (SaaS), subscribe through Azure Marketplace and access the EJBCA SaaS in Keyfactor's environment.
EJBCA SaaS is offered in the Azure Marketplace pricing model as a SaaS subscription. The subscription options allow you to leverage the elasticity and global presence of the service as you scale your infrastructure. After subscribing to EJBCA SaaS on the Azure Marketplace, users are directed to the EJBCA SaaS portal to register, create an account and select EJBCA SaaS configuration details.
The following steps outline how to deploy EJBCA SaaS Azure:
Step 1 - Select Product
Browse to the Azure Marketplace and search for "EJBCA SaaS" or "Keyfactor" to display the EJBCA SaaS product options.
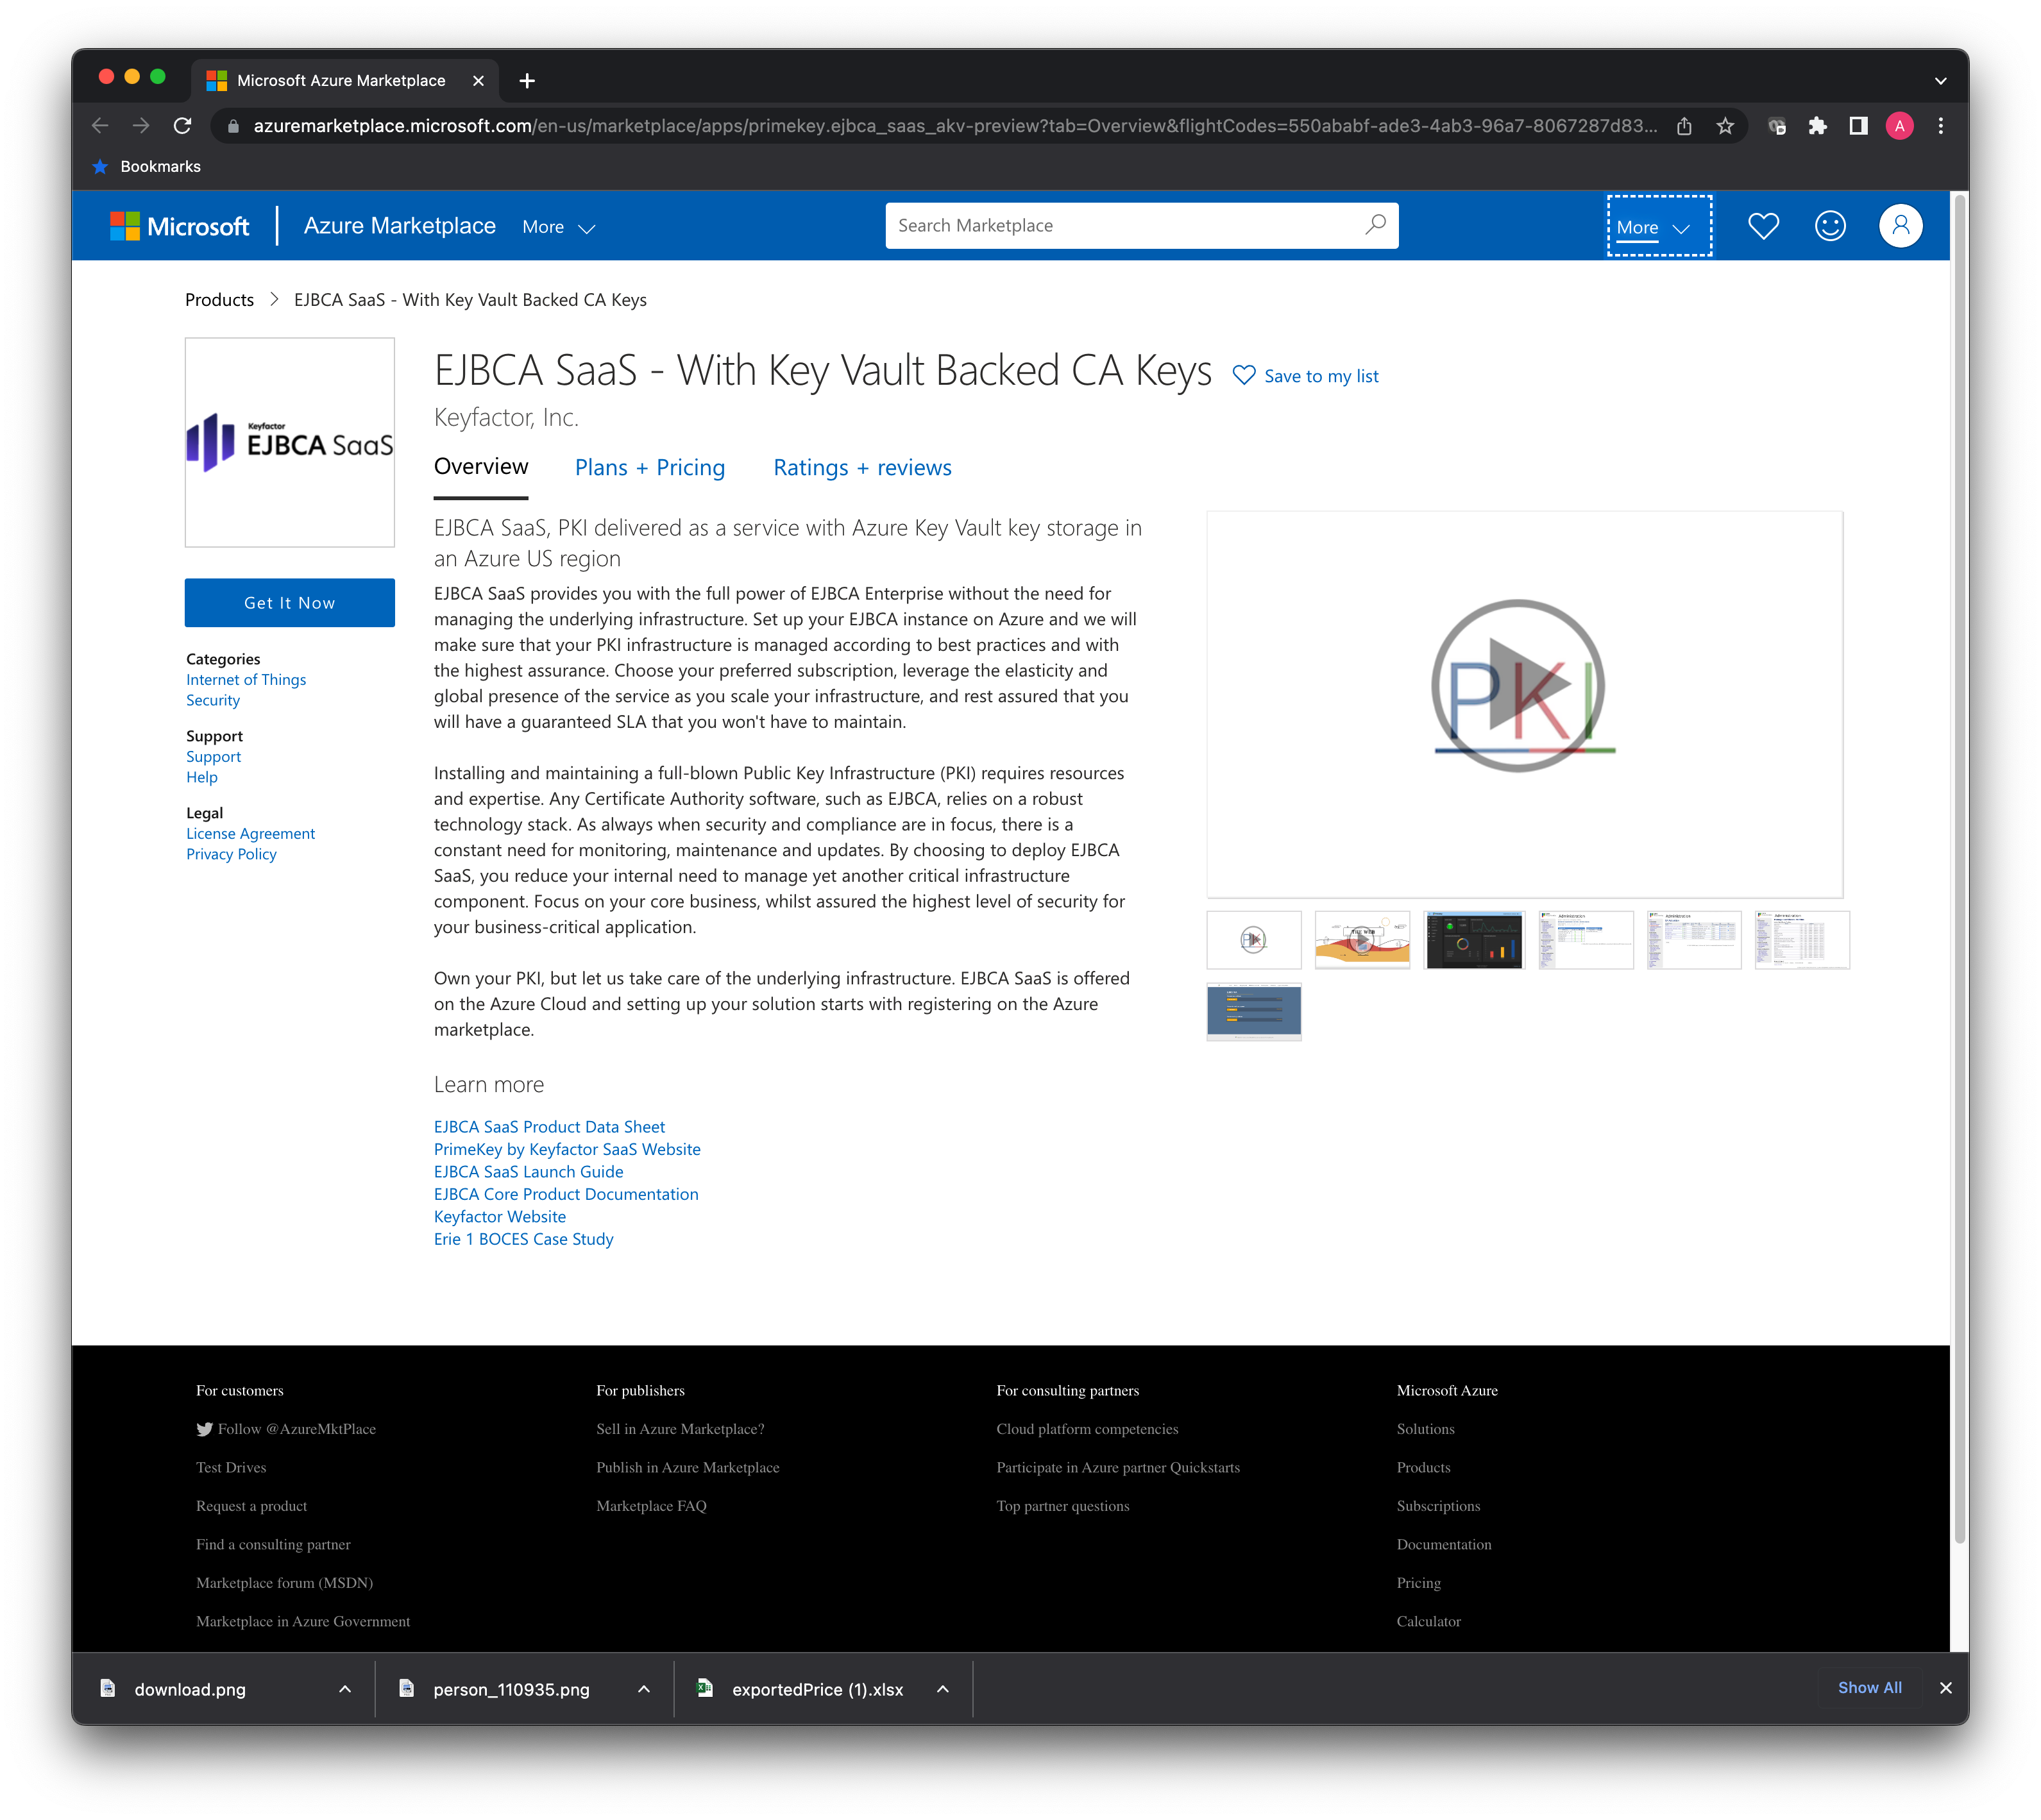
The EJBCA SaaS products have different plans with regards to location and key storage on the Plans + Pricing tab.
-
EJBCA SaaS - Azure Key Vault Backed CA in the US Region
-
EJBCA SaaS - Azure Key Vault Backed CA in the AP Region
-
EJBCA SaaS - Azure Key Vault Backed CA in the EU Region
-
EJBCA SaaS - Managed HSM Backed CA in the US Region
-
EJBCA SaaS - Managed HSM Backed CA in the AP Region
-
EJBCA SaaS - Managed HSM Backed CA in the EU Region
Note that the SaaS products are fully hosted and managed by Keyfactor and require no customer maintenance. If it is desired to launch a PKI in a private vNet within an owned environment, please refer to EJBCA Cloud.
Plan Options
-
Select the Plans + Pricing tab, and select the region and size desired to deploy. This is effectively the size of the PKI that will be deployed which dictates processing power of certificates.
-
Azure Key Vault
-
EJBCA SaaS AKV XS: Two load-balanced nodes (2 cores, 4GB RAM each), 2 Core DB, 1000 IOPS MariaDB database with read replica, Azure KeyVault backed CA Keys.
-
EJBCA SaaS AKV S: Two load-balanced nodes (2 cores, 6GB RAM each), 2 Core DB, 2000 IOPS MariaDB database with read replica, Azure KeyVault backed CA Keys.
-
EJBCA SaaS AKV M: Two load-balanced nodes (2 cores, 8GB RAM each), 2 Core DB, 3000 IOPS MariaDB database with read replica, Azure KeyVault backed CA Keys.
-
-
Managed HSM
-
EJBCA SaaS MHSM XS: Two load-balanced nodes (2 cores, 4GB RAM each), db.t2.small 1000 IOPS RDS database with read replica, Azure KeyVault Managed HSM backed CA Keys on a single HSM.
-
EJBCA SaaS MHSM S: Two load-balanced nodes (2 cores, 6GB RAM each), db.t2.small 2000 IOPS RDS database with read replica, Azure KeyVault Managed HSM backed CA Keys on a redundant pair of HSMs.
-
EJBCA SaaS MHSM M: Two load-balanced nodes (2 cores, 8GB RAM each), db.t2.medium 3000 IOPS RDS database with read replica, Azure KeyVault Managed HSM backed CA Keys on a redundant pair of HSMs.
Note: For larger sizes, please contact sales for more information. Our architecture design accommodates large scale which means we can architect a solution for almost any use case. Please reach out for more information.
-
-
-
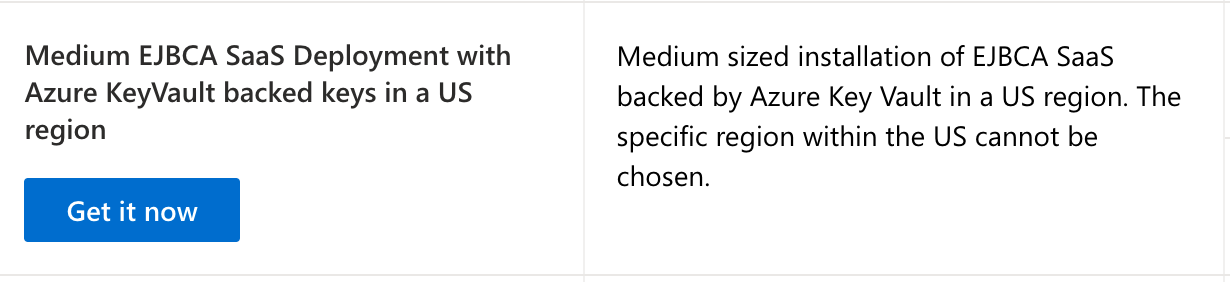
Click the product listing desired. For example, if the U.S. region of Azure is desired to have the PKI deployed to, and the desired size is a Medium, select the Medium EJBCA SaaS Deployment with Azure KeyVault backed keys in a US region product option and click Get it Now.
-
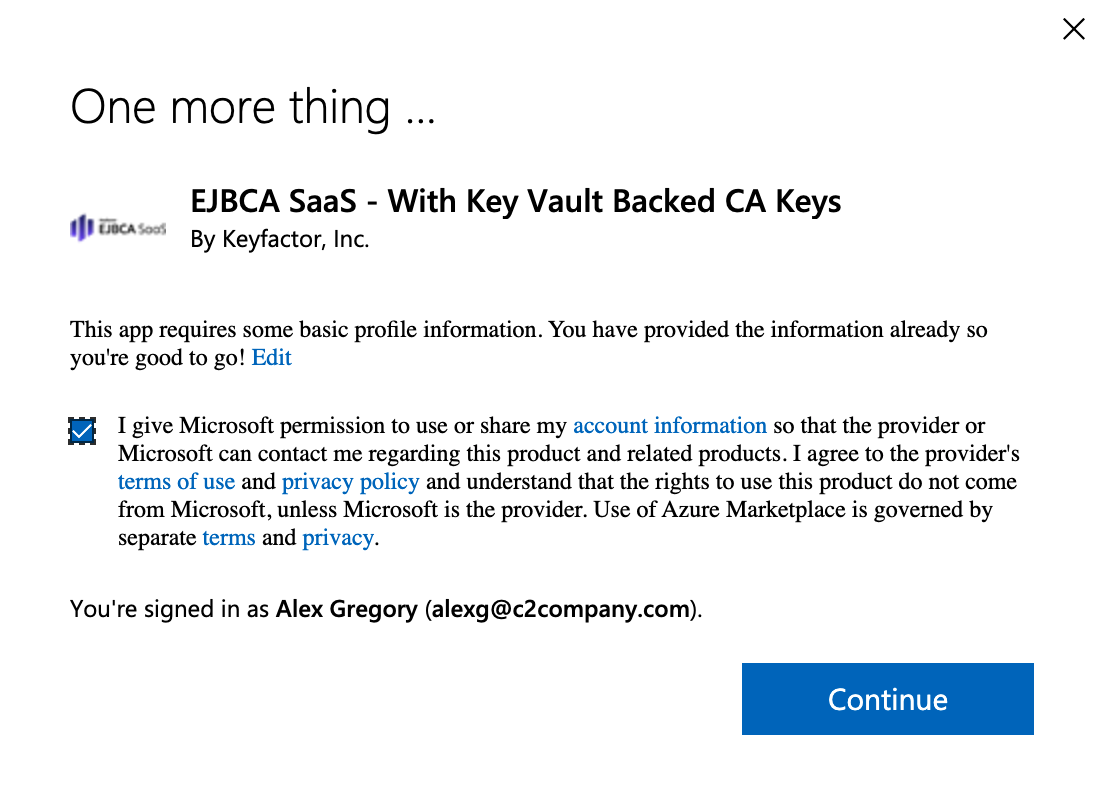
A dialog is displayed asking you to give Microsoft Permission to share your account information with us. We will never sell your information, only use it to provide you with support and service notifications. Check the consent box, and click Continue.
Step 2 - Subscribe to EJBCA SaaS
To configure the EJBCA SaaS subscription, follow these steps:
-
Select the desired plan in the Plan list and click Subscribe:

-
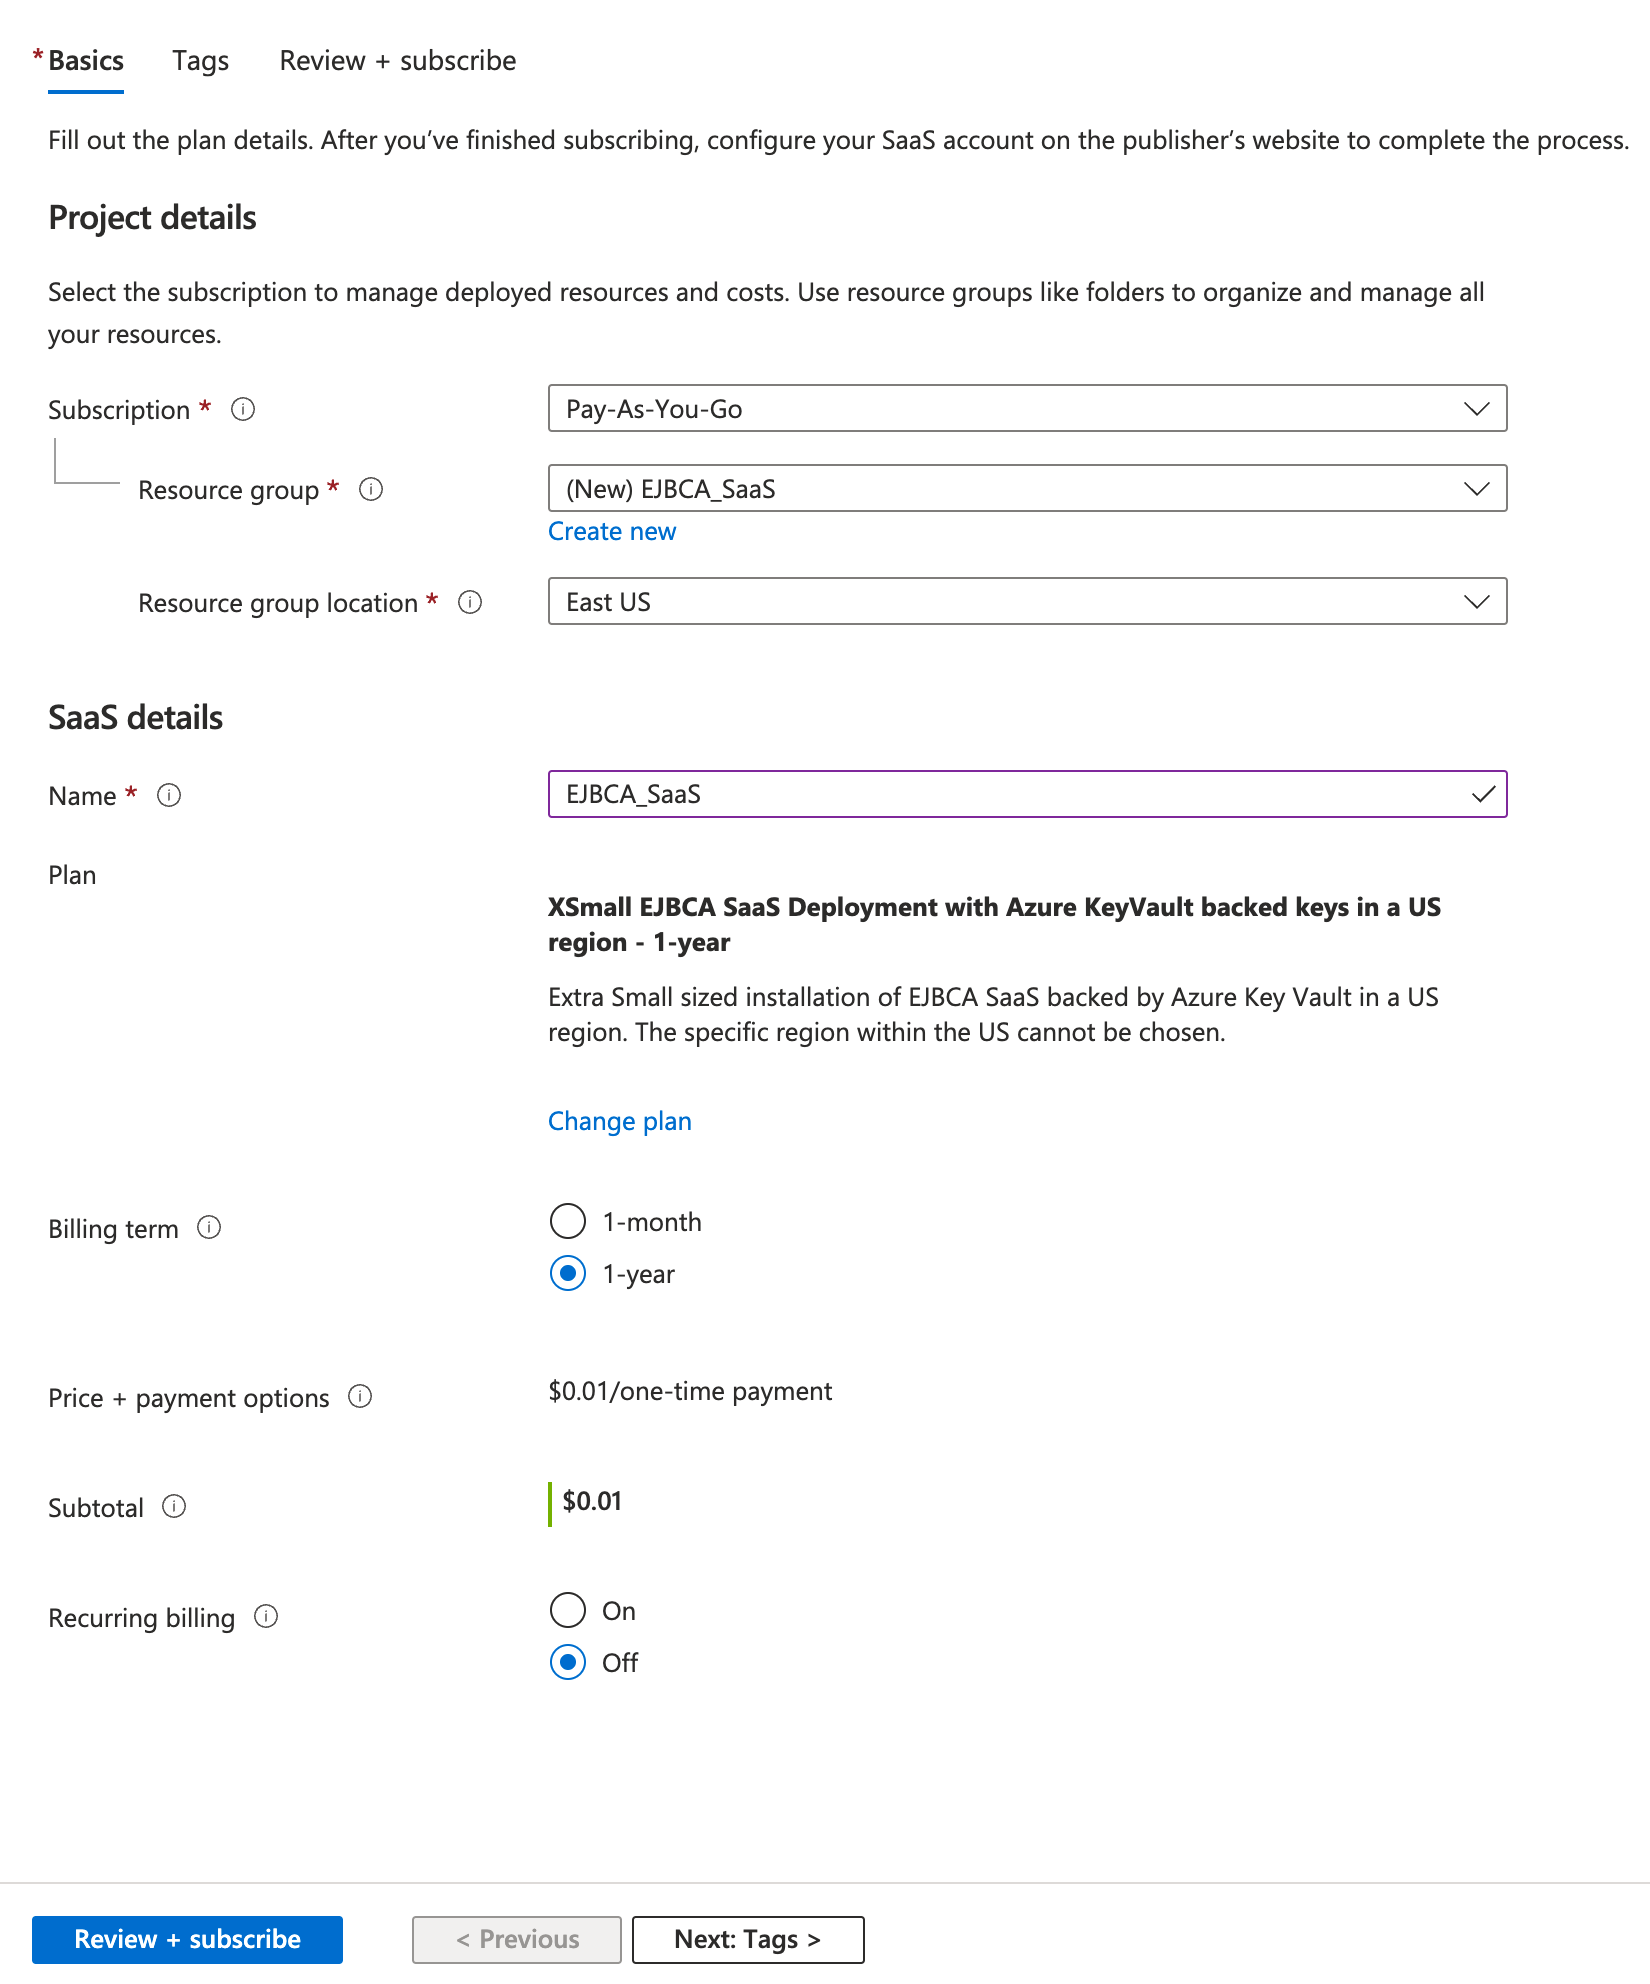
Azure needs to create a resource group in your account to keep track of the subscription. All assets will be deployed in the Keyfactor tenant when the provisioning starts. Create a resource group with the Create new link. Select a location for the resource group. This will not affect the location of the deployment, only this resource group for Azure. In the SaaS details section, specify the following options:
-
Name: Give this deployment a name.
-
Billing Term: Select if you want this to be month-to-month or annual.
-
Recurring billing: Select if you want this to auto-renew at the end of the year. We recommend setting this to on since selecting no can deactivate your deployment, taking it offline if it is not renewed before it expires.
-
Review the Price + payment options to make sure they are correct. The values in the example below are shown for testing purposes only.
-
-
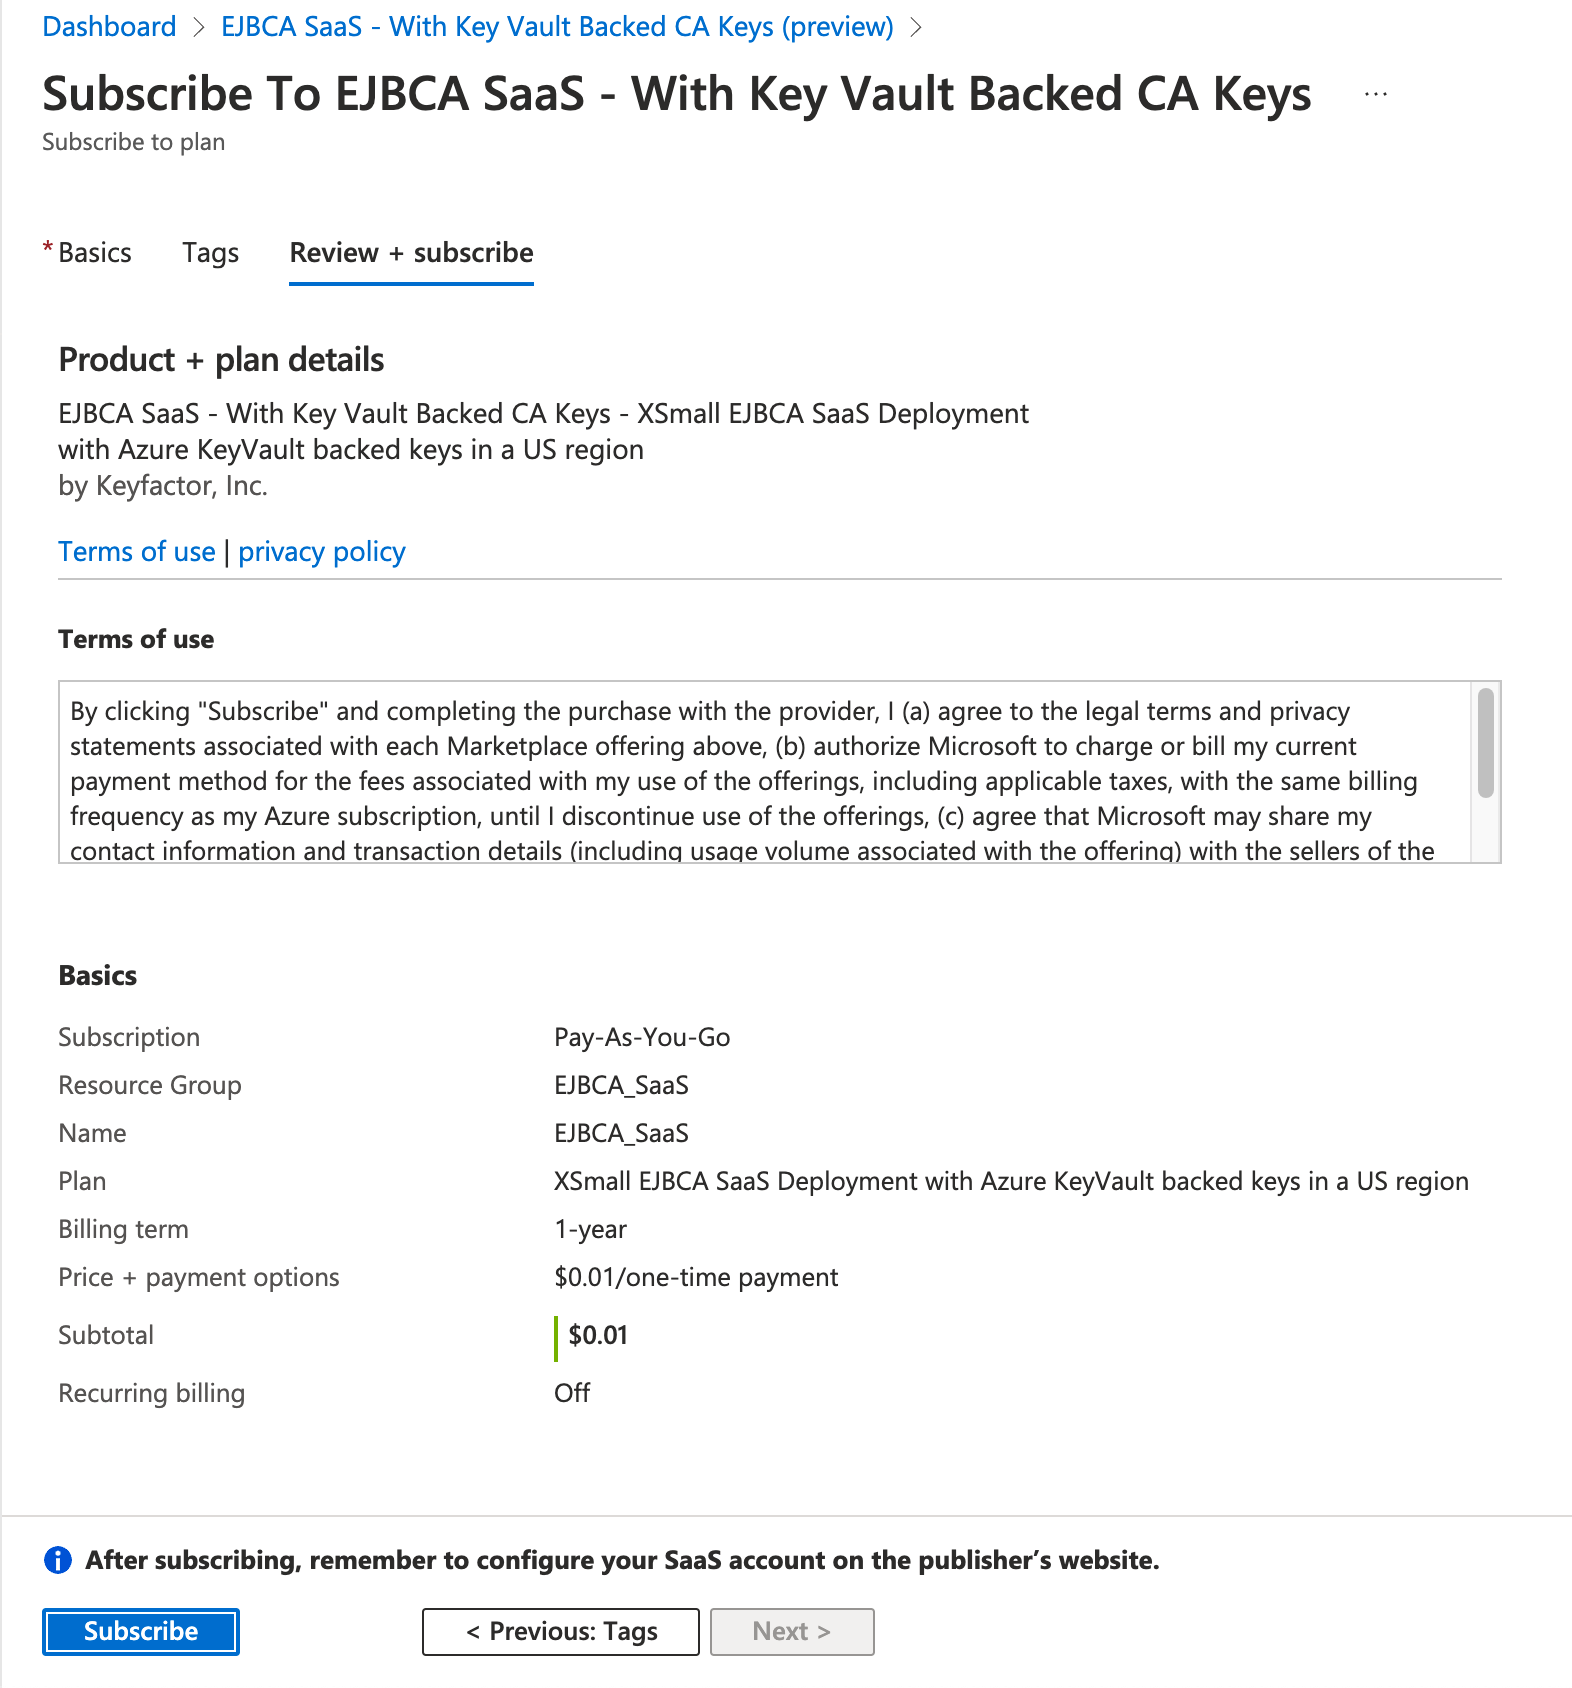
Once the options are selected, click Review + subscribe.
-
Click Subscribe.
-
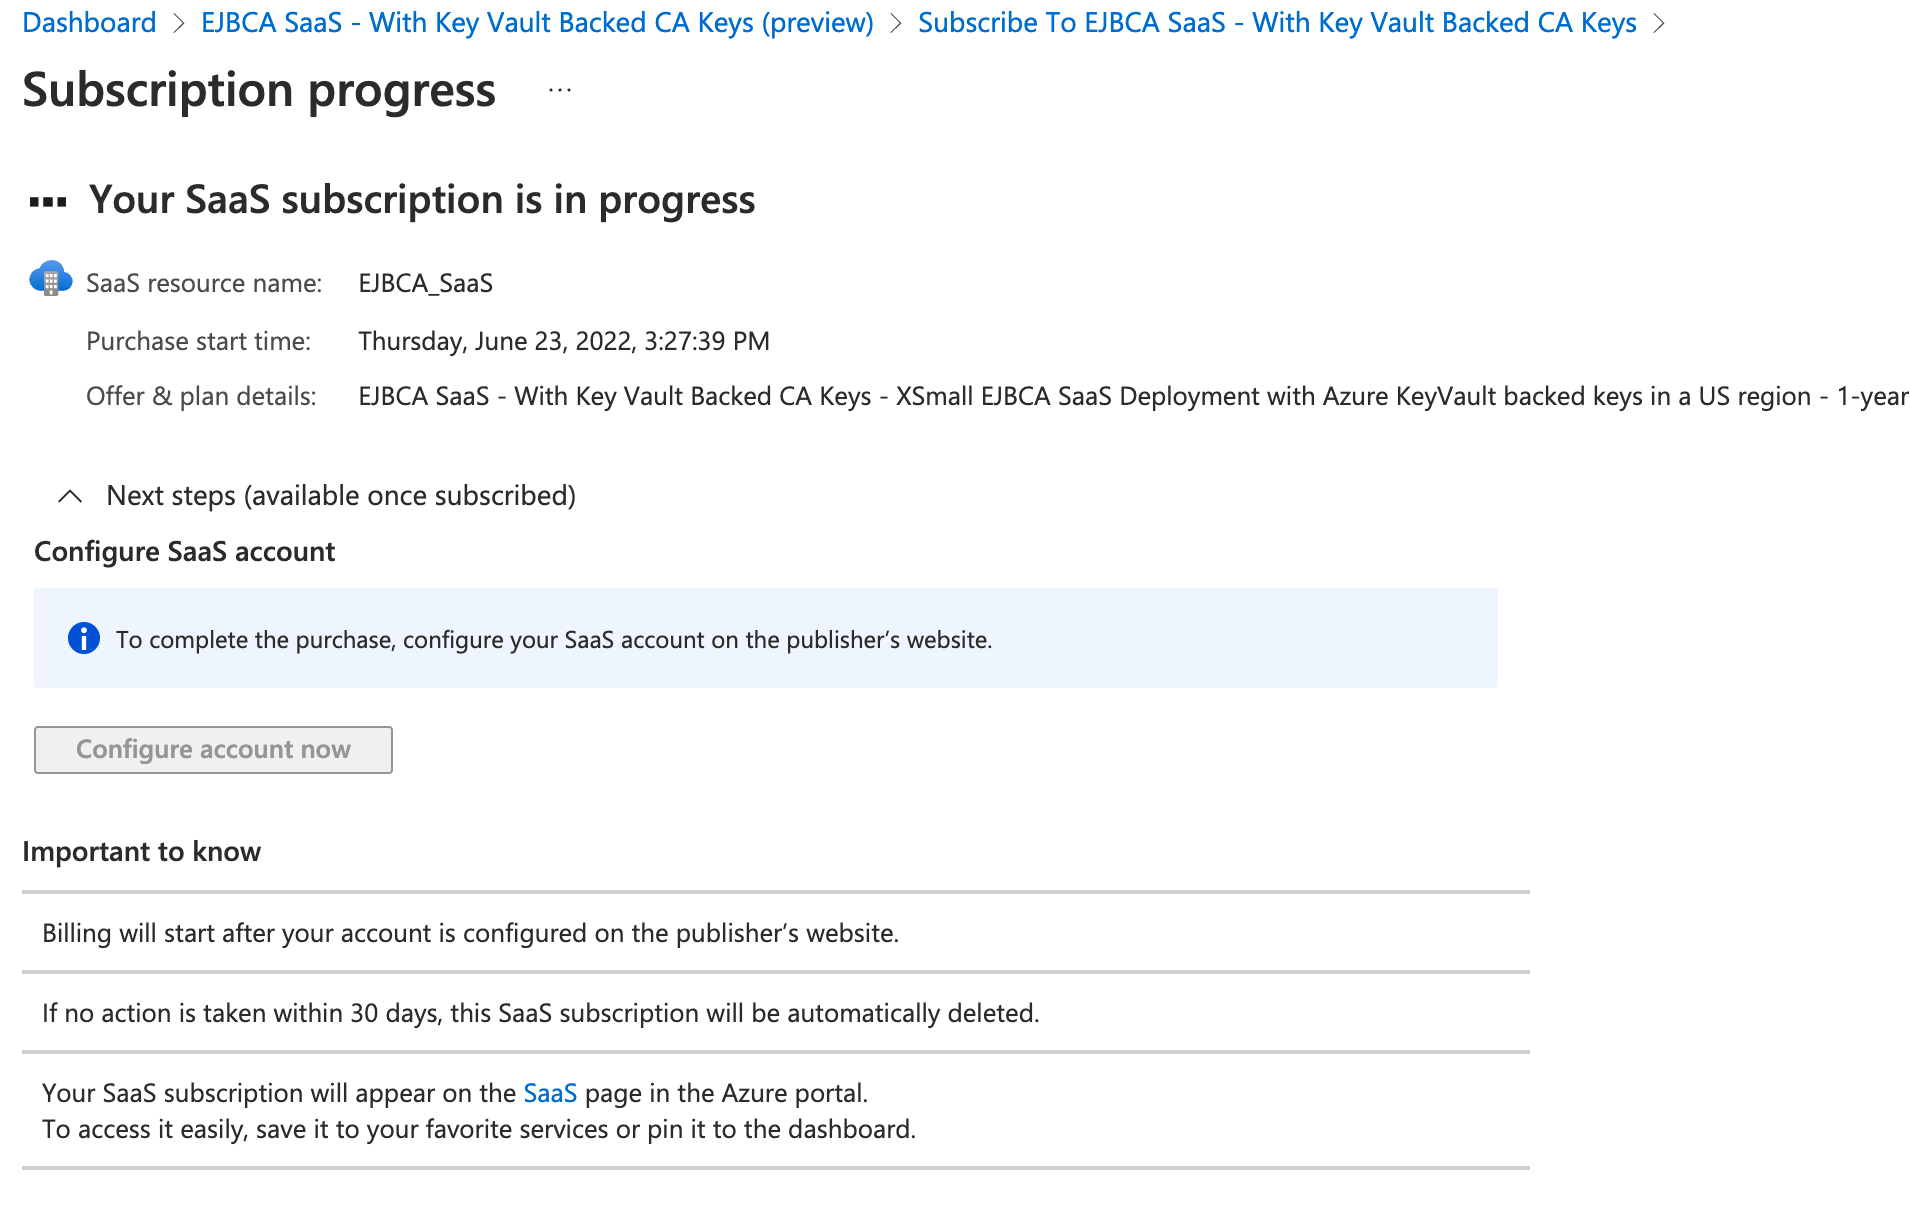
The subscription will take a few minutes to complete. You will see a progress screen like the following:
-
Once completed, click Configure account now.
Step 3 - Activate the Subscription
-
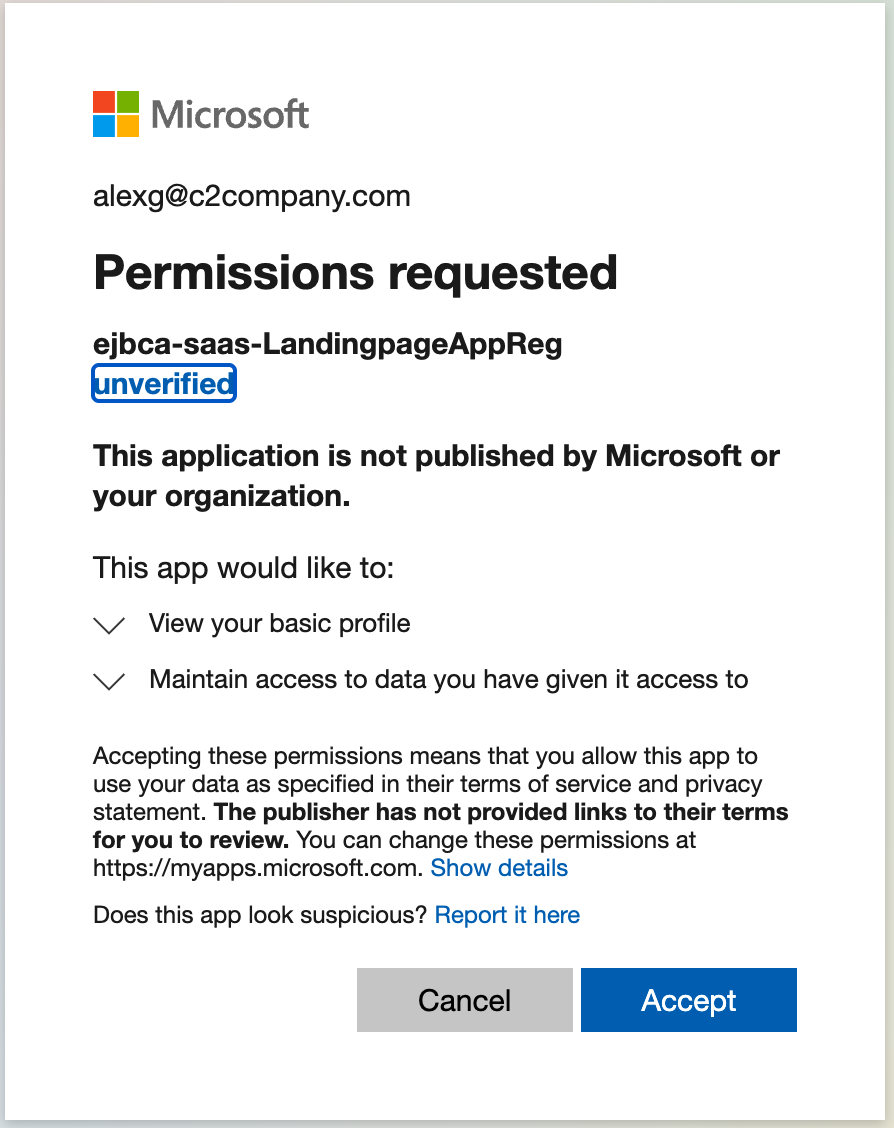
You are redirected to a new page to grant permissions to the SaaS landing page. Click Accept.
-
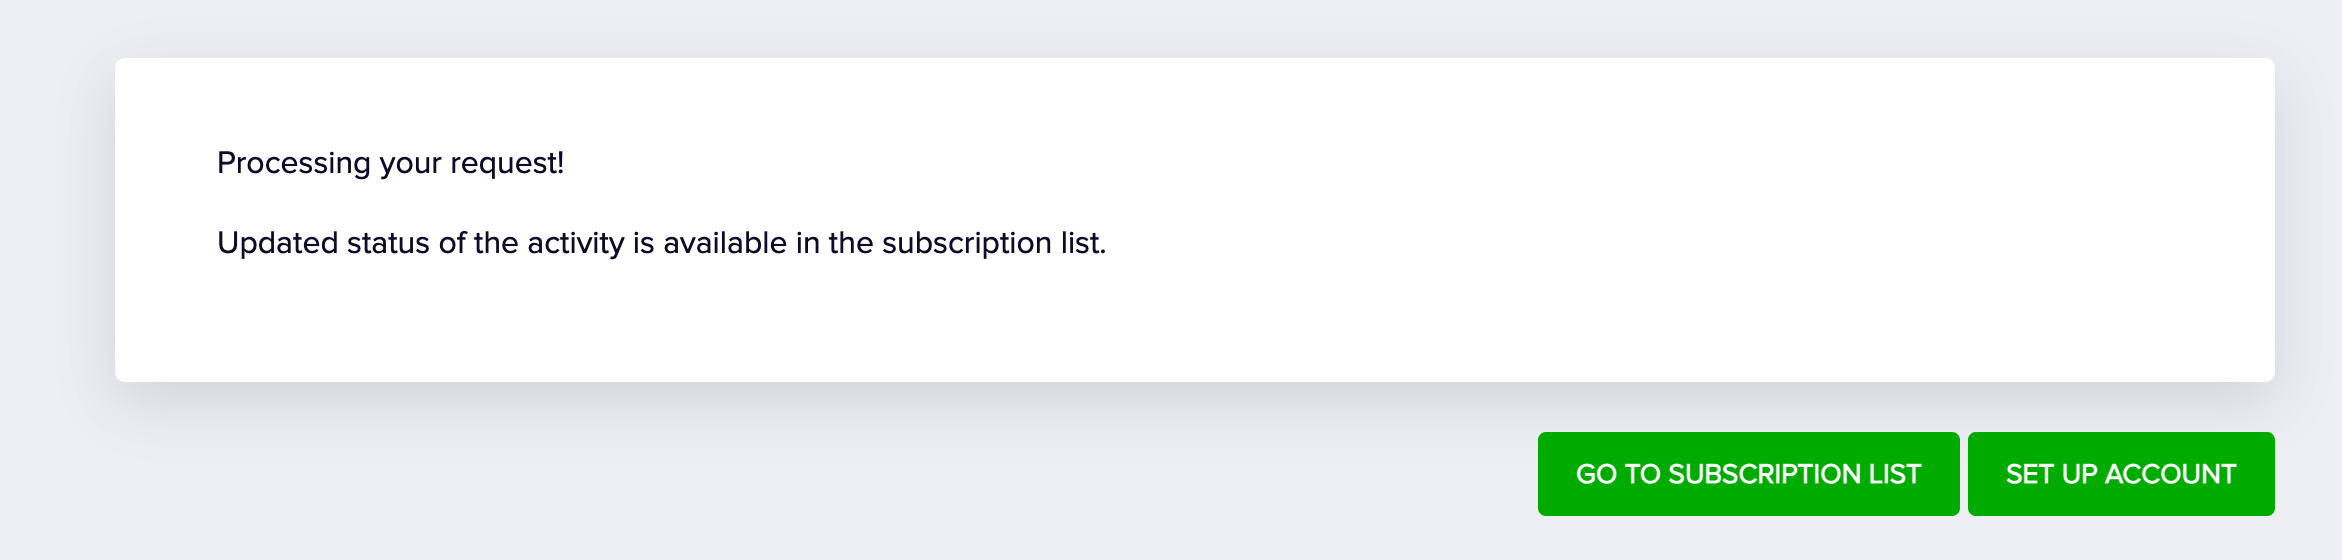
On the page that shows the details of the subscription, click Activate.
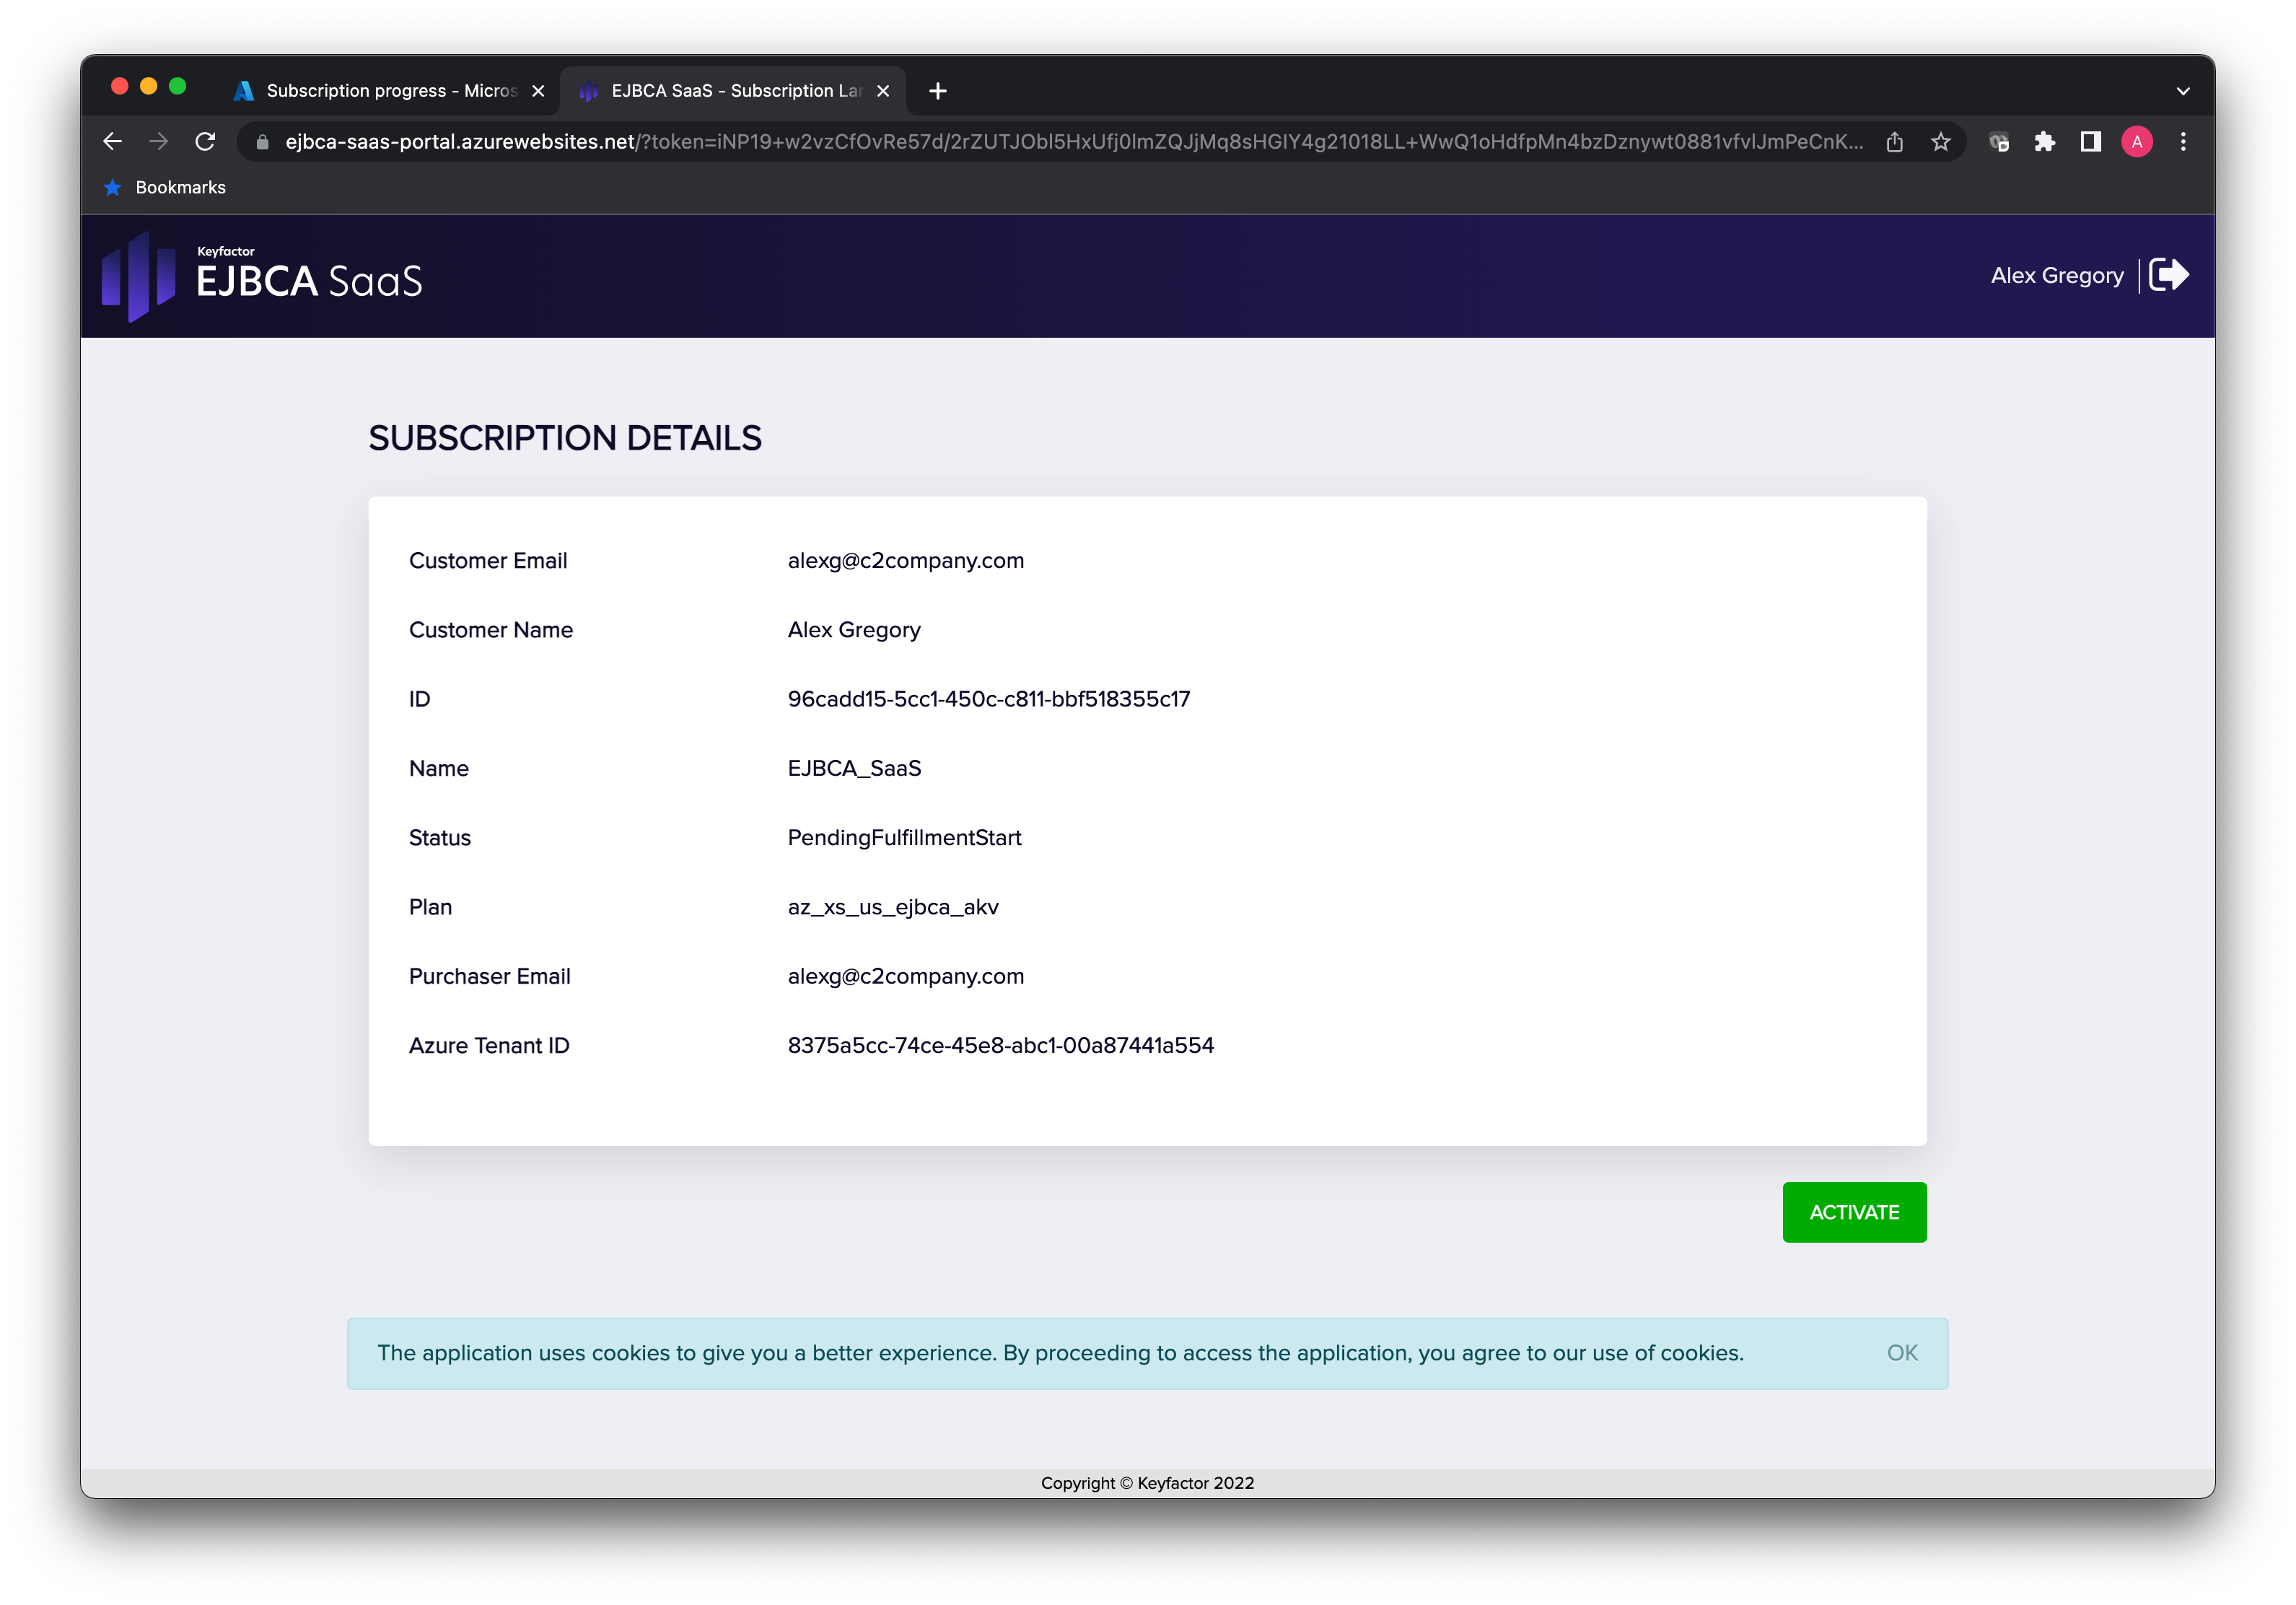
-
The landing page will process the request to activate the subscription with Azure. Click SET UP ACCOUNT.