AWS EC2 Image Builder
EC2 Image Builder is a fully managed AWS service that helps you to automate the creation, management, and deployment of customized, secure, and up-to-date server images. You can use the AWS Management Console to create custom images in your AWS account. For more information on the EC2 Image Builder, refer to the AWS EC2 Image Builder Documentation.
The following walks you through how to get started with AWS EC2 Image Builder.
Create a Pipeline
To create a pipeline, follow these steps:
In the AWS console, click Create Image Pipeline. To access the EC2 Image Builder, search for EC2 Image Builder in the AWS Console.
Enter a name and description for the pipeline. For example, “EJBCA Enterprise Image” or “SignServer Enterprise Image”.
If you would like to run this image builder on a schedule, create one. Otherwise, select Manual. Then, click Next.
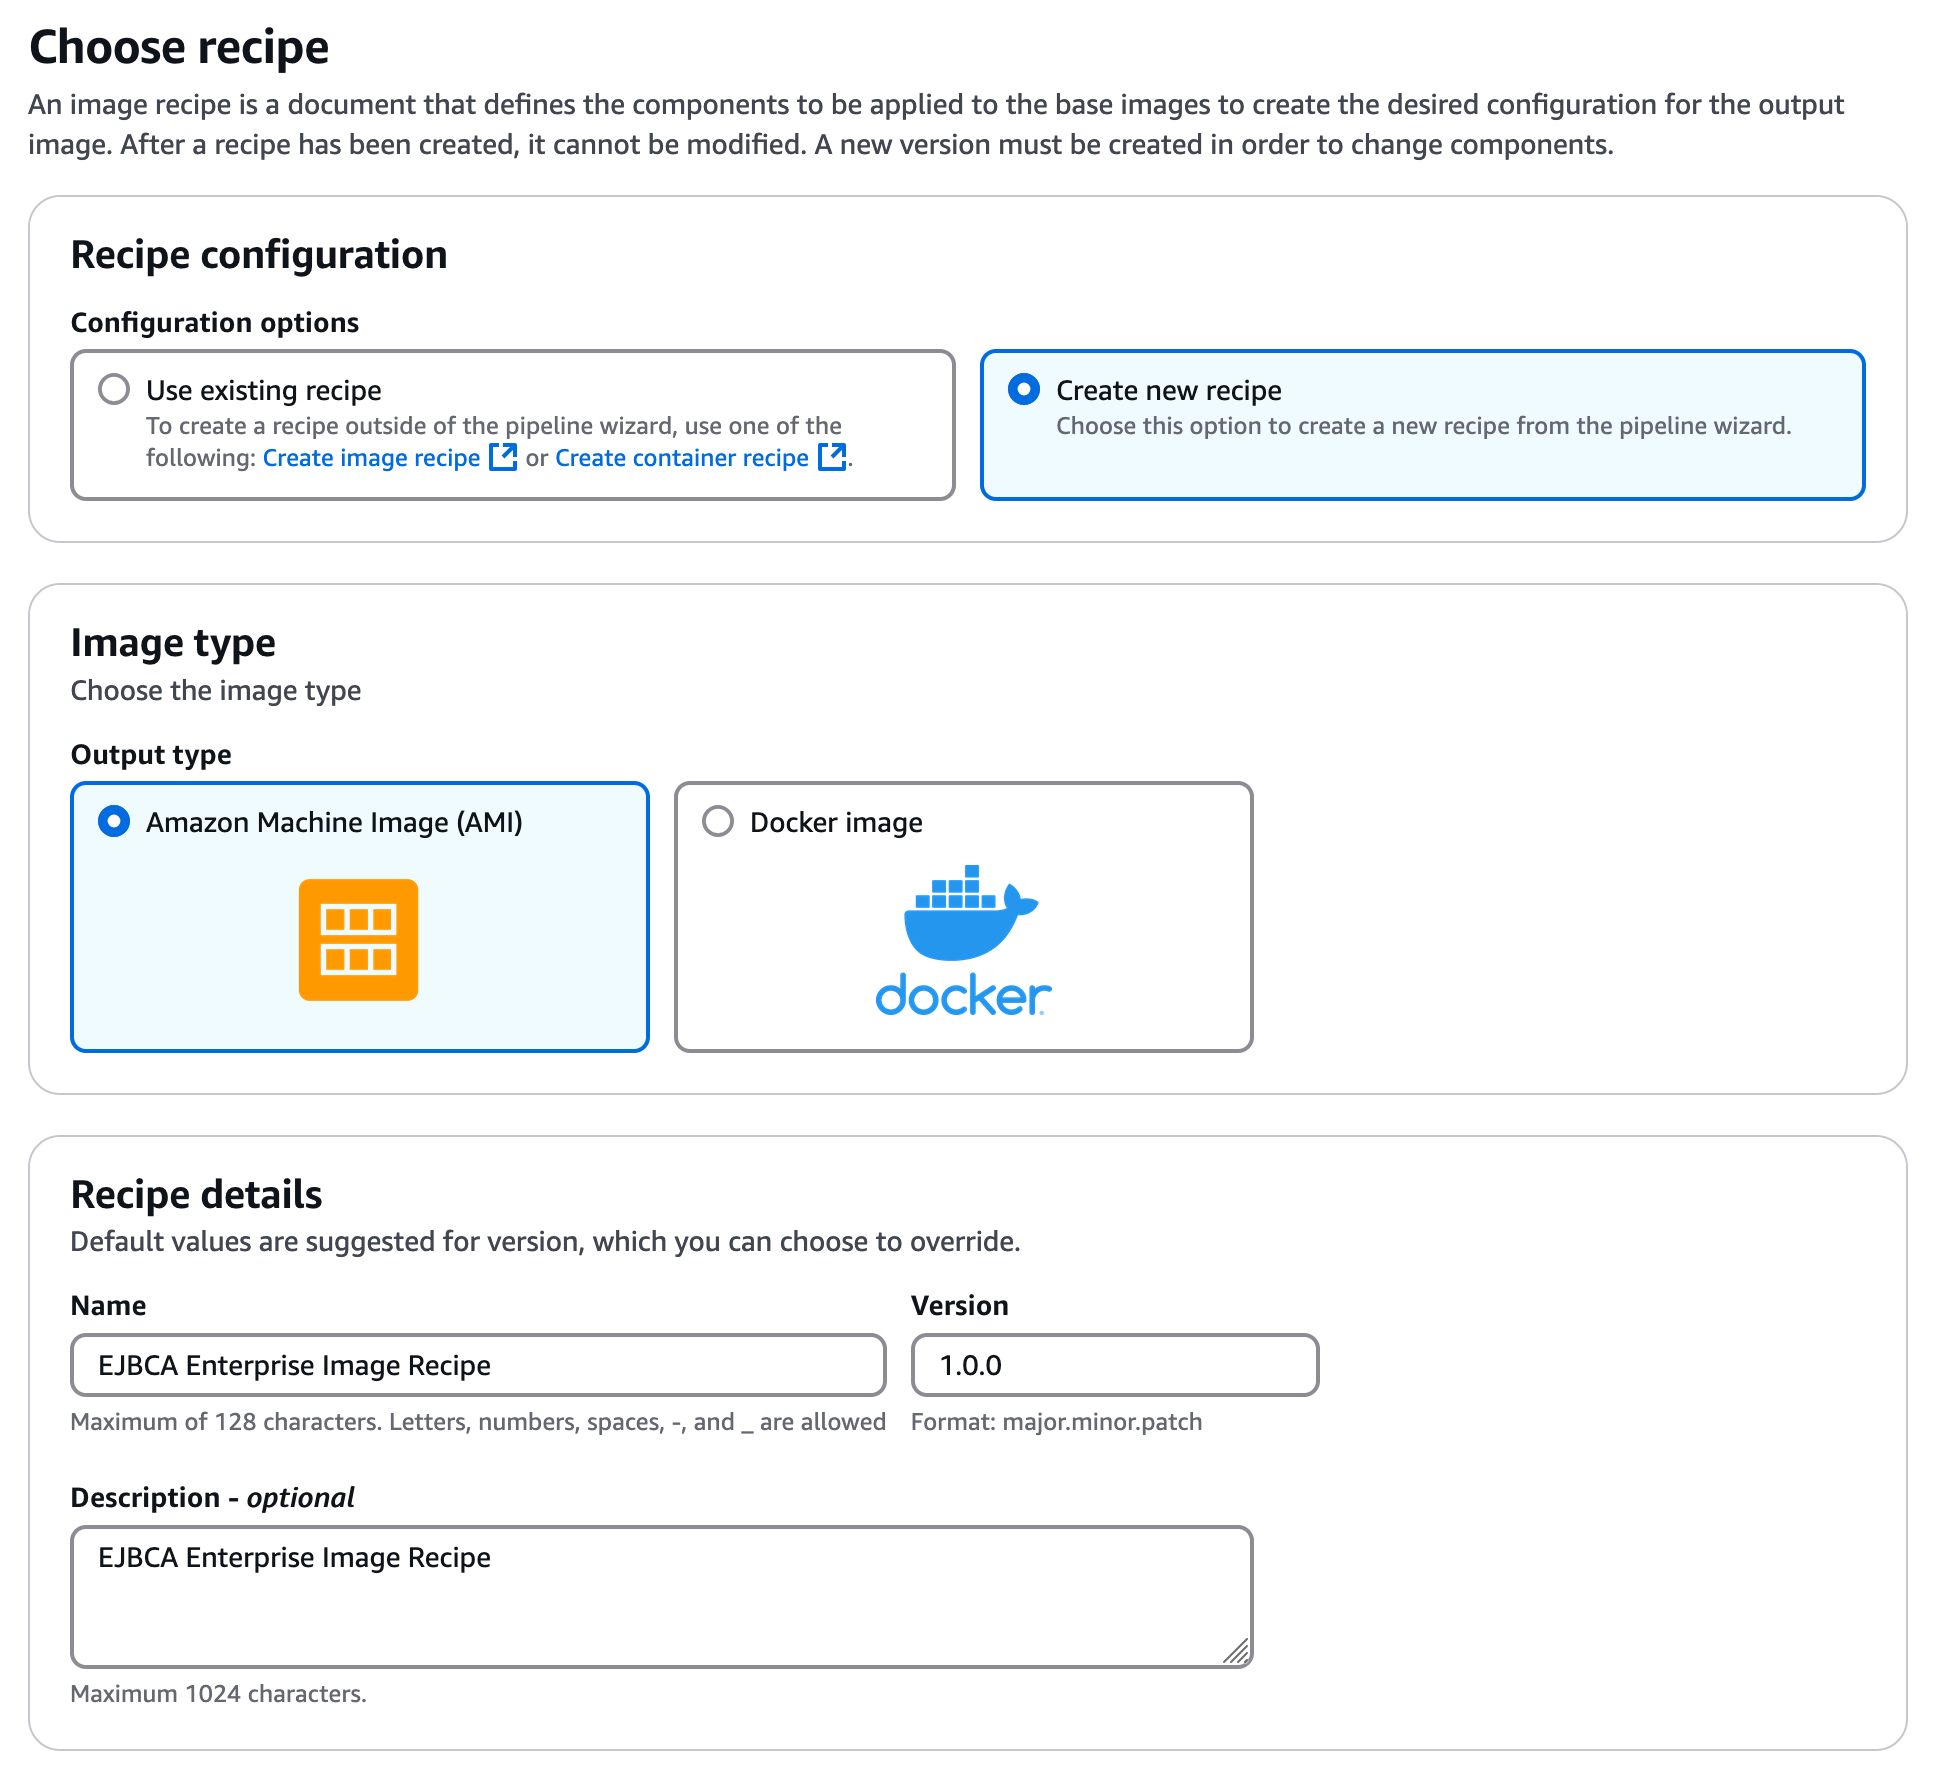
Select Create new recipe.
In the Image type section, ensure that the Output type Amazon Machine Image (AMI) option is selected.
In the Recipe details section, enter a name such as “EJBCA Enterprise Image Recipe” or “SignServer Enterprise Image Recipe” and give it a version. This is a version for the recipe, not the product.
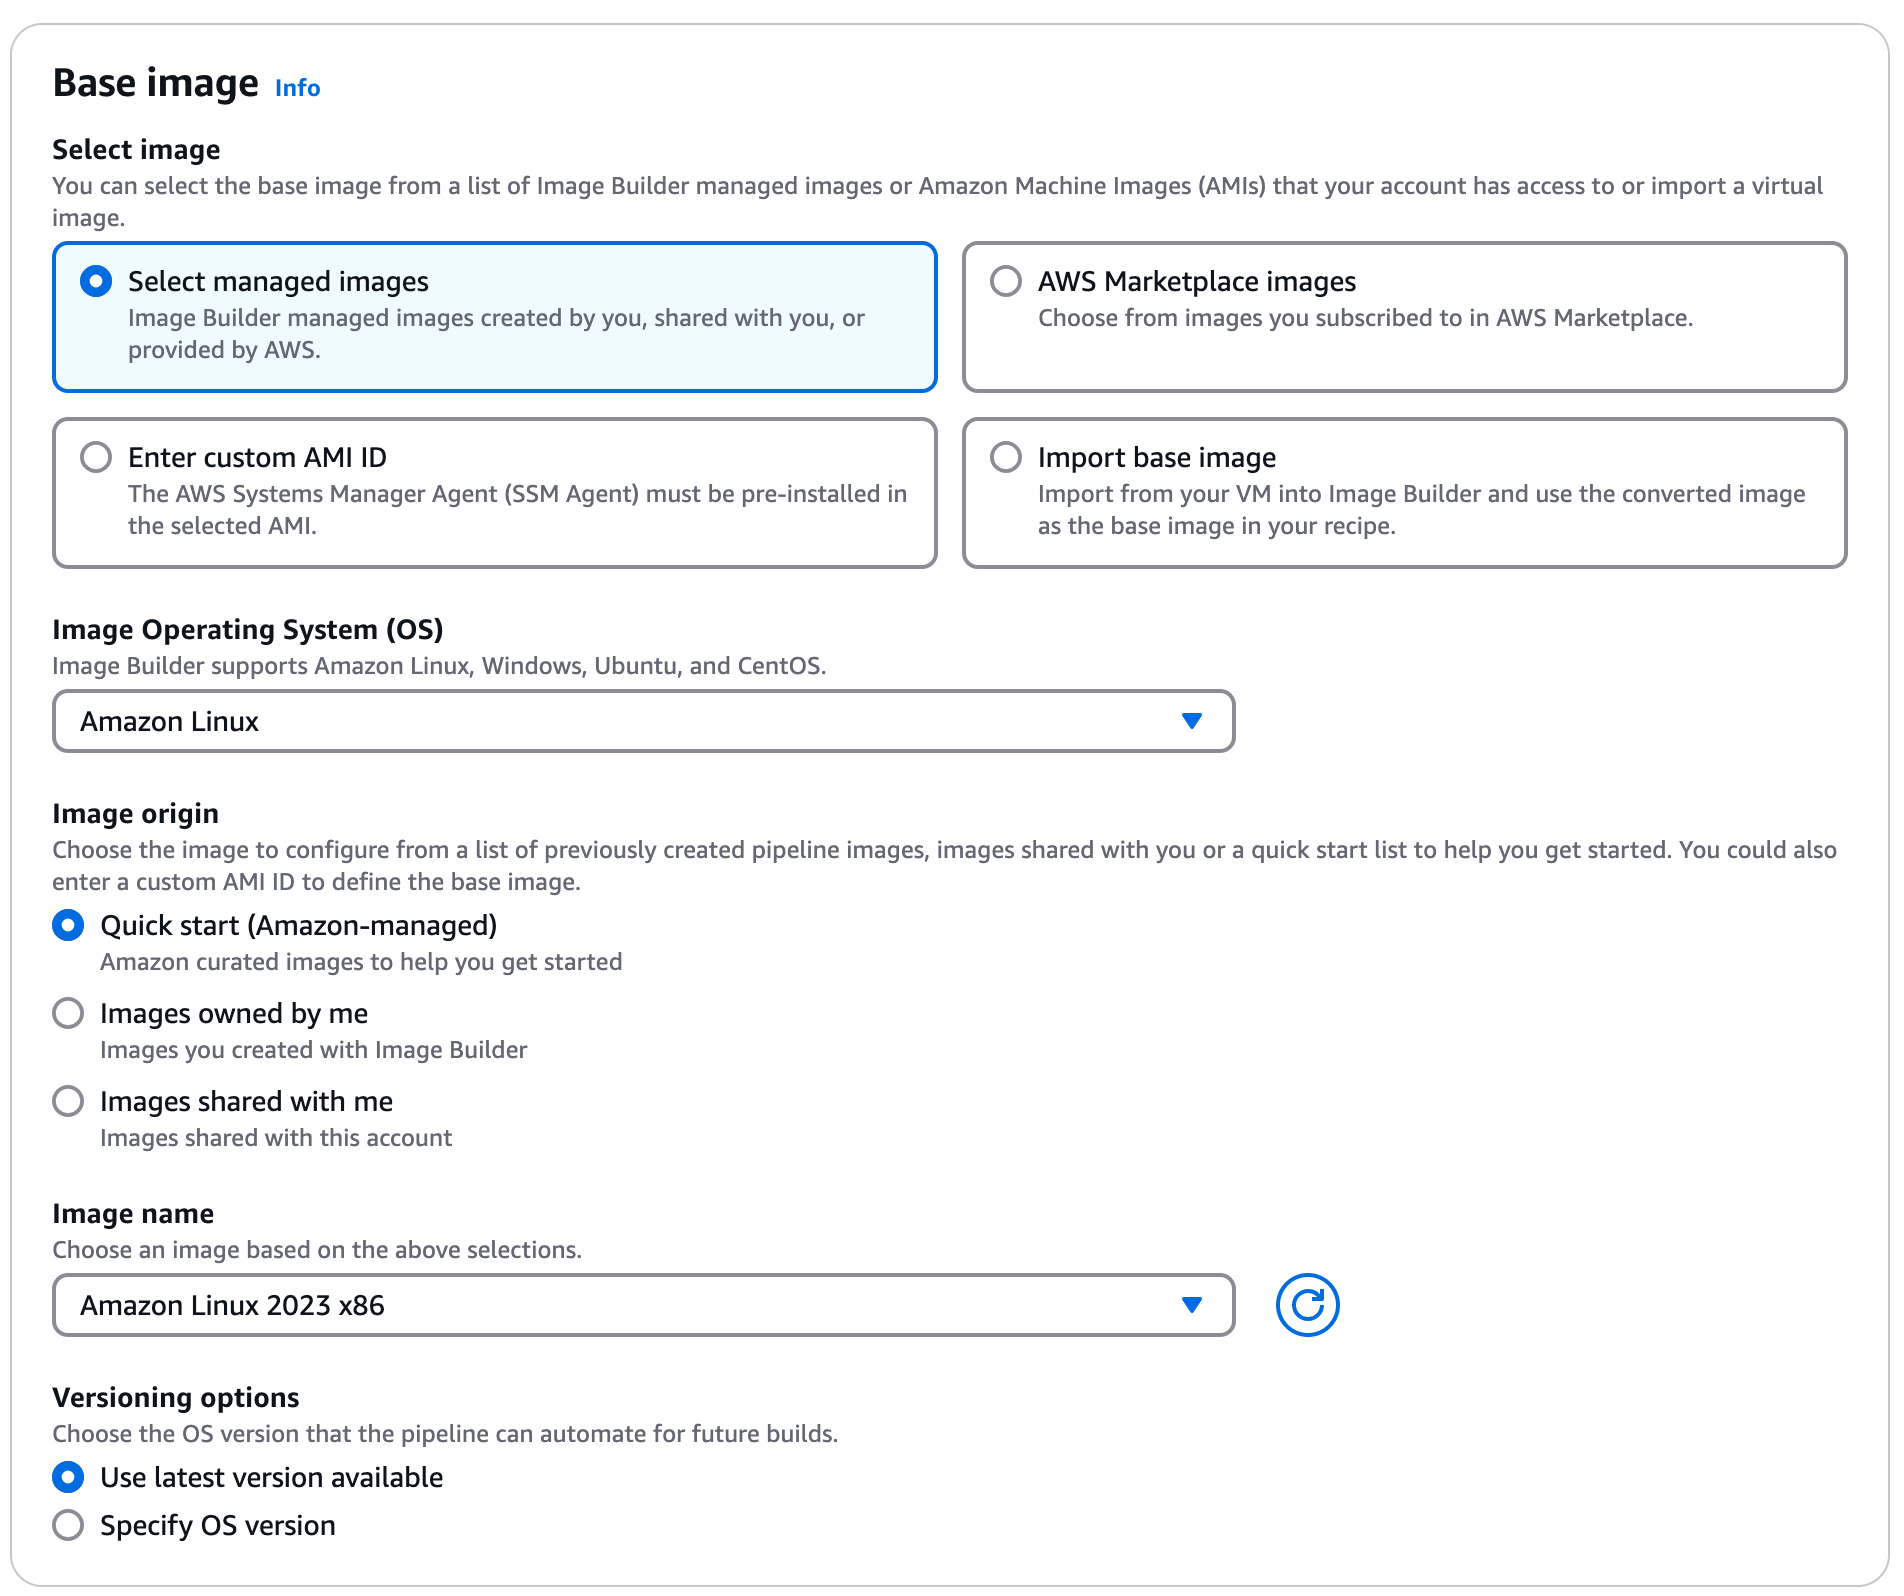
Click Select managed images. This is the base image we are going to put the EJBCA or SignServer Component on.
Select Amazon Linux and then Amazon Linux 2023 x86. This is the only OS that the EJBCA or SignServer Components support. It is recommended to pick the latest version so it has all of the current patches that AWS offers with their OS distributions.
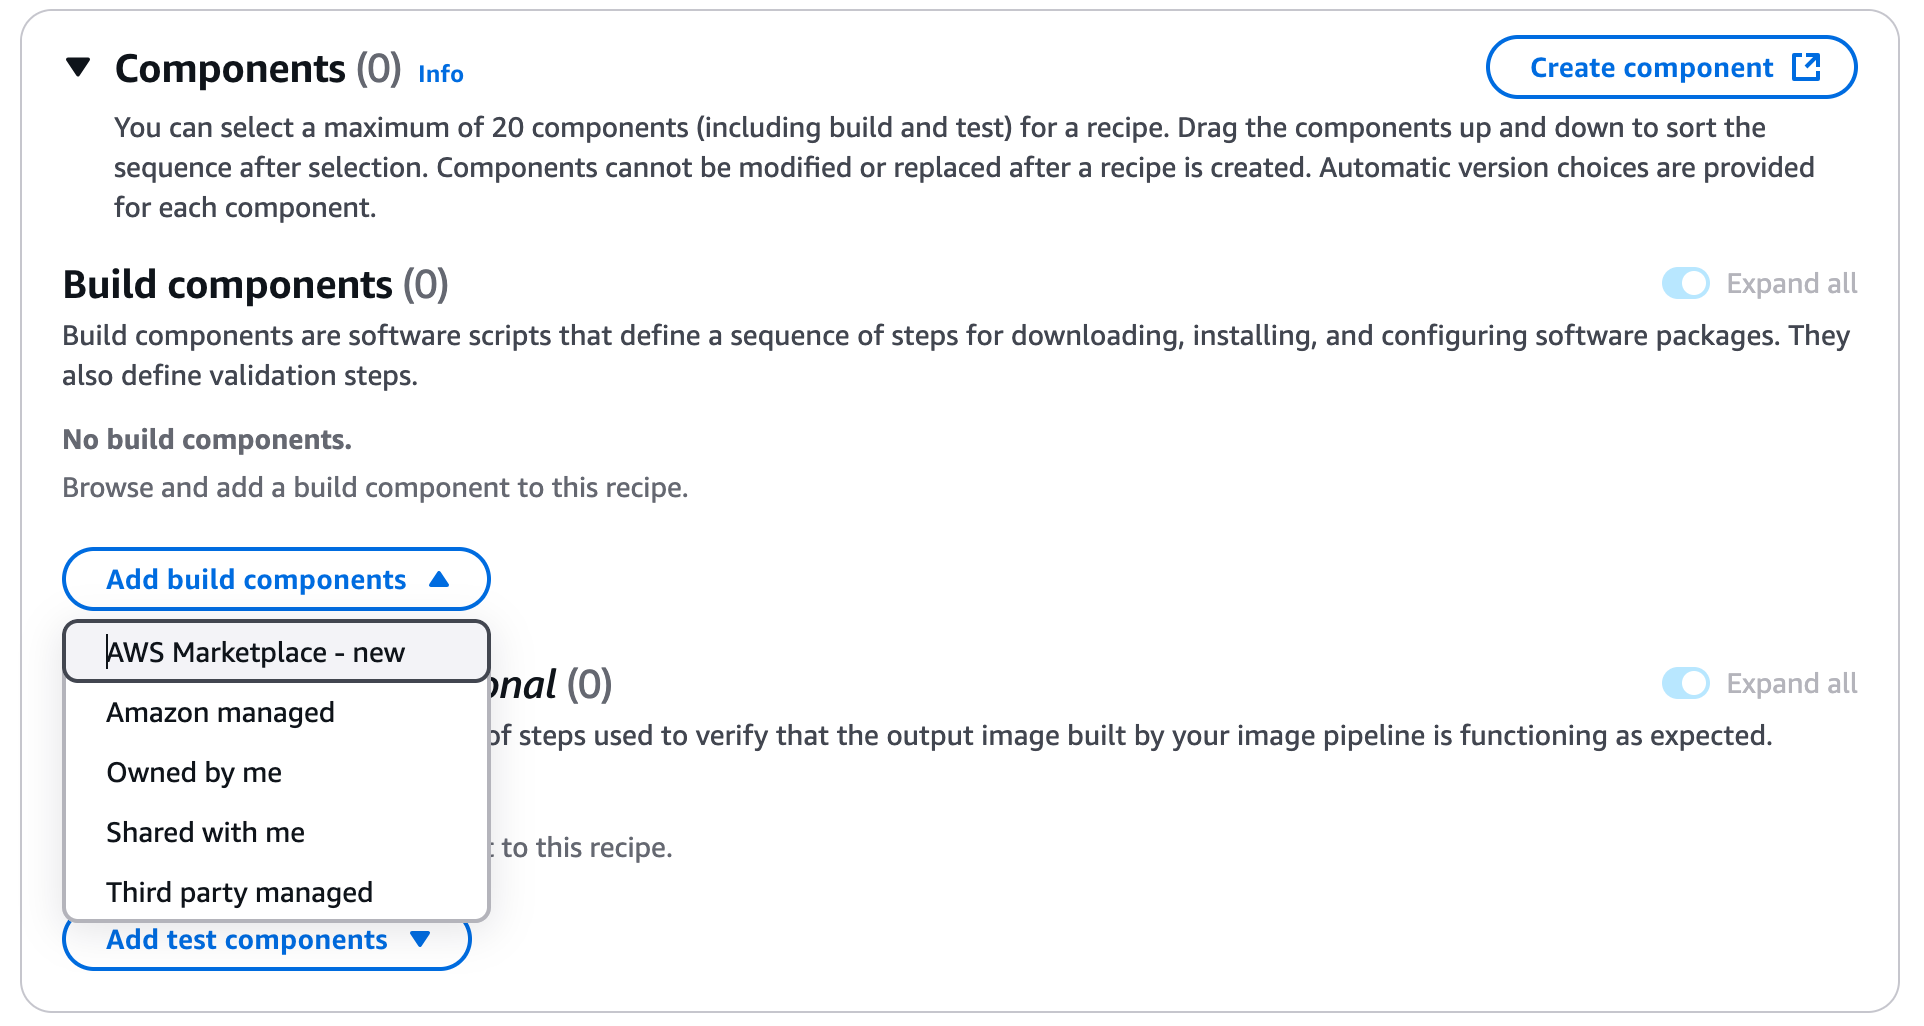
Scroll down to the Components section, select Add build components, and then AWS Marketplace - new.
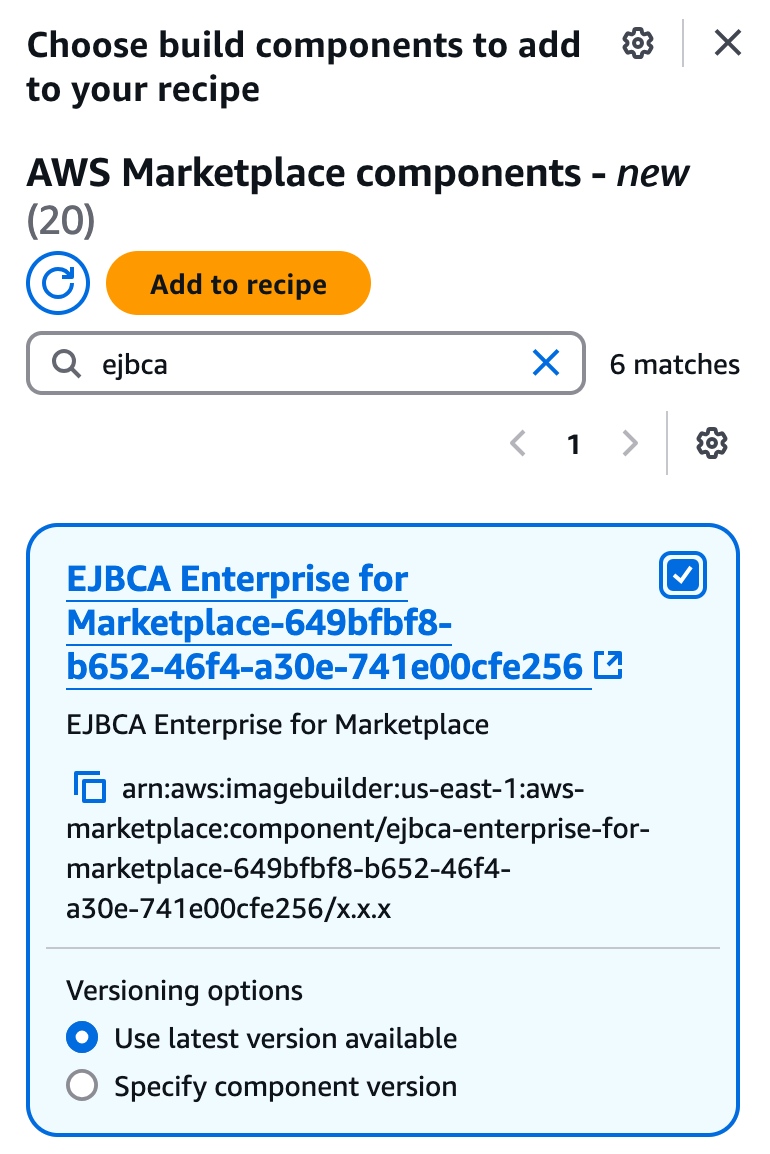
Search for “ejbca” or “signserver”.
You will see multiple listings for each of the products represented in the marketplace. Generally, the first one is EJBCA Enterprise 8x5 support and the second is EJBCA Enterprise 24x7 support. Below that are versions for RA and VA, both with different support levels. SignServer Enterprise images follow the same model. The products are identical, but the support level is different and reflected in the cost of the product. To ensure you are selecting the correct one desired, click the link displayed for the product to open a component details screen. Below is a link for Product listing that takes you to the marketplace. If you or someone in your organization has not previously subscribed to this product, you will need to perform those steps. For more information about subscribing to Keyfactor products, refer to the documentation on AWS Launch Guide.
Select the component and click Add to recipe.
Give the image some storage to function.
We recommend 30GiB at minimum, but this value will vary depending upon your needs. If you are running a local database, you will need to account for this. It is recommended to use an external RDS or Aurora database. For more information, refer to the AWS Cluster Configuration Guide.
Click Next.
If you would like to create a workflow to include other components into the creation of this image, click Custom workflows. Otherwise, click Default workflows, and then click Next.
Select Create a new infrastructure configuration. Enter a name and description for this profile such as “EJBCA Enterprise Instance Profile” or “SignServer Enterprise Instance Profile”. Select an IAM role if you have one already and proceed to STEP. If you do not have one, click Create new role.
Click Create role, select AWS Service, select "EC2" (should be at the top under commonly used services) as the use case (Image Builder runs on EC2 instances), and then click Next.
Search for and attach the following policies. If you need more granular control, create a custom policy with specific permissions:
AmazonEC2ImageBuilderFullAccess
EC2InstanceProfileForImageBuilder
EC2InstanceProfileForImageBuilderECRContainerBuilds
AmazonSSMManagedInstanceCoreOn the next screen, give the role a name like “EC2ImageBuilderRole”, and click Create role.
The role creation process should have been done in a new tab. Go back to the Create pipeline tab and click the refresh arrow next to the Choose IAM role list.
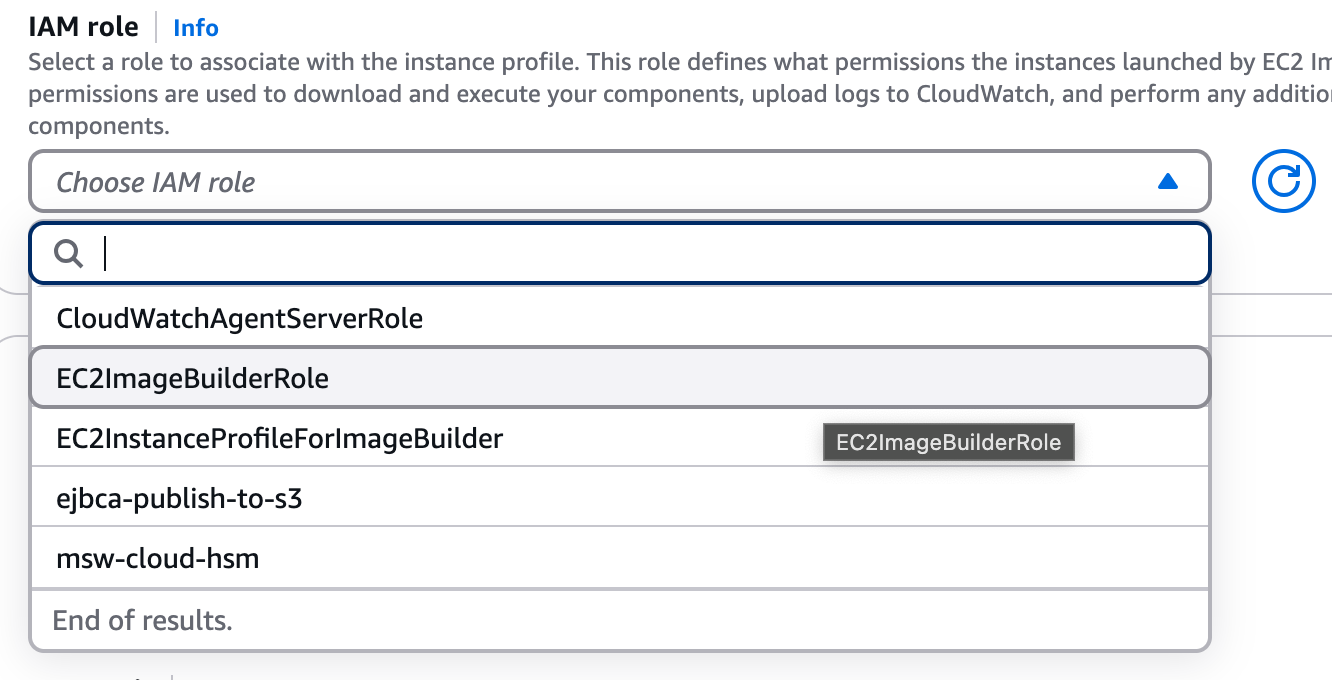
For more information on AWS Permissions with EC2 Image Builder, refer to the AWS documentation on How Image Builder works with IAM policies and roles.
In the AWS Infrastructure section, select an instance type from the list. For a list of instance types supported, refer to the Marketplace listings for EJBCA, and SignServer. The most common and recommended instance type is a t3.large. Click Next.

In the VPC, subnet and security groups section, select a VPC, subnet and the security groups needed to access the instance.
Select Create distribution settings using service defaults, and click Next.
Click Create pipeline.
In the Actions list, click Run pipeline.
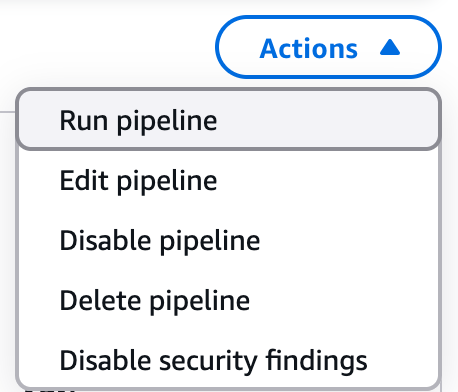
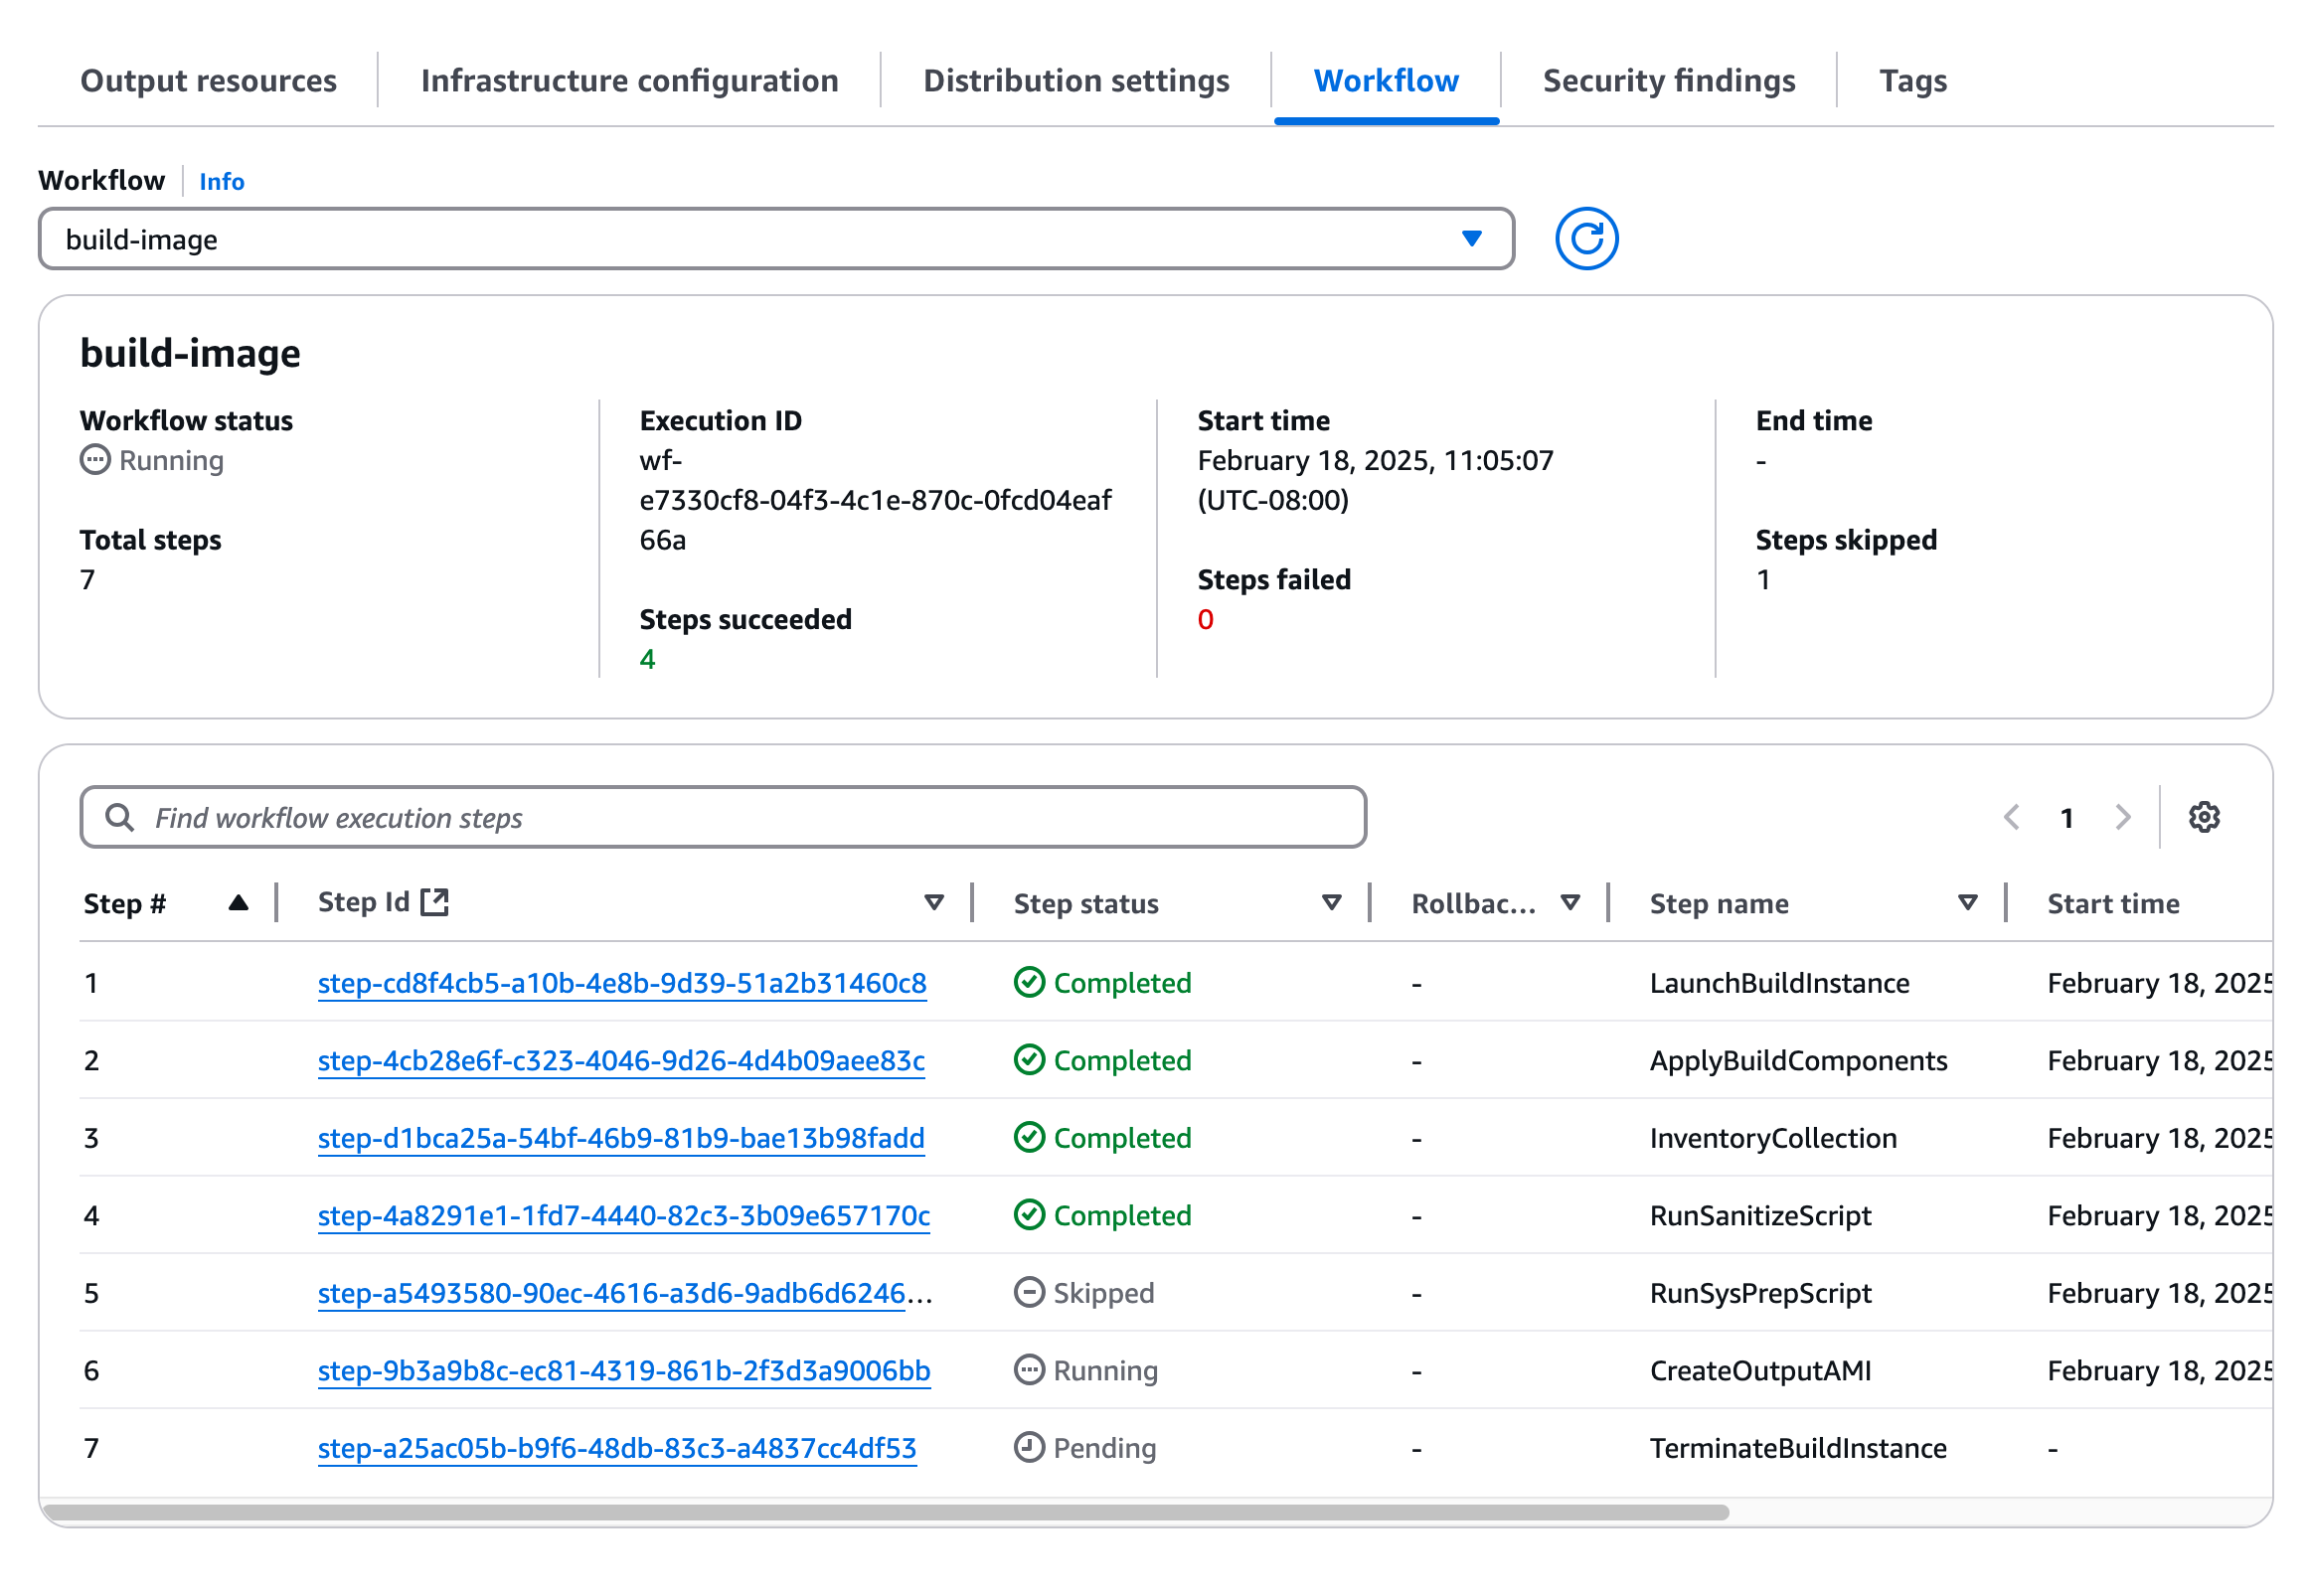
Click View details and select the Workflow tab:

You should see a running step. Click this step to open the output.

You can select the Application Logs tab or the Log stream. Selecting the log stream allows you to tail the logs in real time by clicking Start tailing.
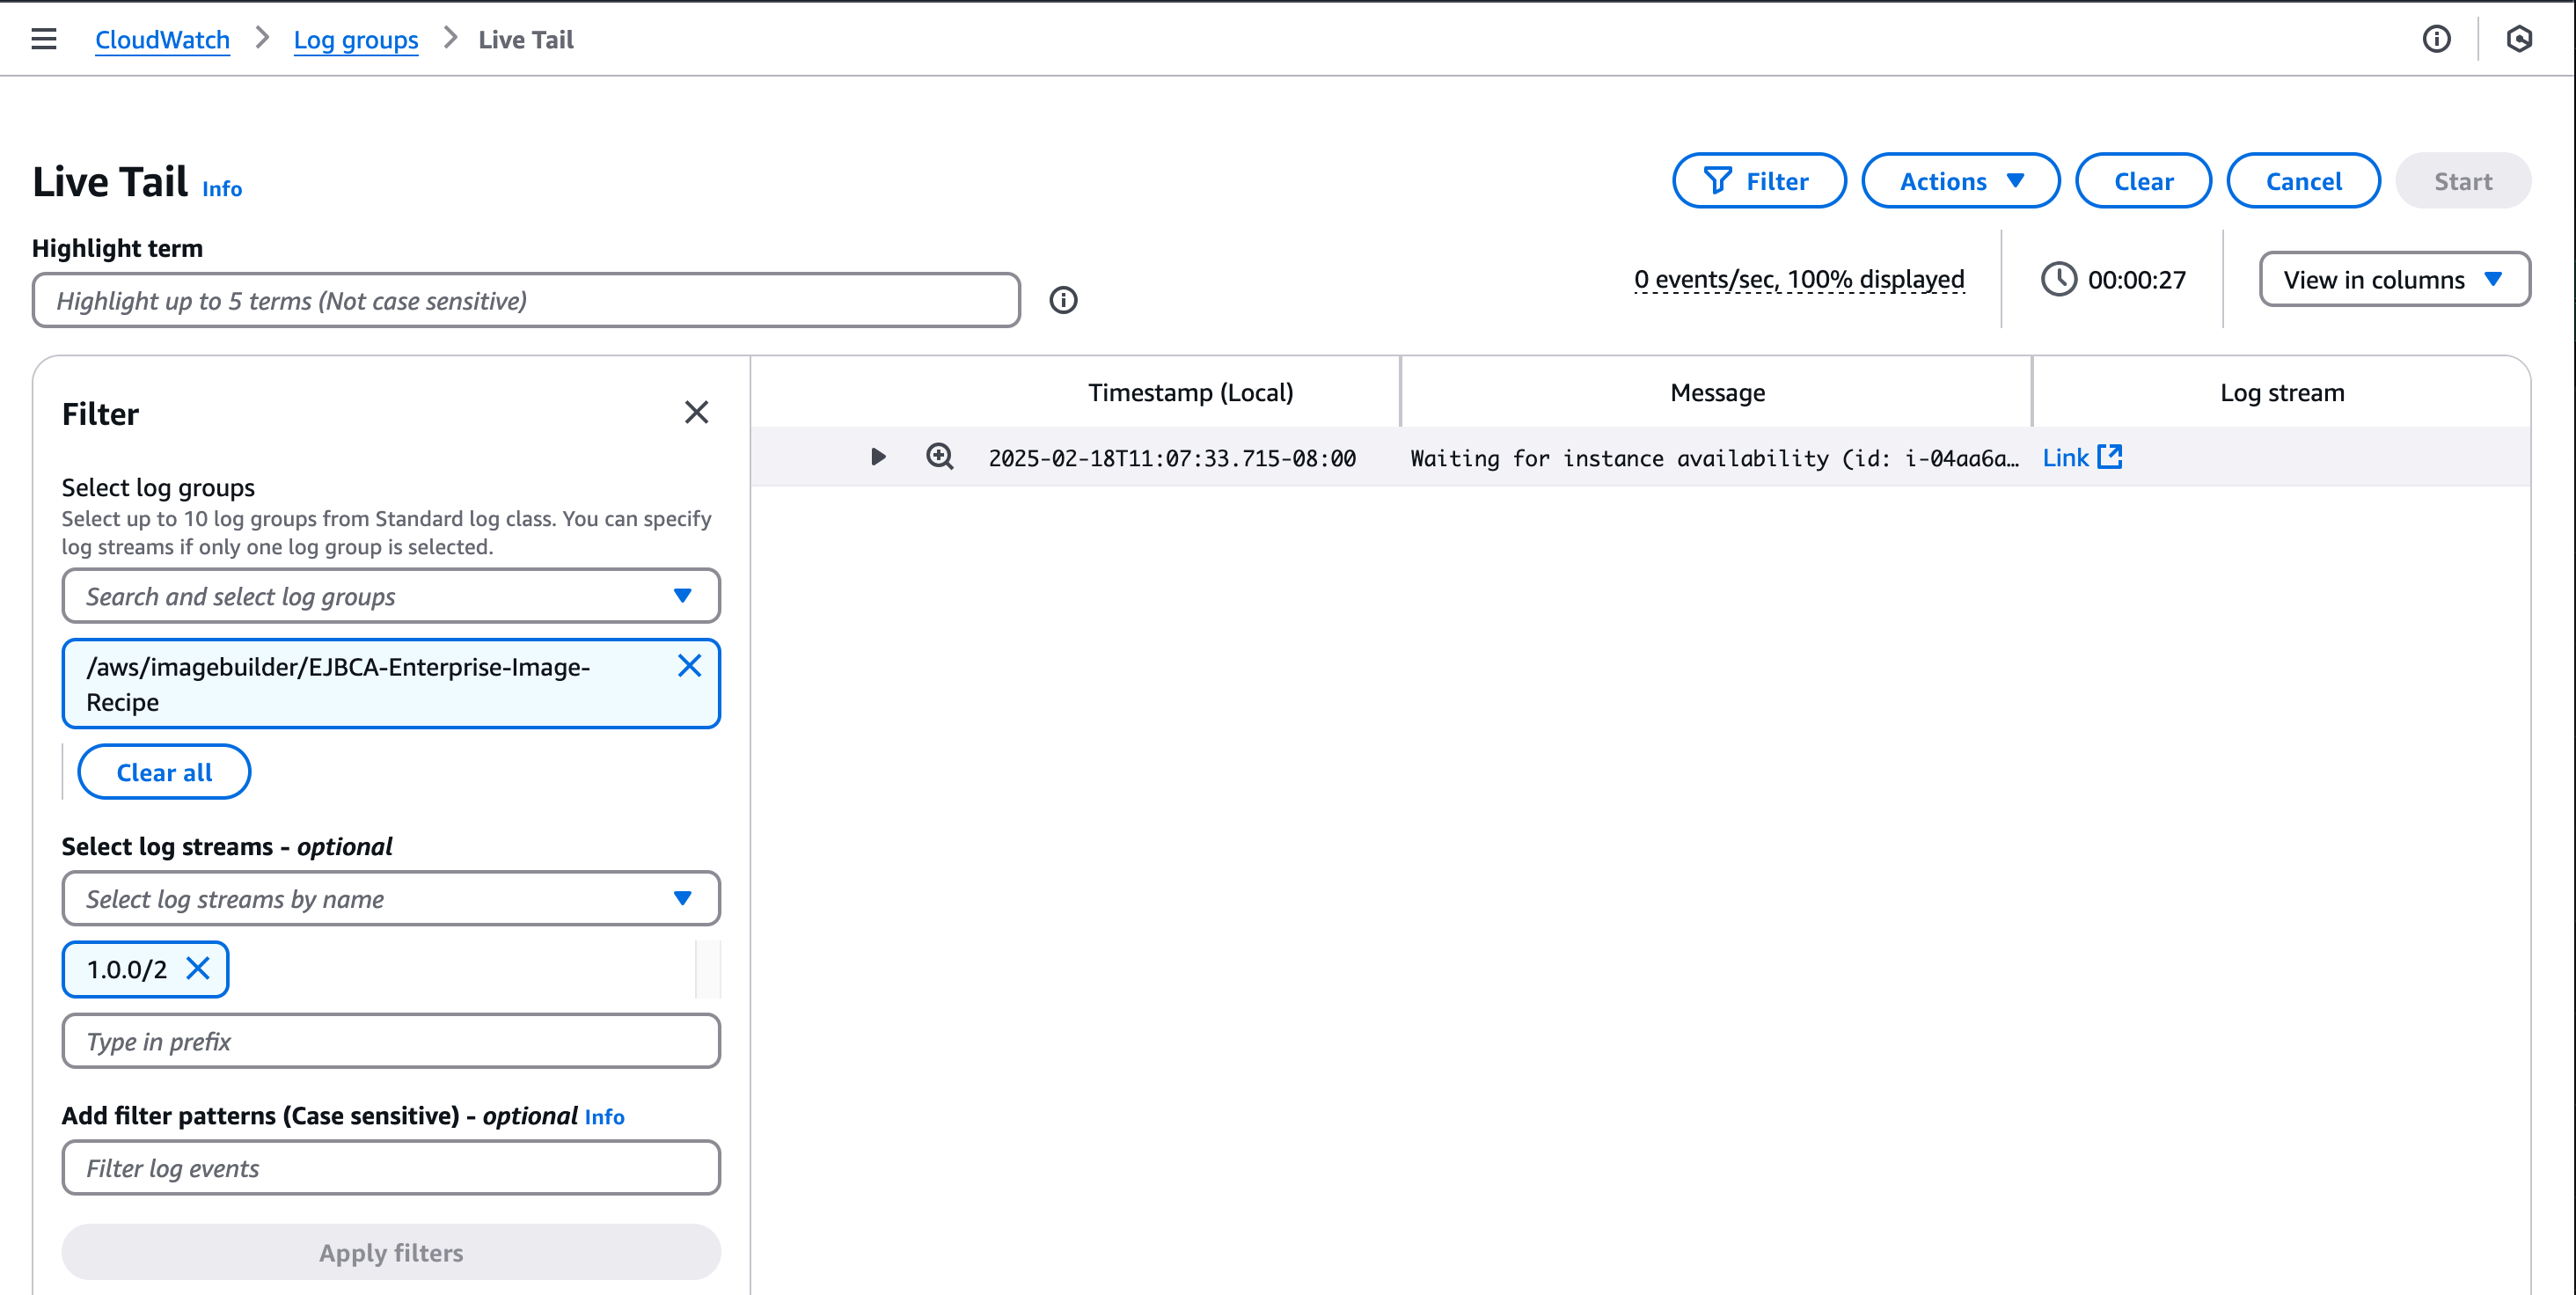
Once the instance becomes reachable it will start the staging process of EJBCA or SignServer. Our component has many scripts that will stage the product and install dependencies to get the Amazon Linux image ready to be an EJBCA or SignServer Enterprise Cloud node.
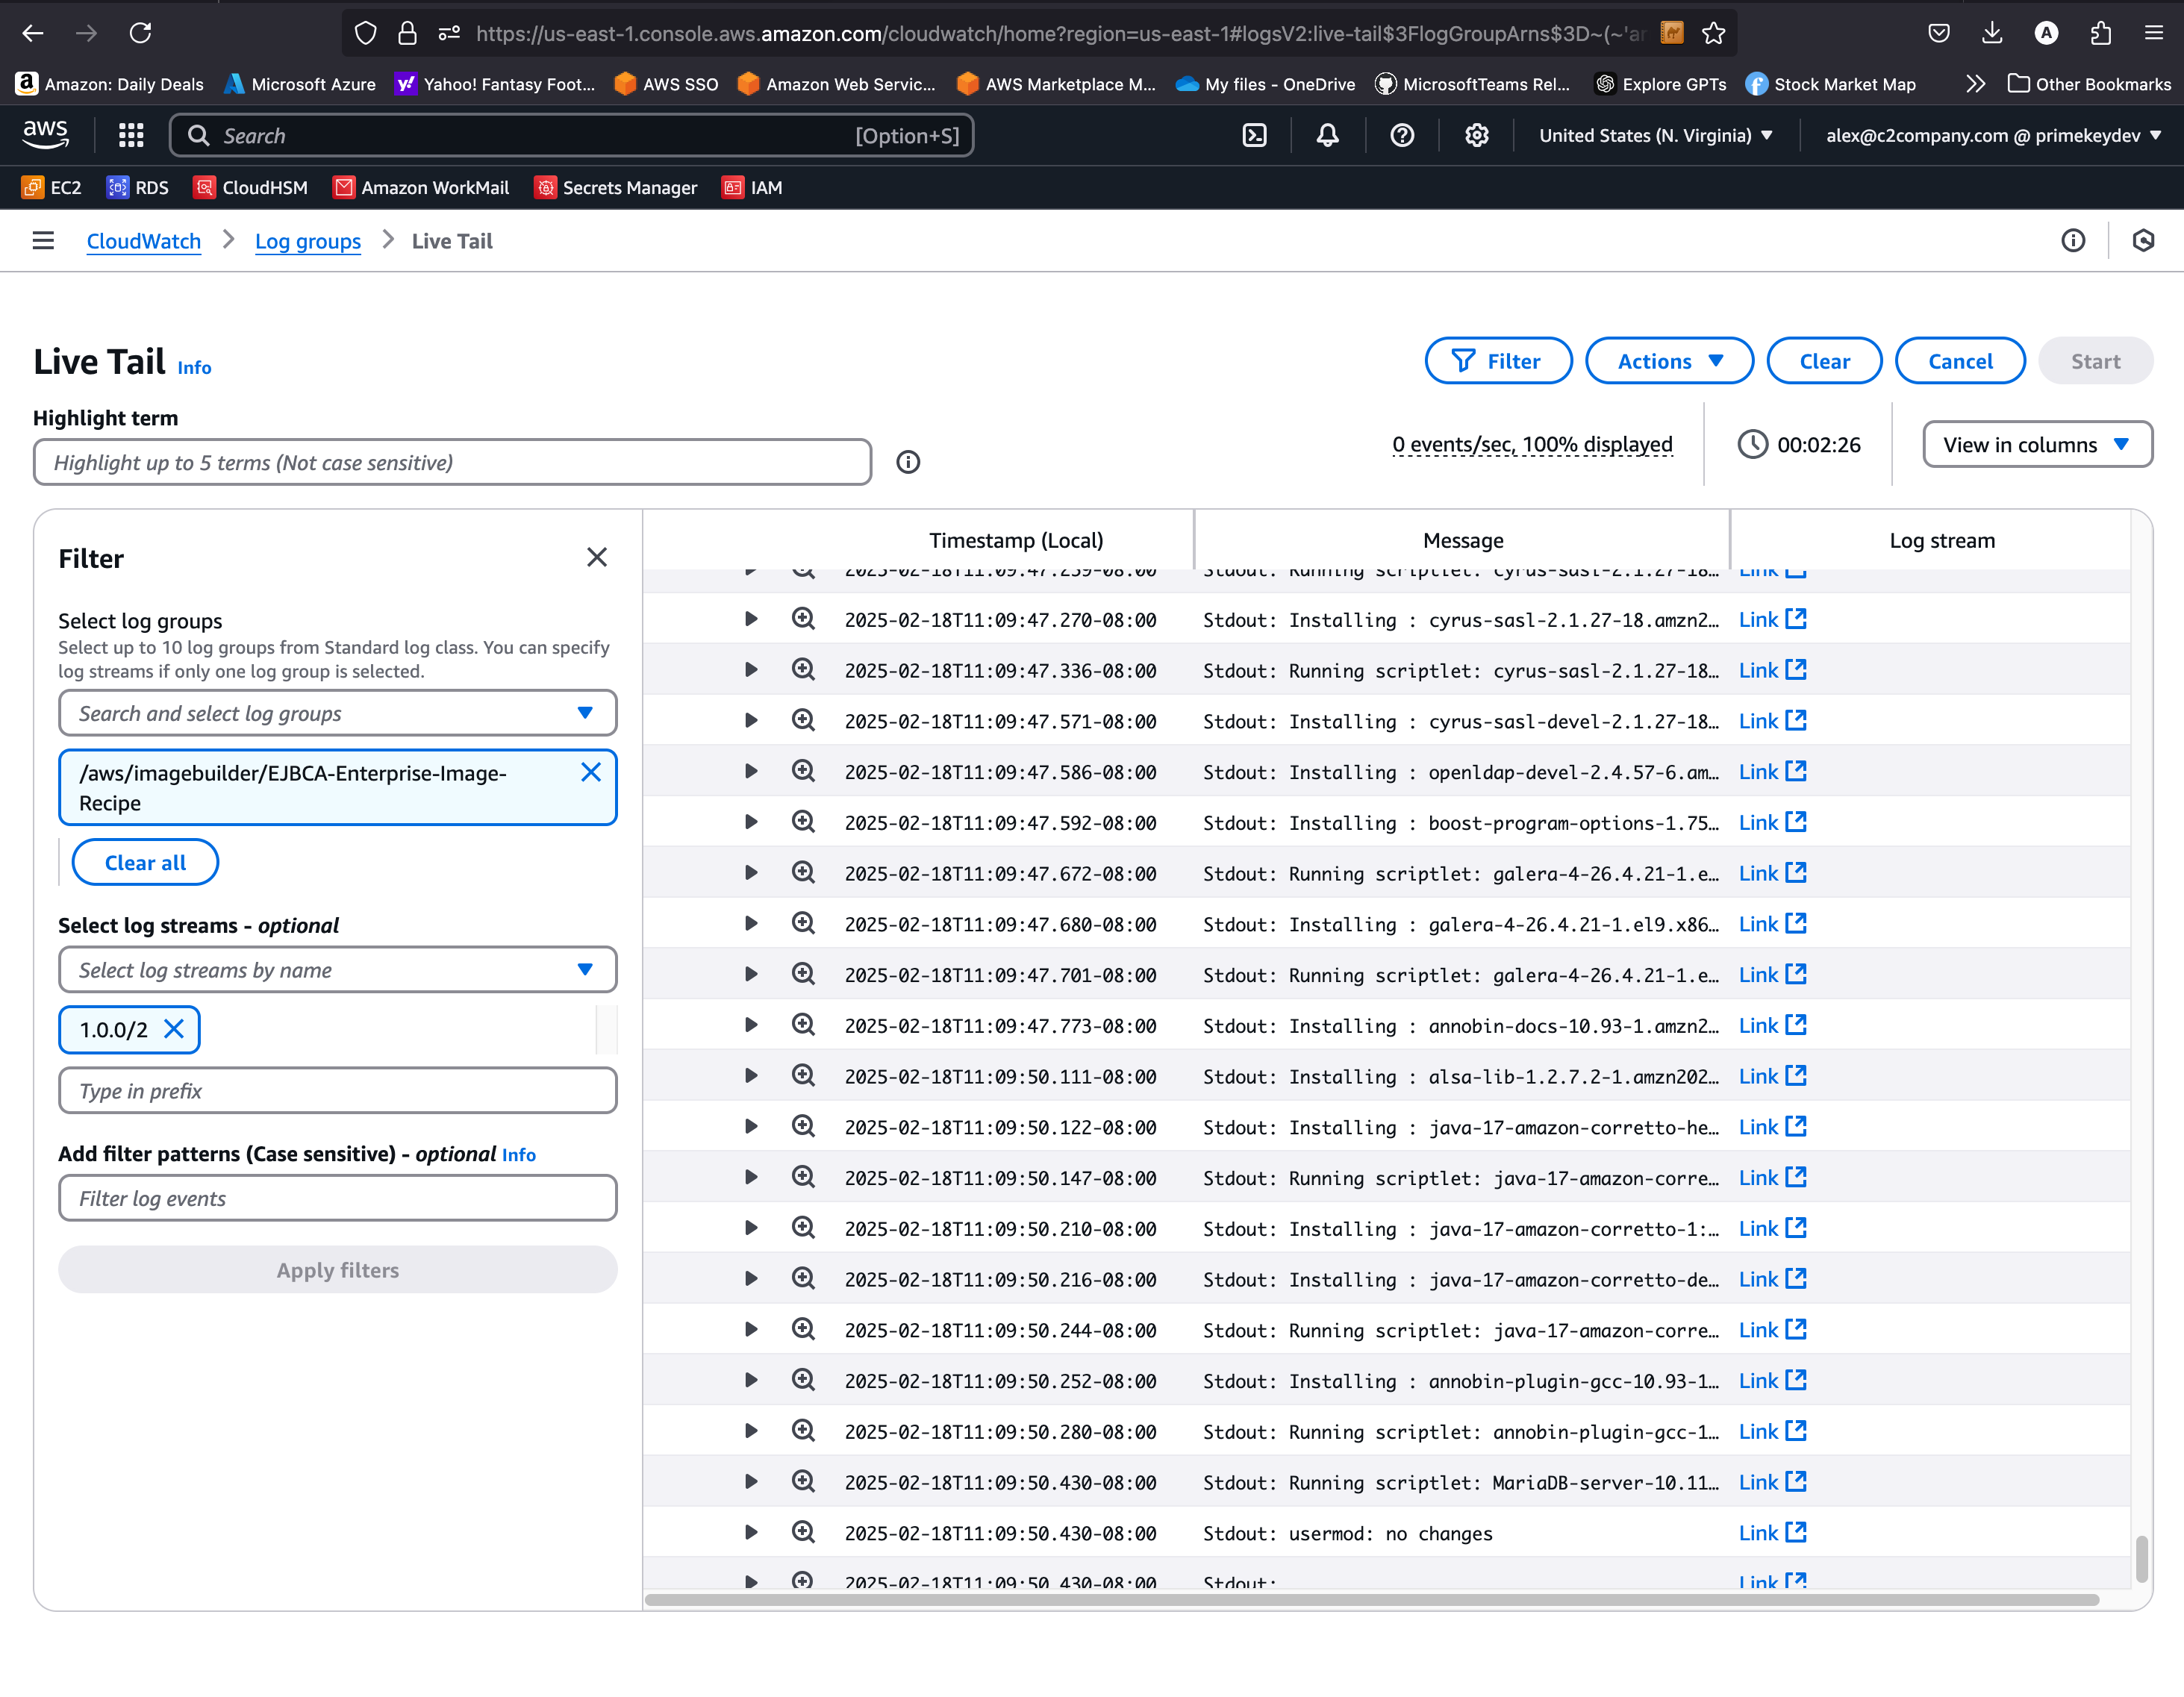
Once the image creation process is complete, the main image builder tab will update all of the steps to be completed back on the Workflow tab.
Once all of the steps are completed you can navigate to the EC2 section of the AWS Console, select AMIs and see the newly created image (it helps to sort by creation date).

Launching this image will start an EJBCA or SignServer Cloud instance.
For more information on starting and deploying an EJBCA or SignServer Cloud instance, refer to the AWS Launch guide for EJBCA or AWS Launch Guide for SignServer.
.png)