The following sections provide information on configuring the Integrity Protected Security Audit Logs for the Software Appliance.
If no HSM is configured, it is not possible to configure the Integrity Protected Security Audit Logs Settings.
To do this, open the Security page and go to the HSM Configuration section.
Configure the Integrity Protected Security Audit Logs
-
Log in to your Software Appliance and open the Applications page.
-
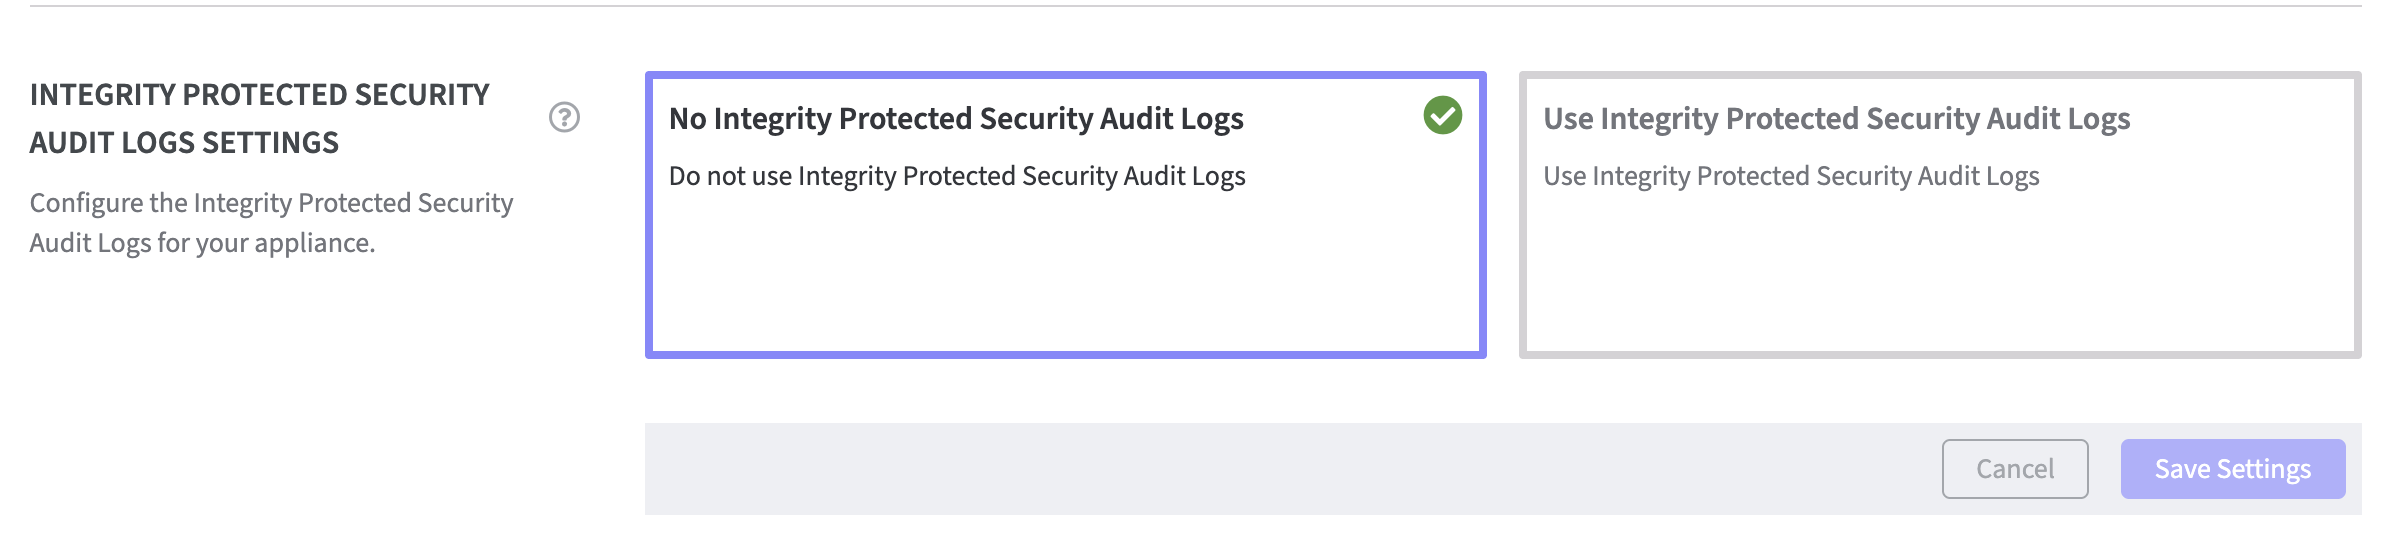
Go to the Integrity Protected Security Audit Logs section.
-
As default No Integrity Protected Security Audit Logs is selected.
-
To enable the Integrity Protected Security Audit Logs for the Software Appliance click the tile Use Integrity Protected Security Audit Logs.

-
Additional fields appear.
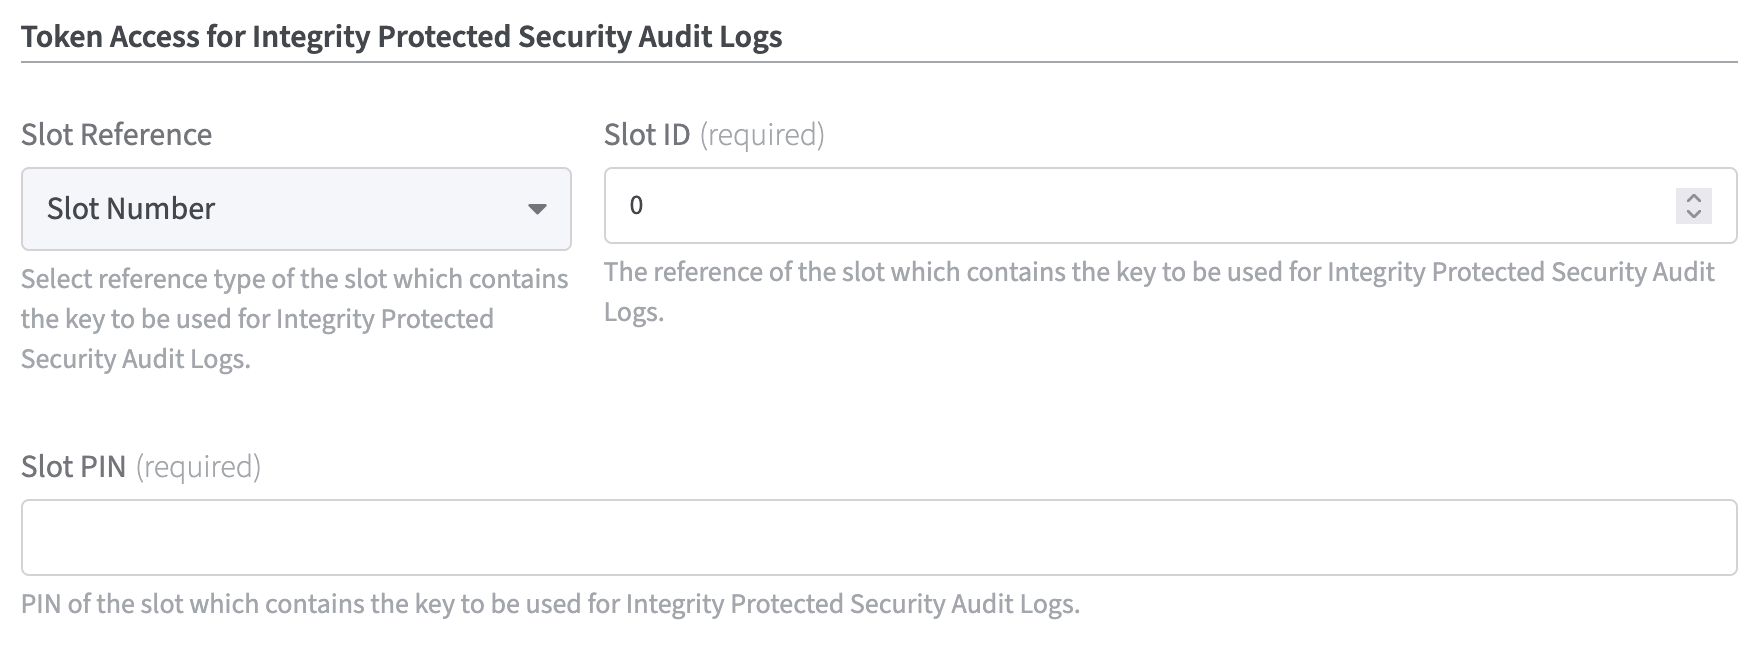
Token Access for Integrity Protected Security Audit Logs
Slot Reference:
Select reference type of the slot that contains the key to be used for Integrity Protected Security Audit Logs . It is only necessary to select one of the options from the drop down menu.
Slot Label: select this option if you want to address the PKCS#11 slot via a label
Slot Index: select this option if you want to address the PKCS#11 slot via an index
Slot Number: select this option if you want to address the PKCS#11 slot via a number
The reference to the slot containing the key to be used for Integrity Protected Security Audit Logs is now defined.
Slot PIN:
Enter the PIN of the slot.
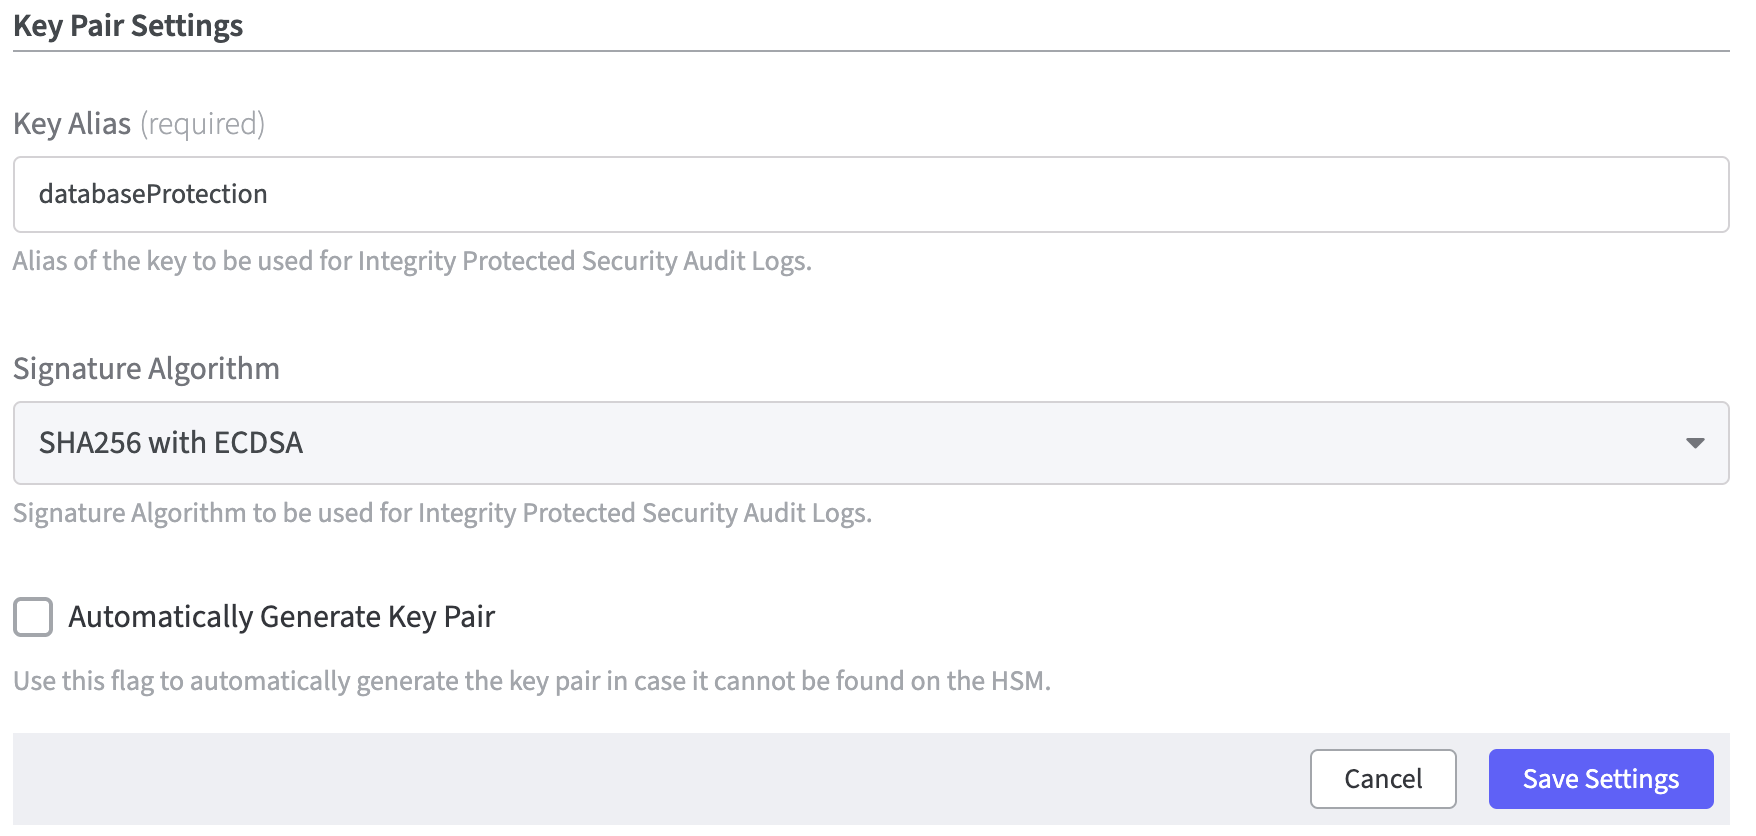
Key Pair Settings
Every action that creates an entry in the audit log requires access to the signing key specified here.
Switching between signing keys is currently not supported.
An alias of the key to be used for Integrity Protected Security Audit Logs must now be defined.
Enter the Key Alias.
The next step is to define a Signature Algorithm used by the Integrity Protected Security Audit Logs.
Use the drop-down function to choose between the options:
SHA256 with RSA
SHA256 with ECDSA
Finally, activate the checkbox Automatically Generate Key Pair.
This is helpful if the key pair is not found on the HSM.
To complete the process click Save Settings.
If the configuration for Integrity Protected Security Audit Logs is adjusted after activation, a signed audit log that can no longer be checked is likely to be created.
Incorrect settings will prevent EJBCA from starting.
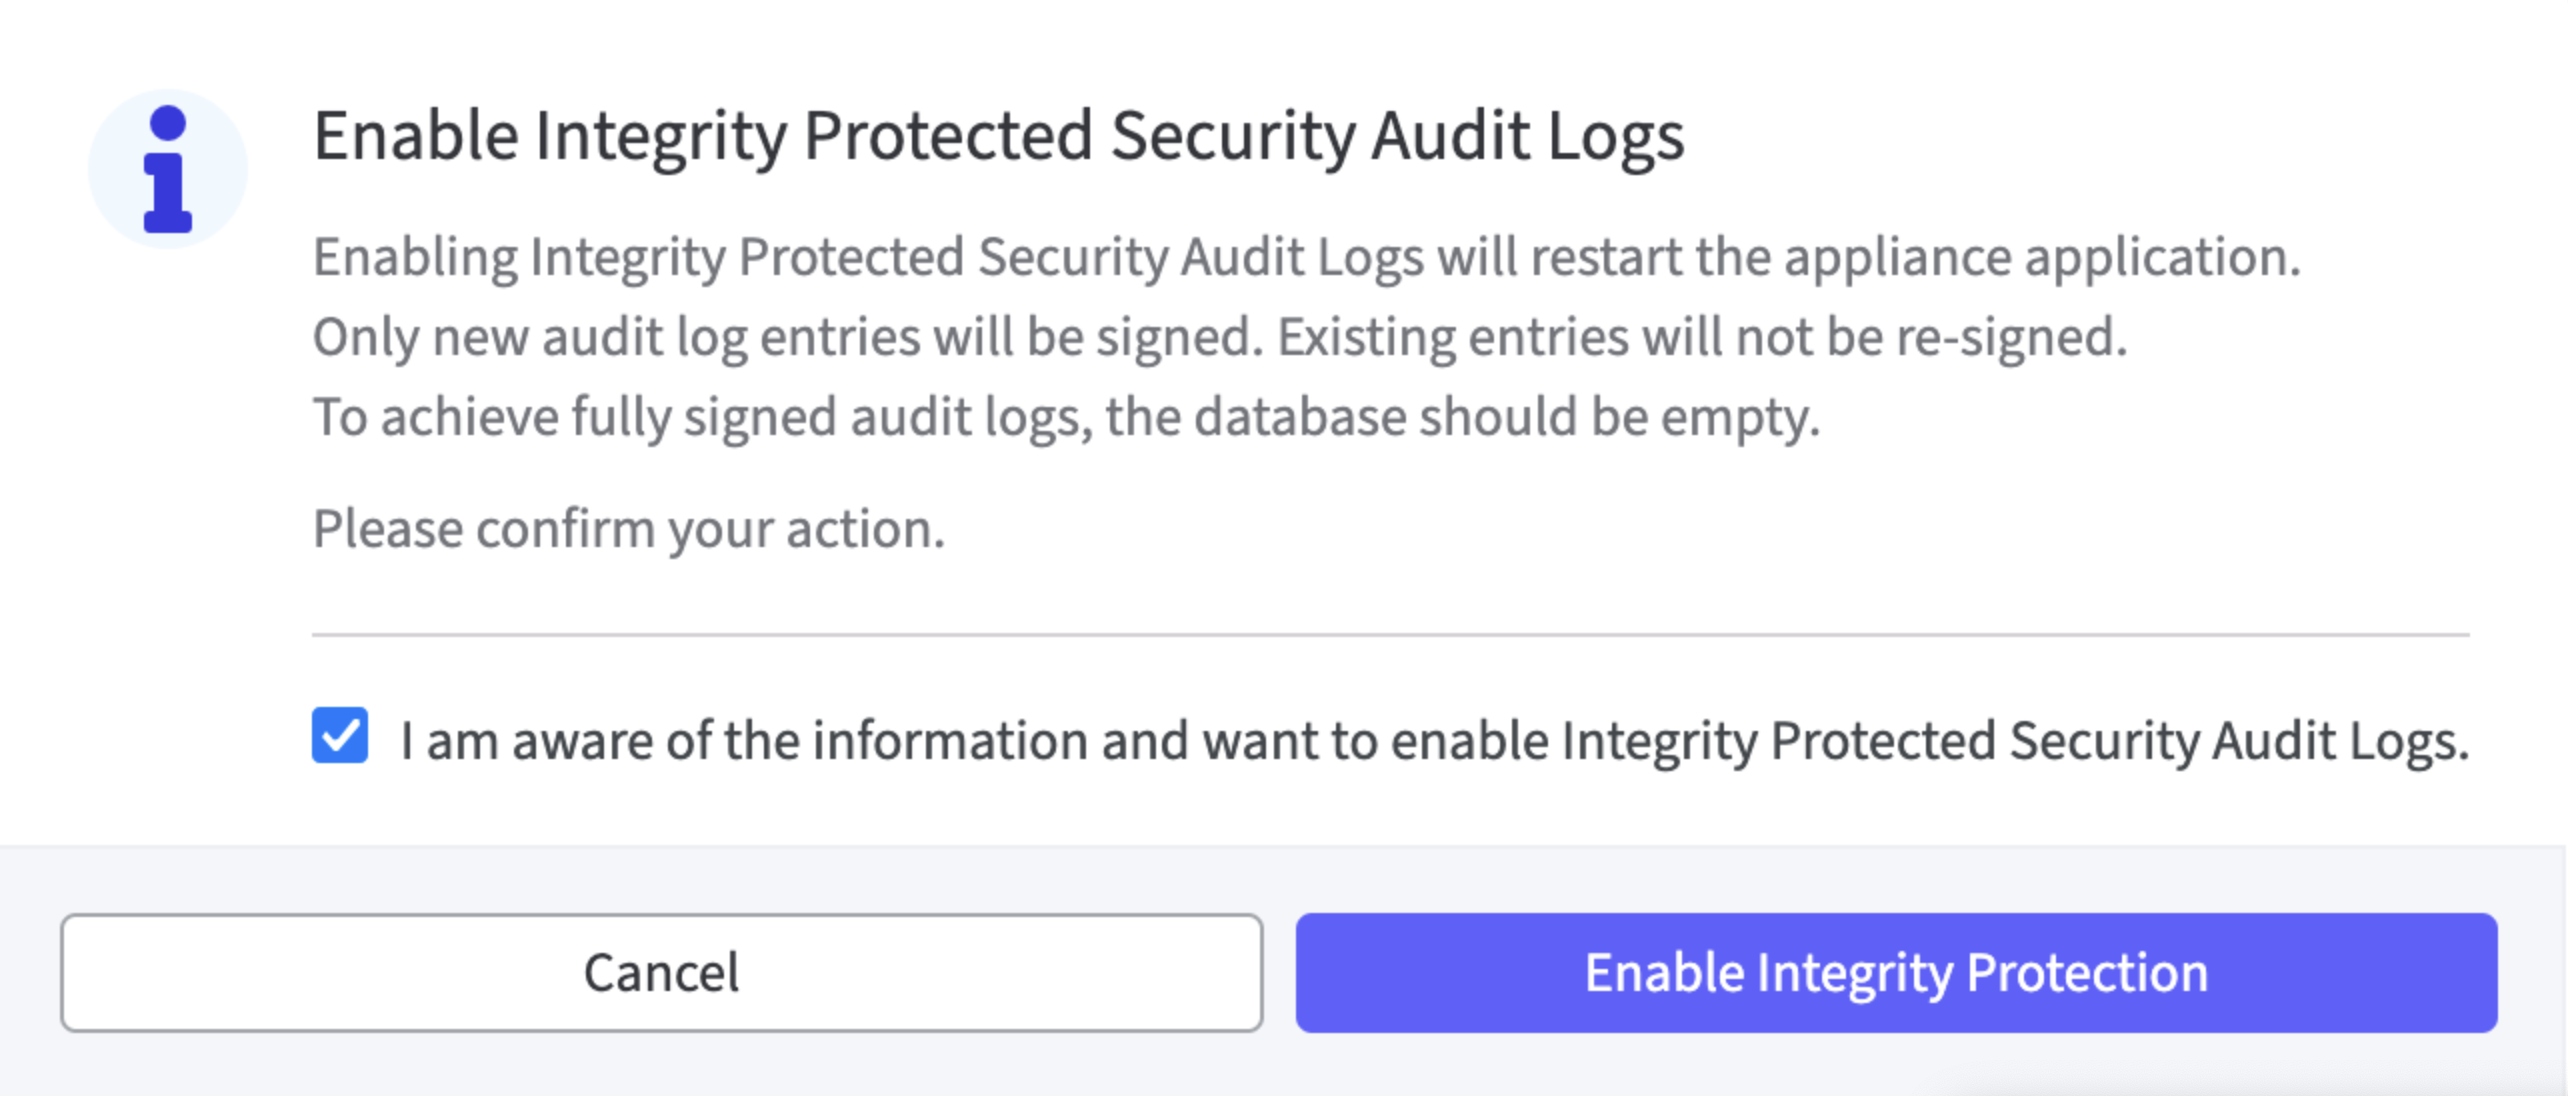
Before the settings can be saved a modal dialog must be confirmed.
The check mark in the control box must be set; only then the Enable Integrity Protected field is activated.
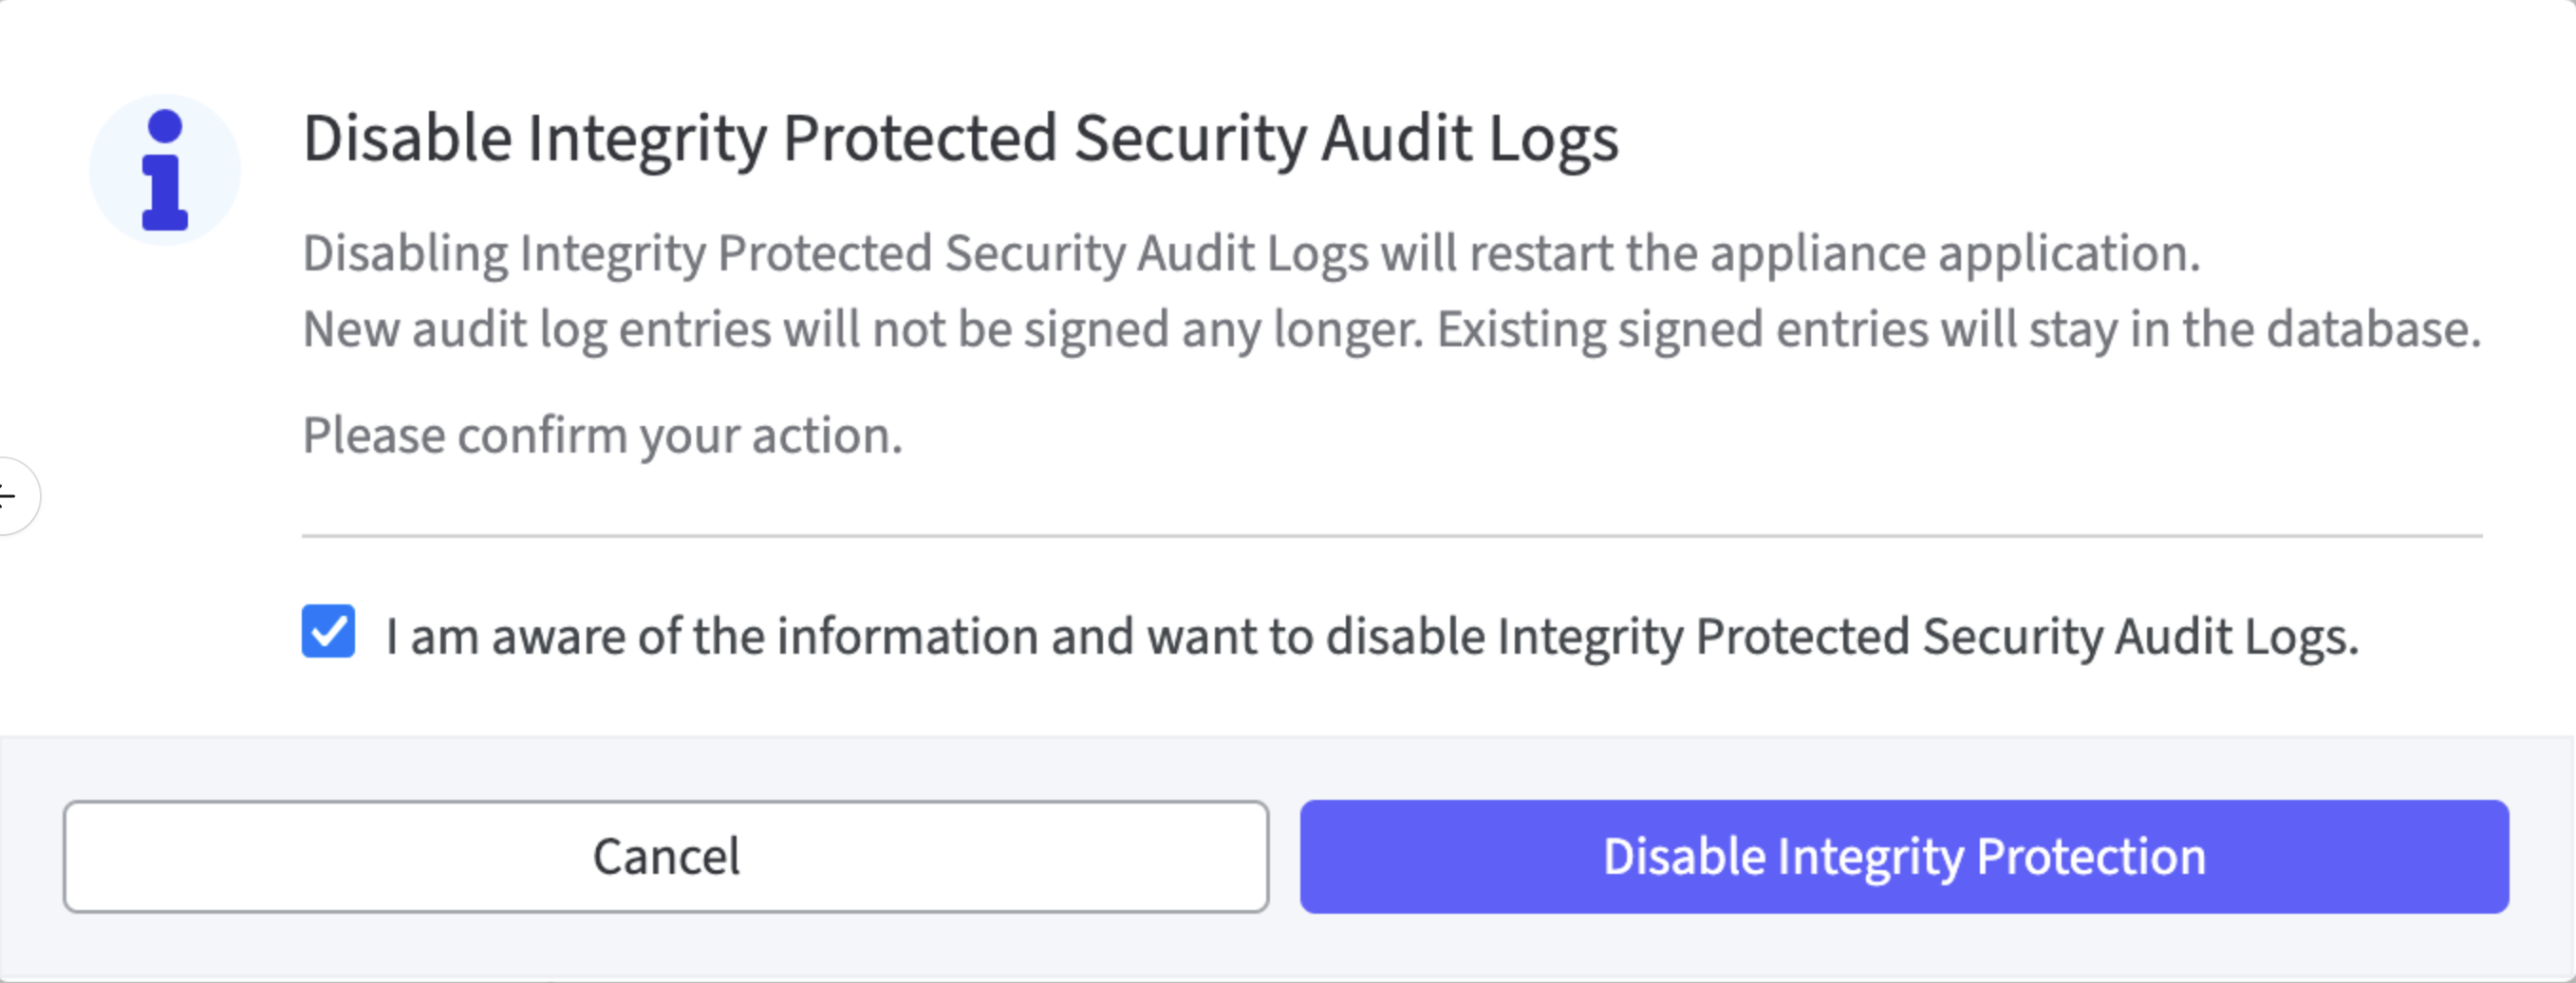
To disable the Integrity Protected Security Audit Logs for the Software Appliance click the tile No Integrity Protected Security Audit Logs.
Before the settings can be saved a modal dialog must be confirmed.
The check mark in the control box must be set; only then the Disable Integrity Protected field is activated.