.png)
The following covers how to use the Organizations feature to edit deployment registration names and add users to deployments.
SaaS Organizations Page
The main screen of the Organizations feature allows access to multiple deployments within your organization. When you first start with the Keyfactor SaaS Portal, you will have your first deployment tile.
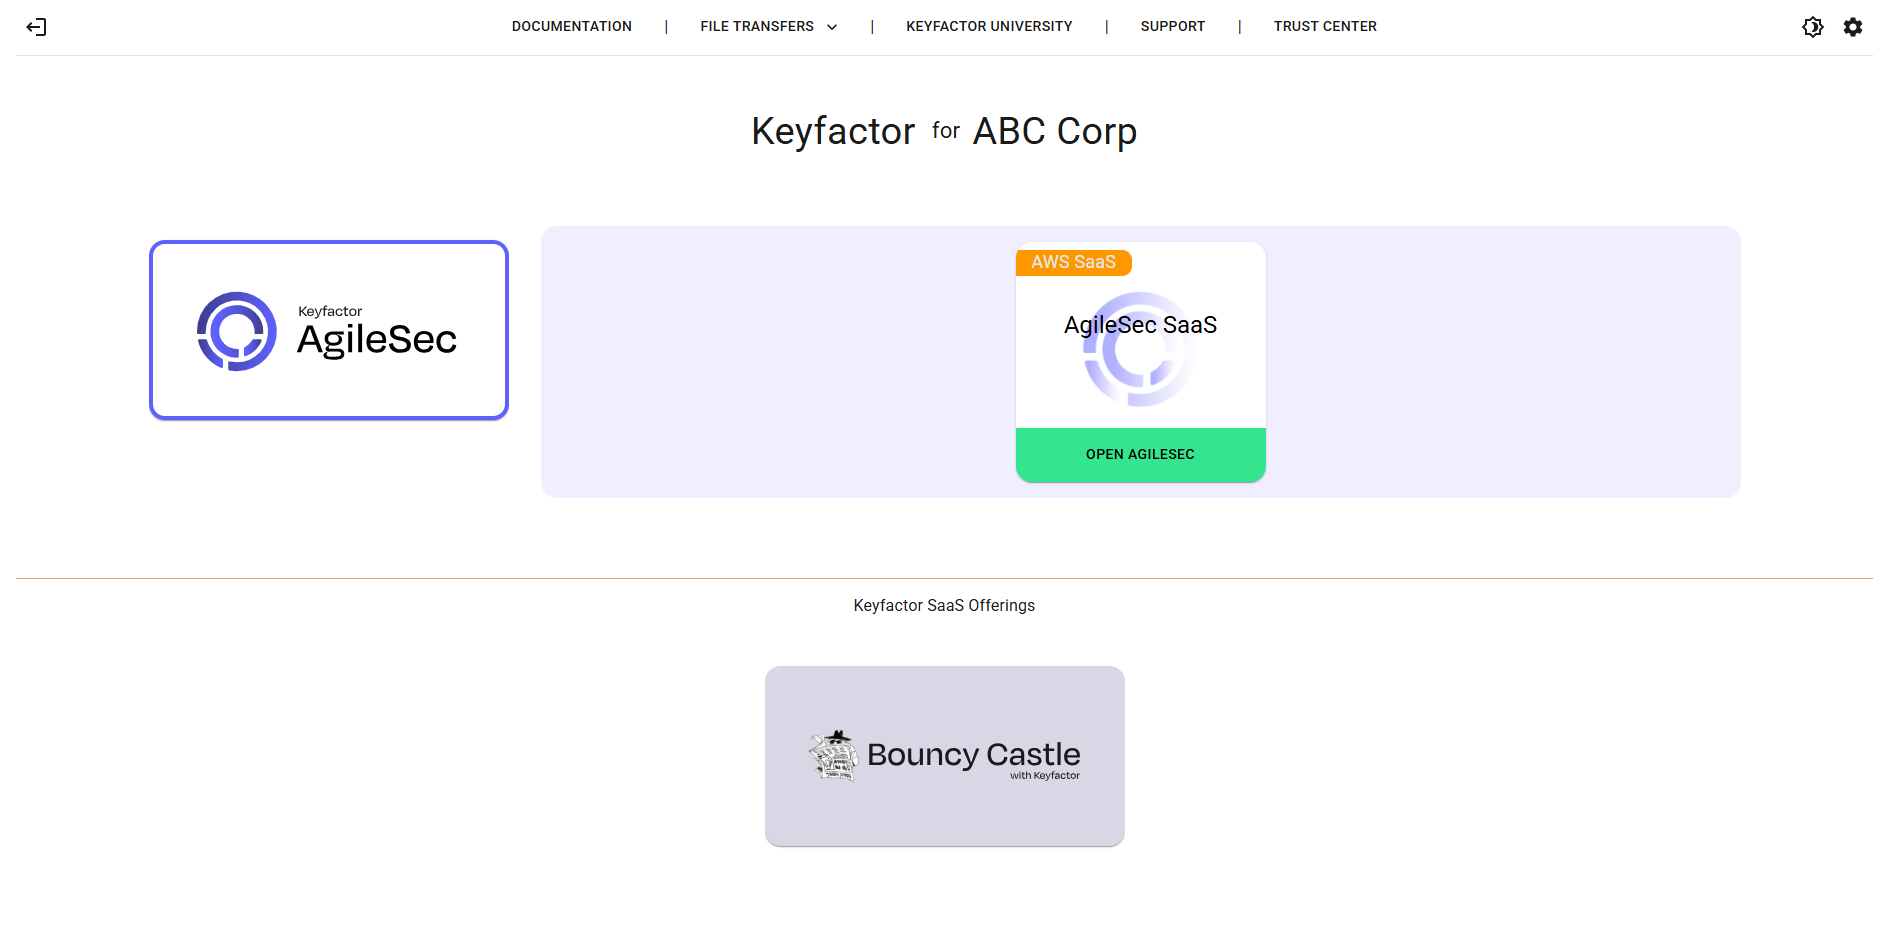
Deployment tiles link to Portal Web interfaces for deployed SaaS Products. This might be an AgileSec, Command, EJBCA, or Signum Web Interface.
Note: Initially, prior to some product deployments, a Configure option may be displayed, allowing you to define options for your unique deployment.
Clicking the deployment tile’s Open link will take you to the SaaS Portal, where you can interact with your deployment and any self-service features.
Additional Product Tiles
On the main deployments page, any products your organization has not procured will be displayed below the current registrations.
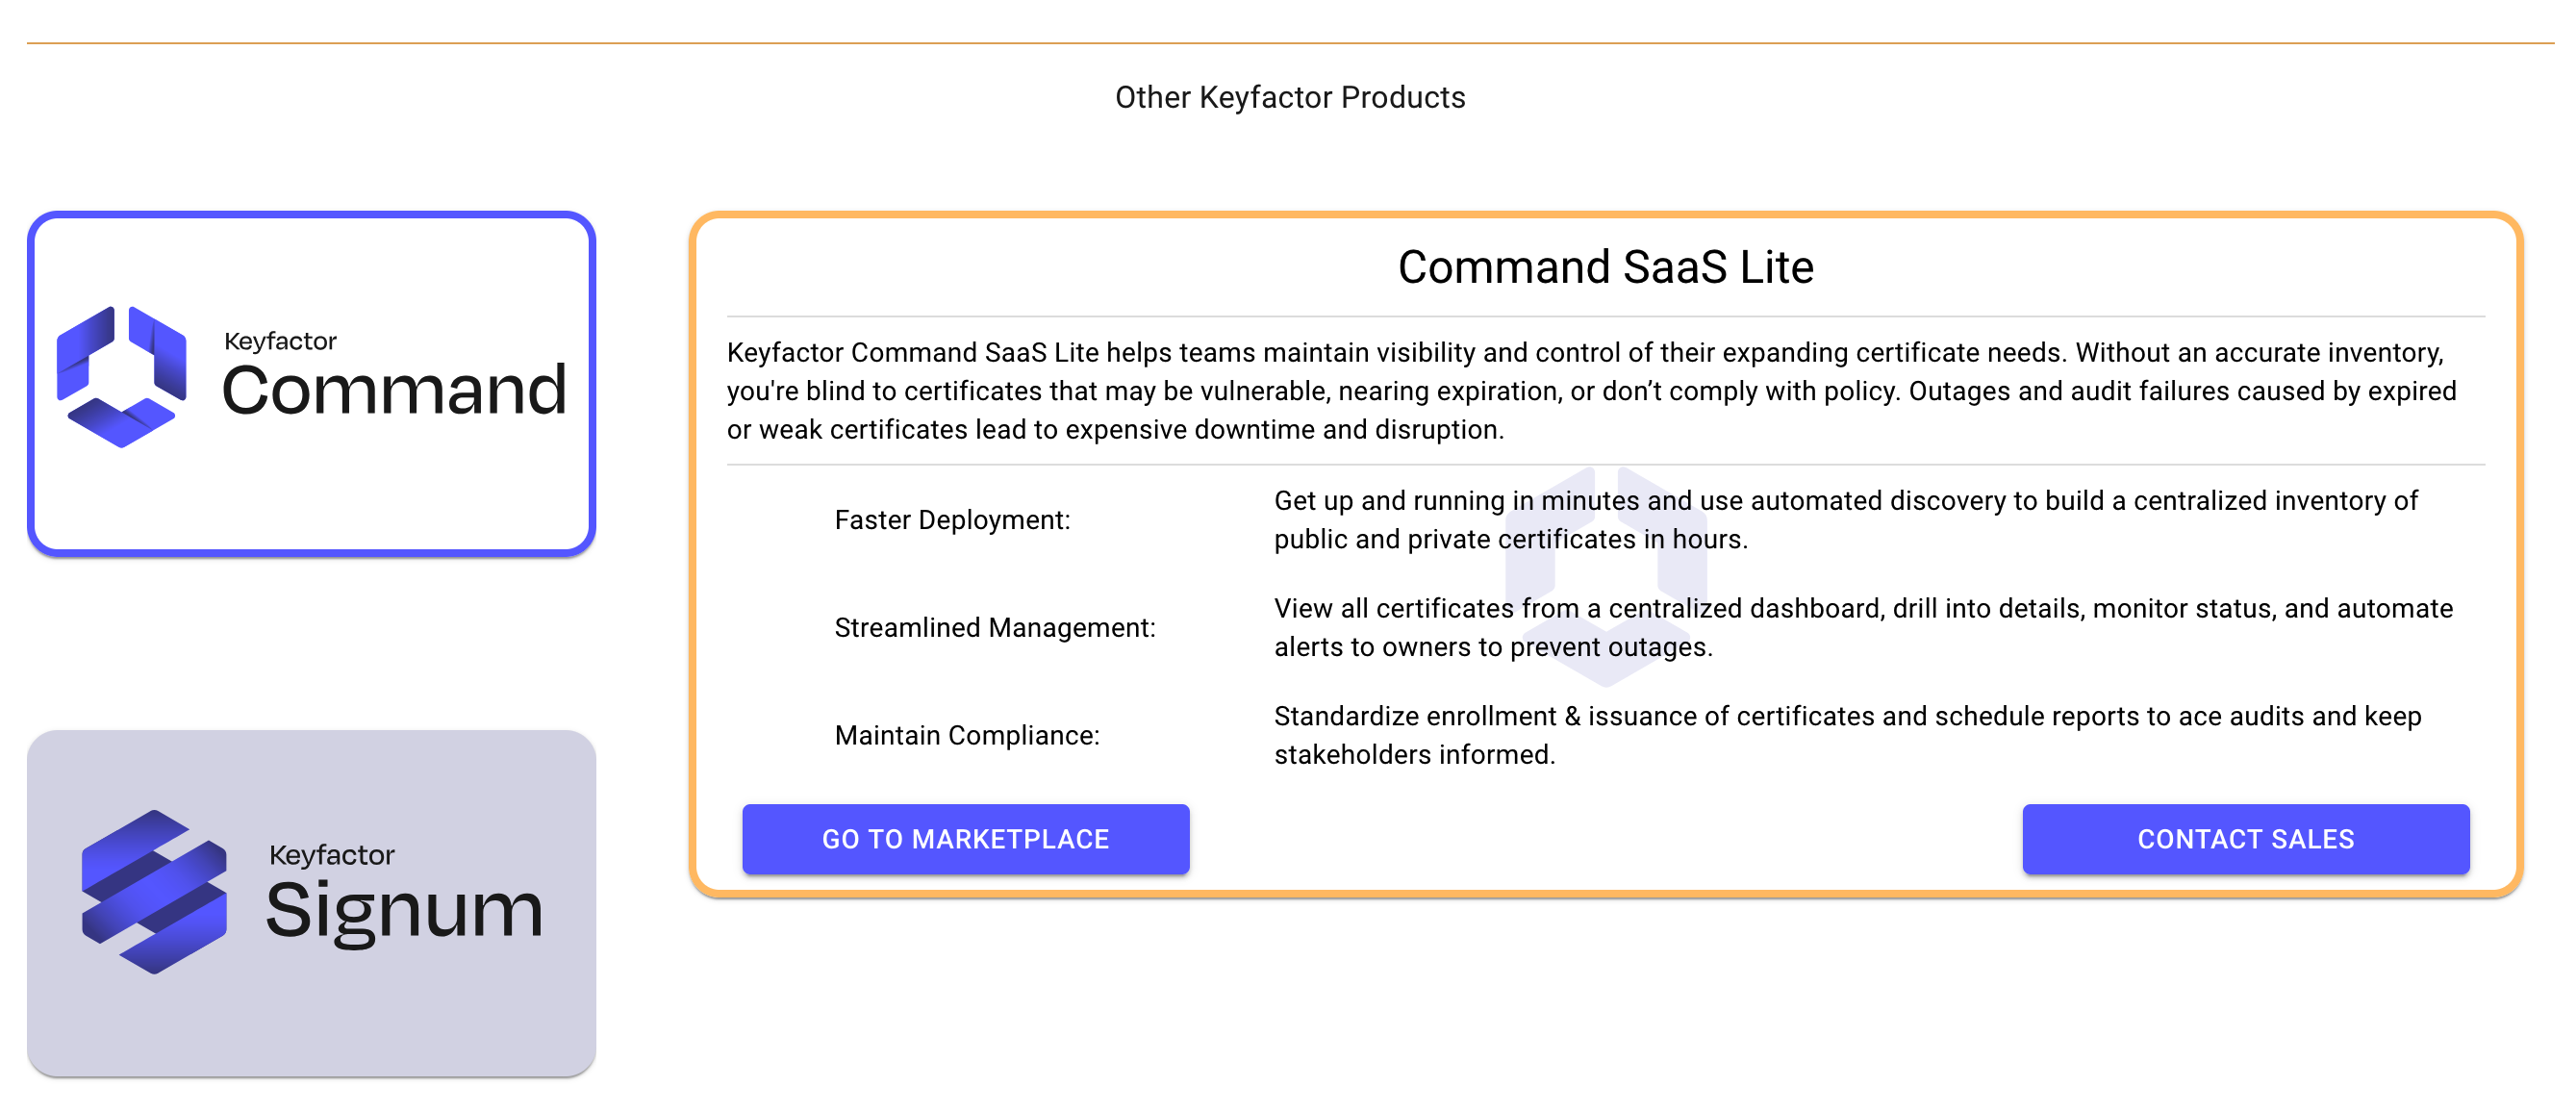
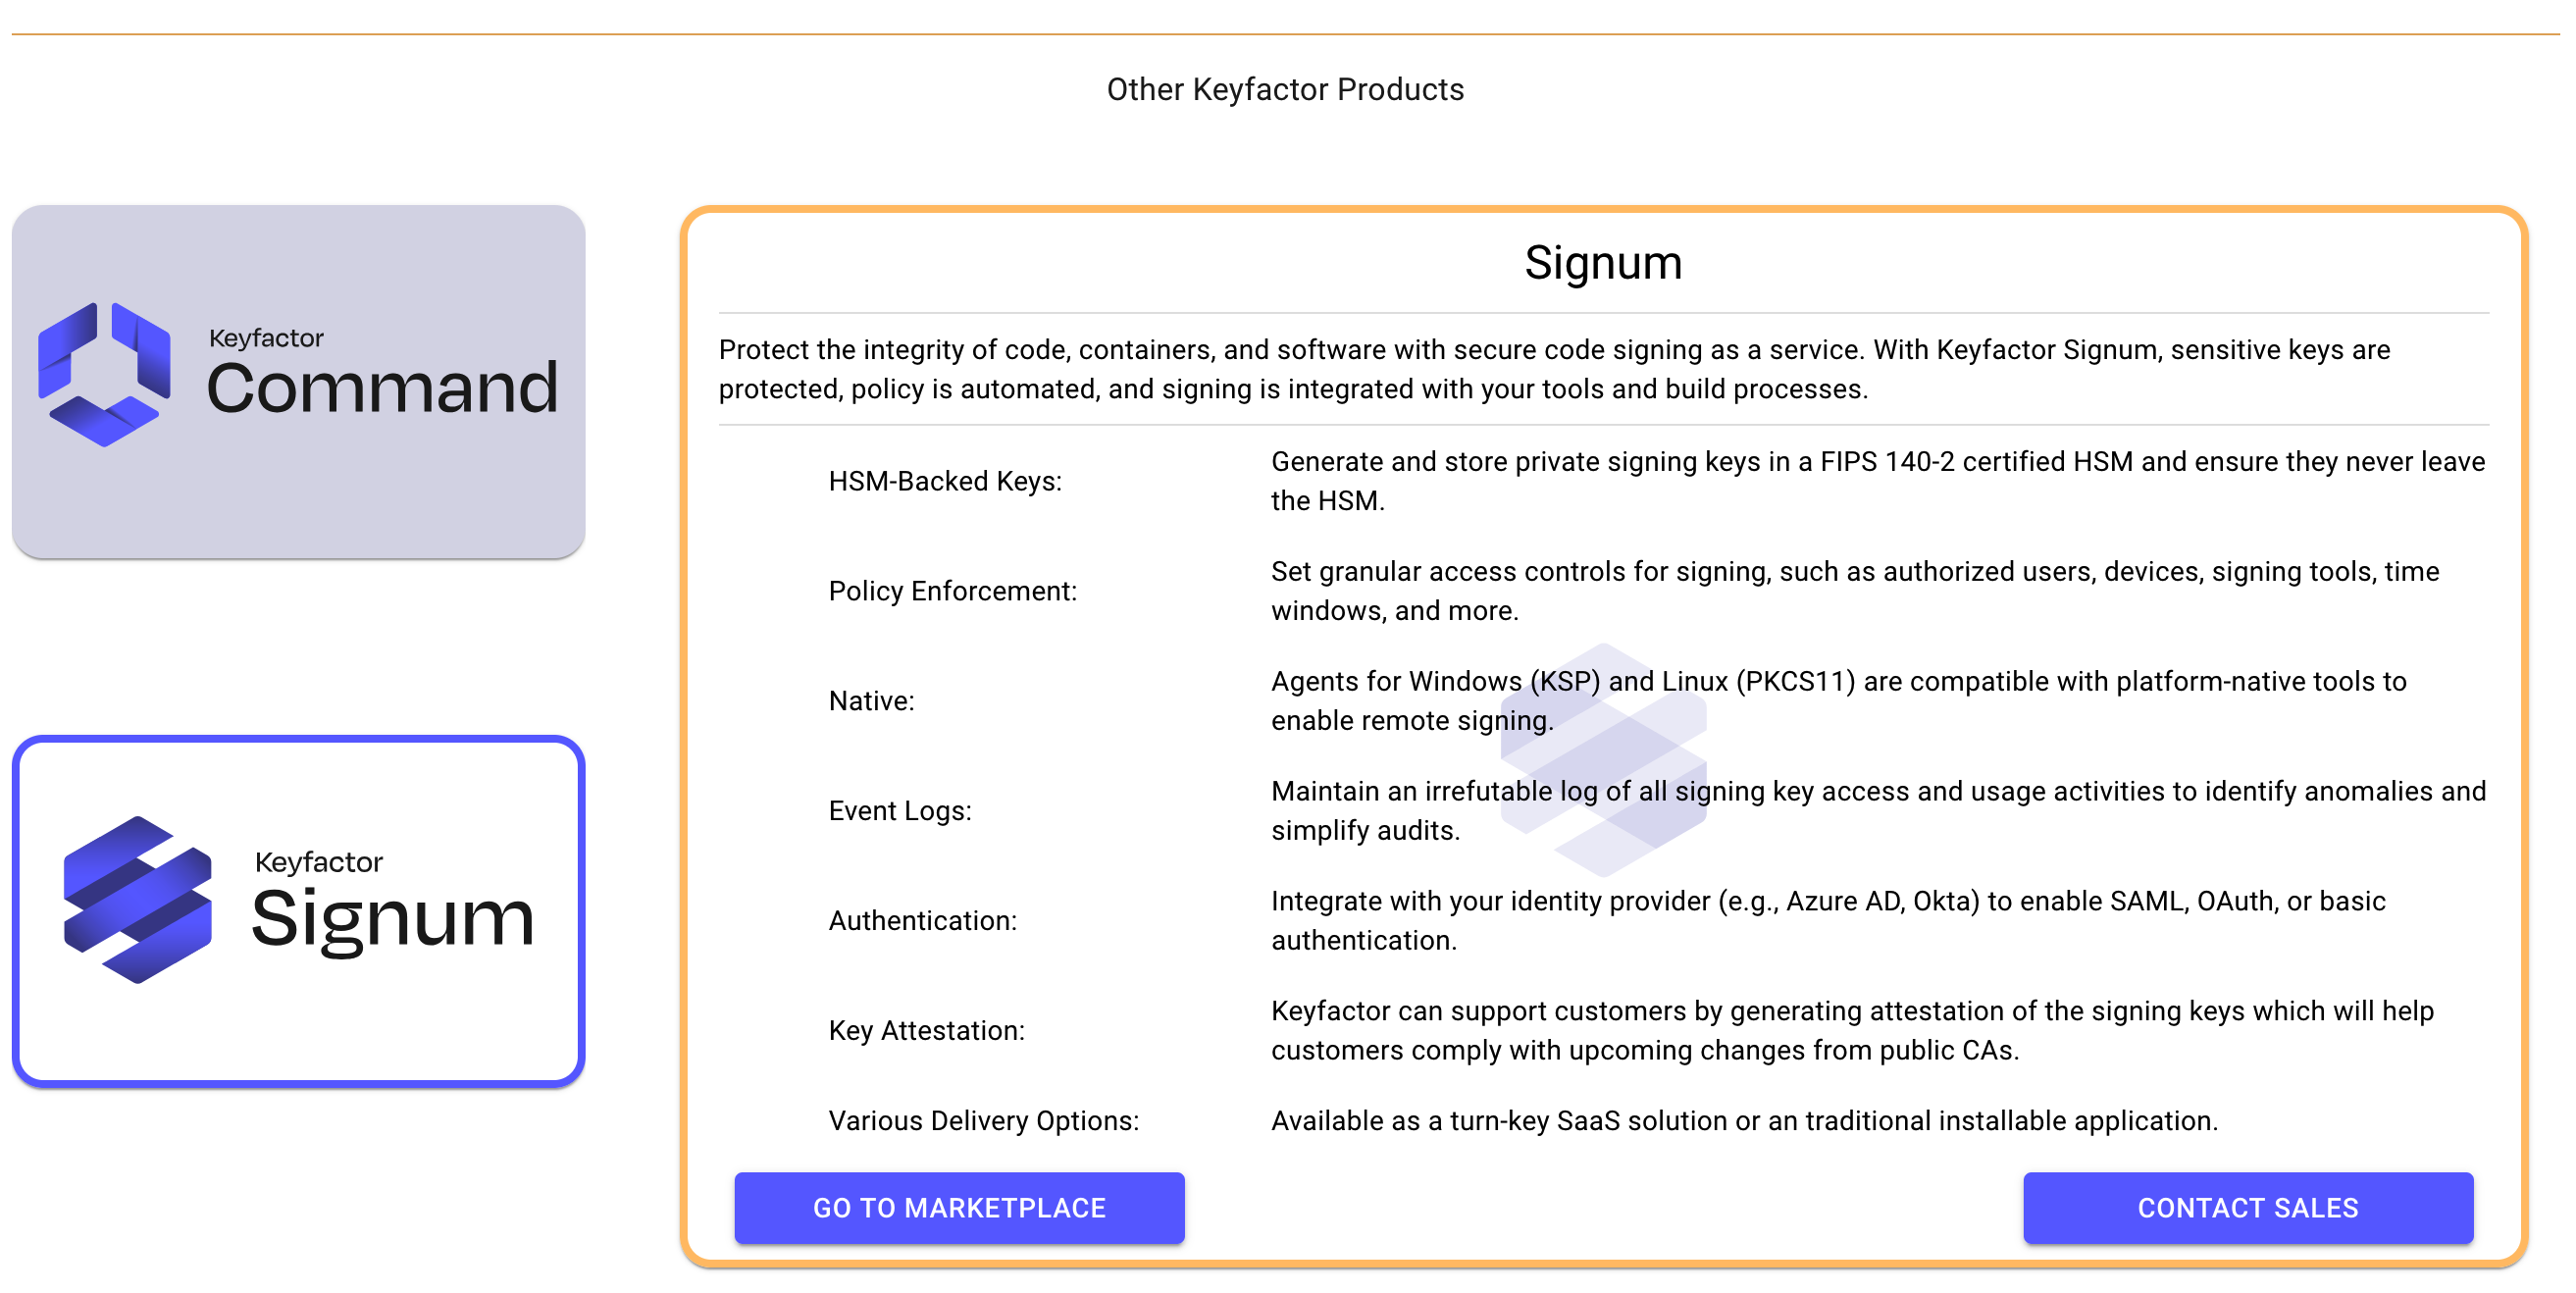
In the following example, AgileSec SaaS is the active registered product and other product tiles for additional Keyfactor products are displayed in the Other Keyfactor Products section. Select a product tile to view information about additional Keyfactor products.
-
The following displays information about Command:
-
The following displays information about Signum:
Toggle Light and Dark Mode
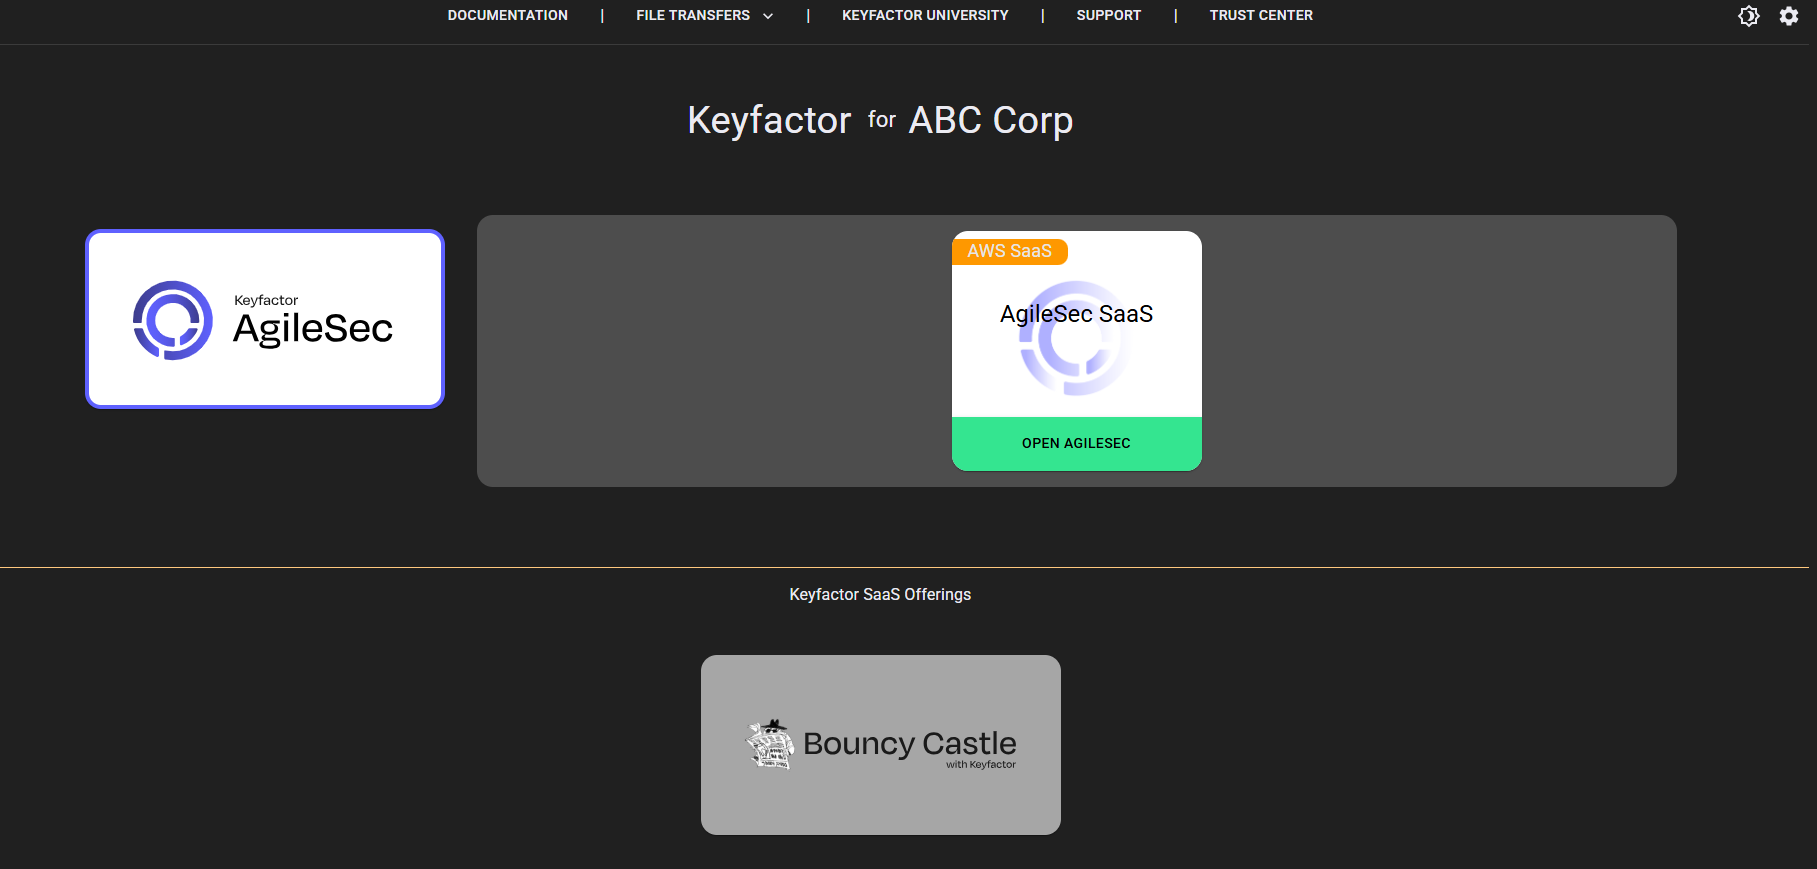
In the top right corner of the screen, there are two user interface modes depending on user preference.
To toggle between the light and dark mode, click the light icon 
Organization Settings
To access Organization Settings, click the gear icon in the top right.
Organization Settings allow you to manage certain aspects of your organization. The name at the top of the screen is the same name displayed at the top of the main page below the Keyfactor logo.
To edit the Organization name:
-
Click the pencil icon to change the Organization Name for all users of the Portal.

-
Edit the name and click the check mark to save.

The change will be reflected on the main screen where deployments are selected.
Edit Deployment Display Names
Clicking the pencil icon next to a deployment name will allow you to change the registration name (display name) that displays on the tile screen.
Changing the registration name does not change the name of the deployment. The deployment name is not changeable due to its link to DNS.
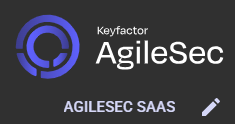
Click the pencil icon to edit the registration name.
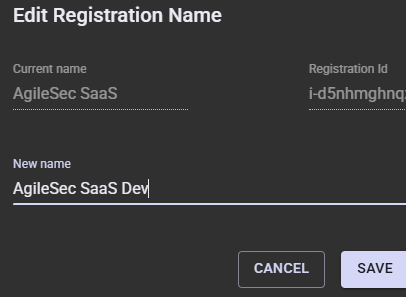
Once the name is changed, the tile on the main screen will be updated.
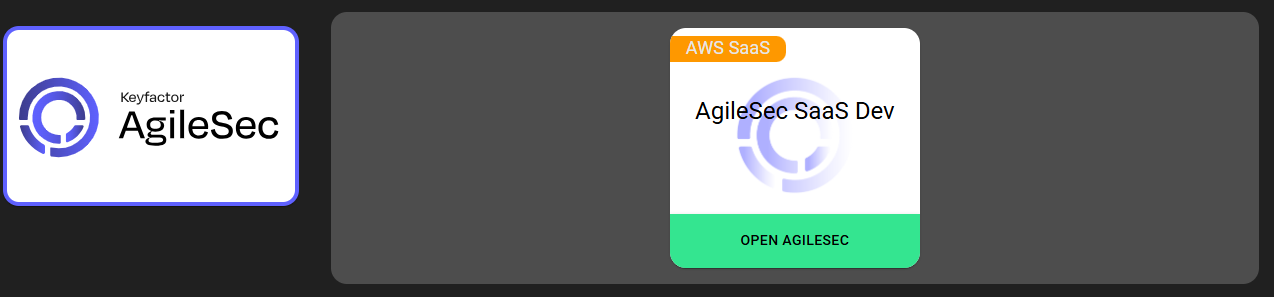
Add Users to Deployments
Step 1 - Create User
-
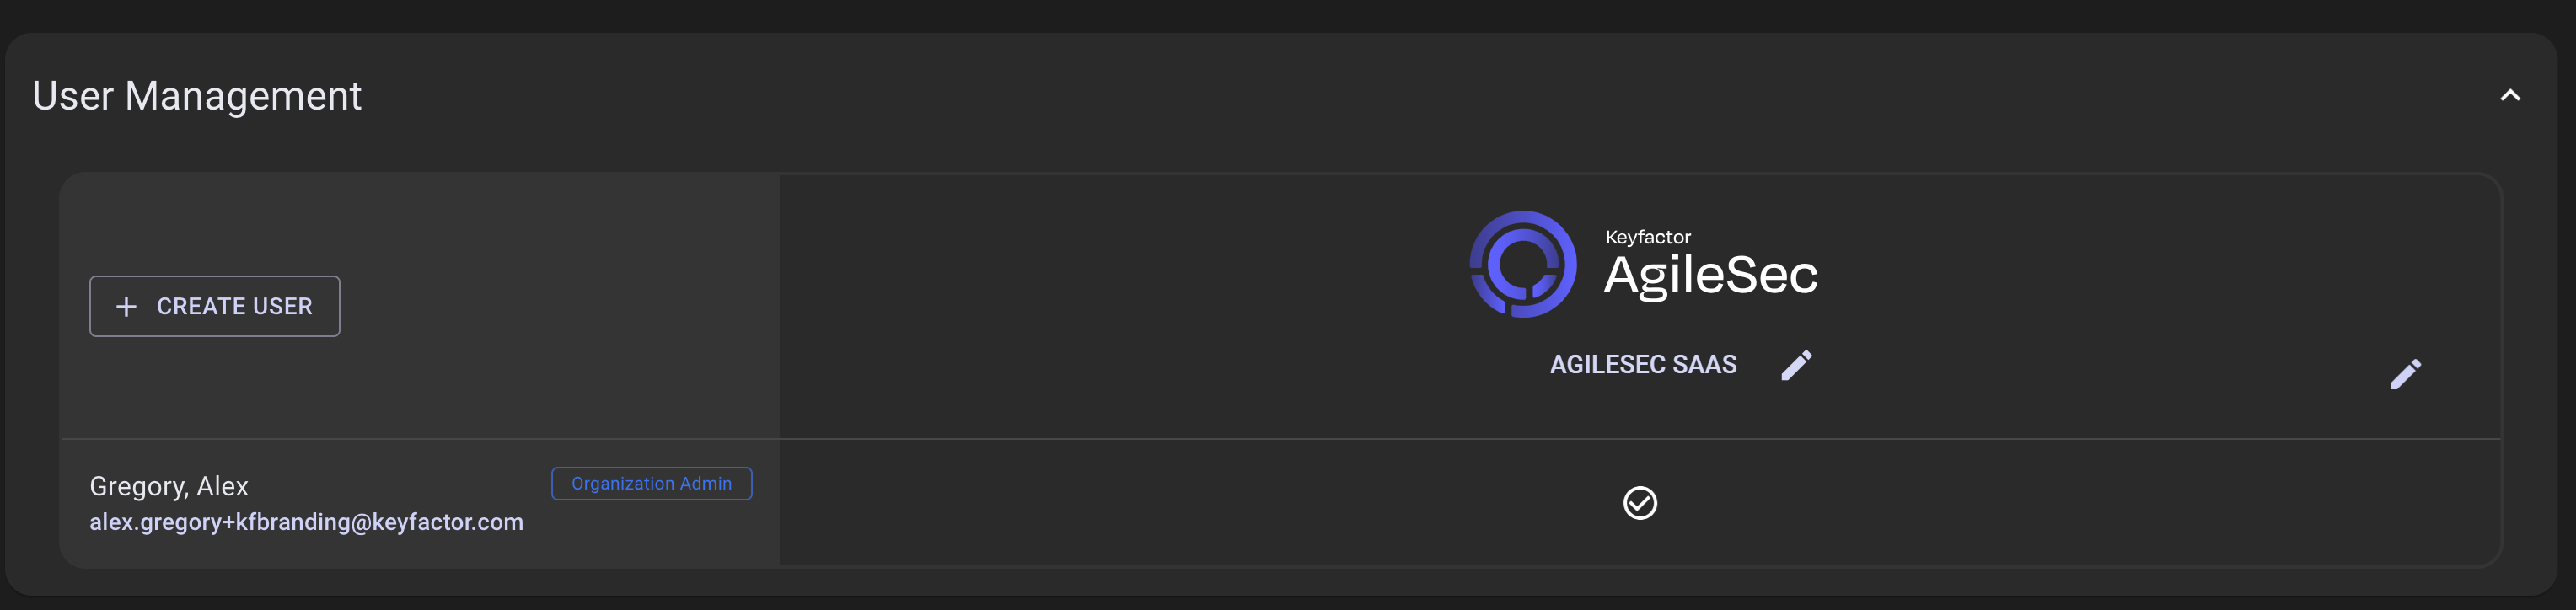
Expand the User Management accordion and click Create User to add a user to the organization.
Step 2 - Create Organization User
-
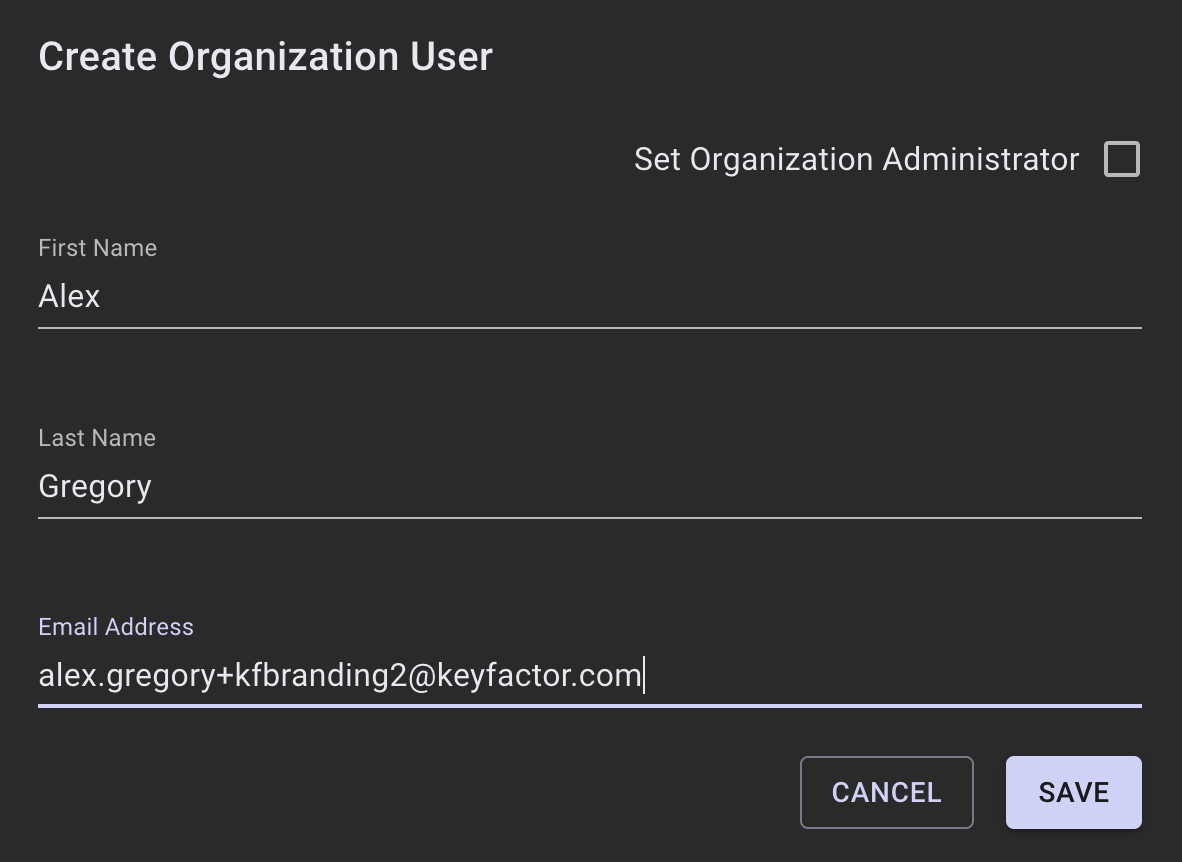
In the Create Organization User section, enter the name and email address of the new user.
-
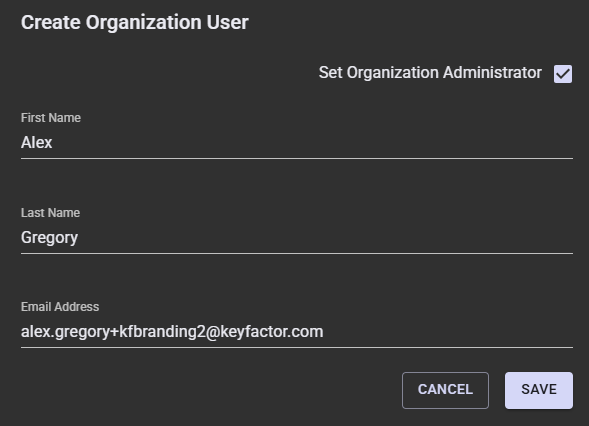
Optional: Select Set Organization Administrator to allow the user access to Organization Settings and admin privileges such as user management.
-
Click Save to send an email to the email address entered. The email will include a link to register and set a password.
-
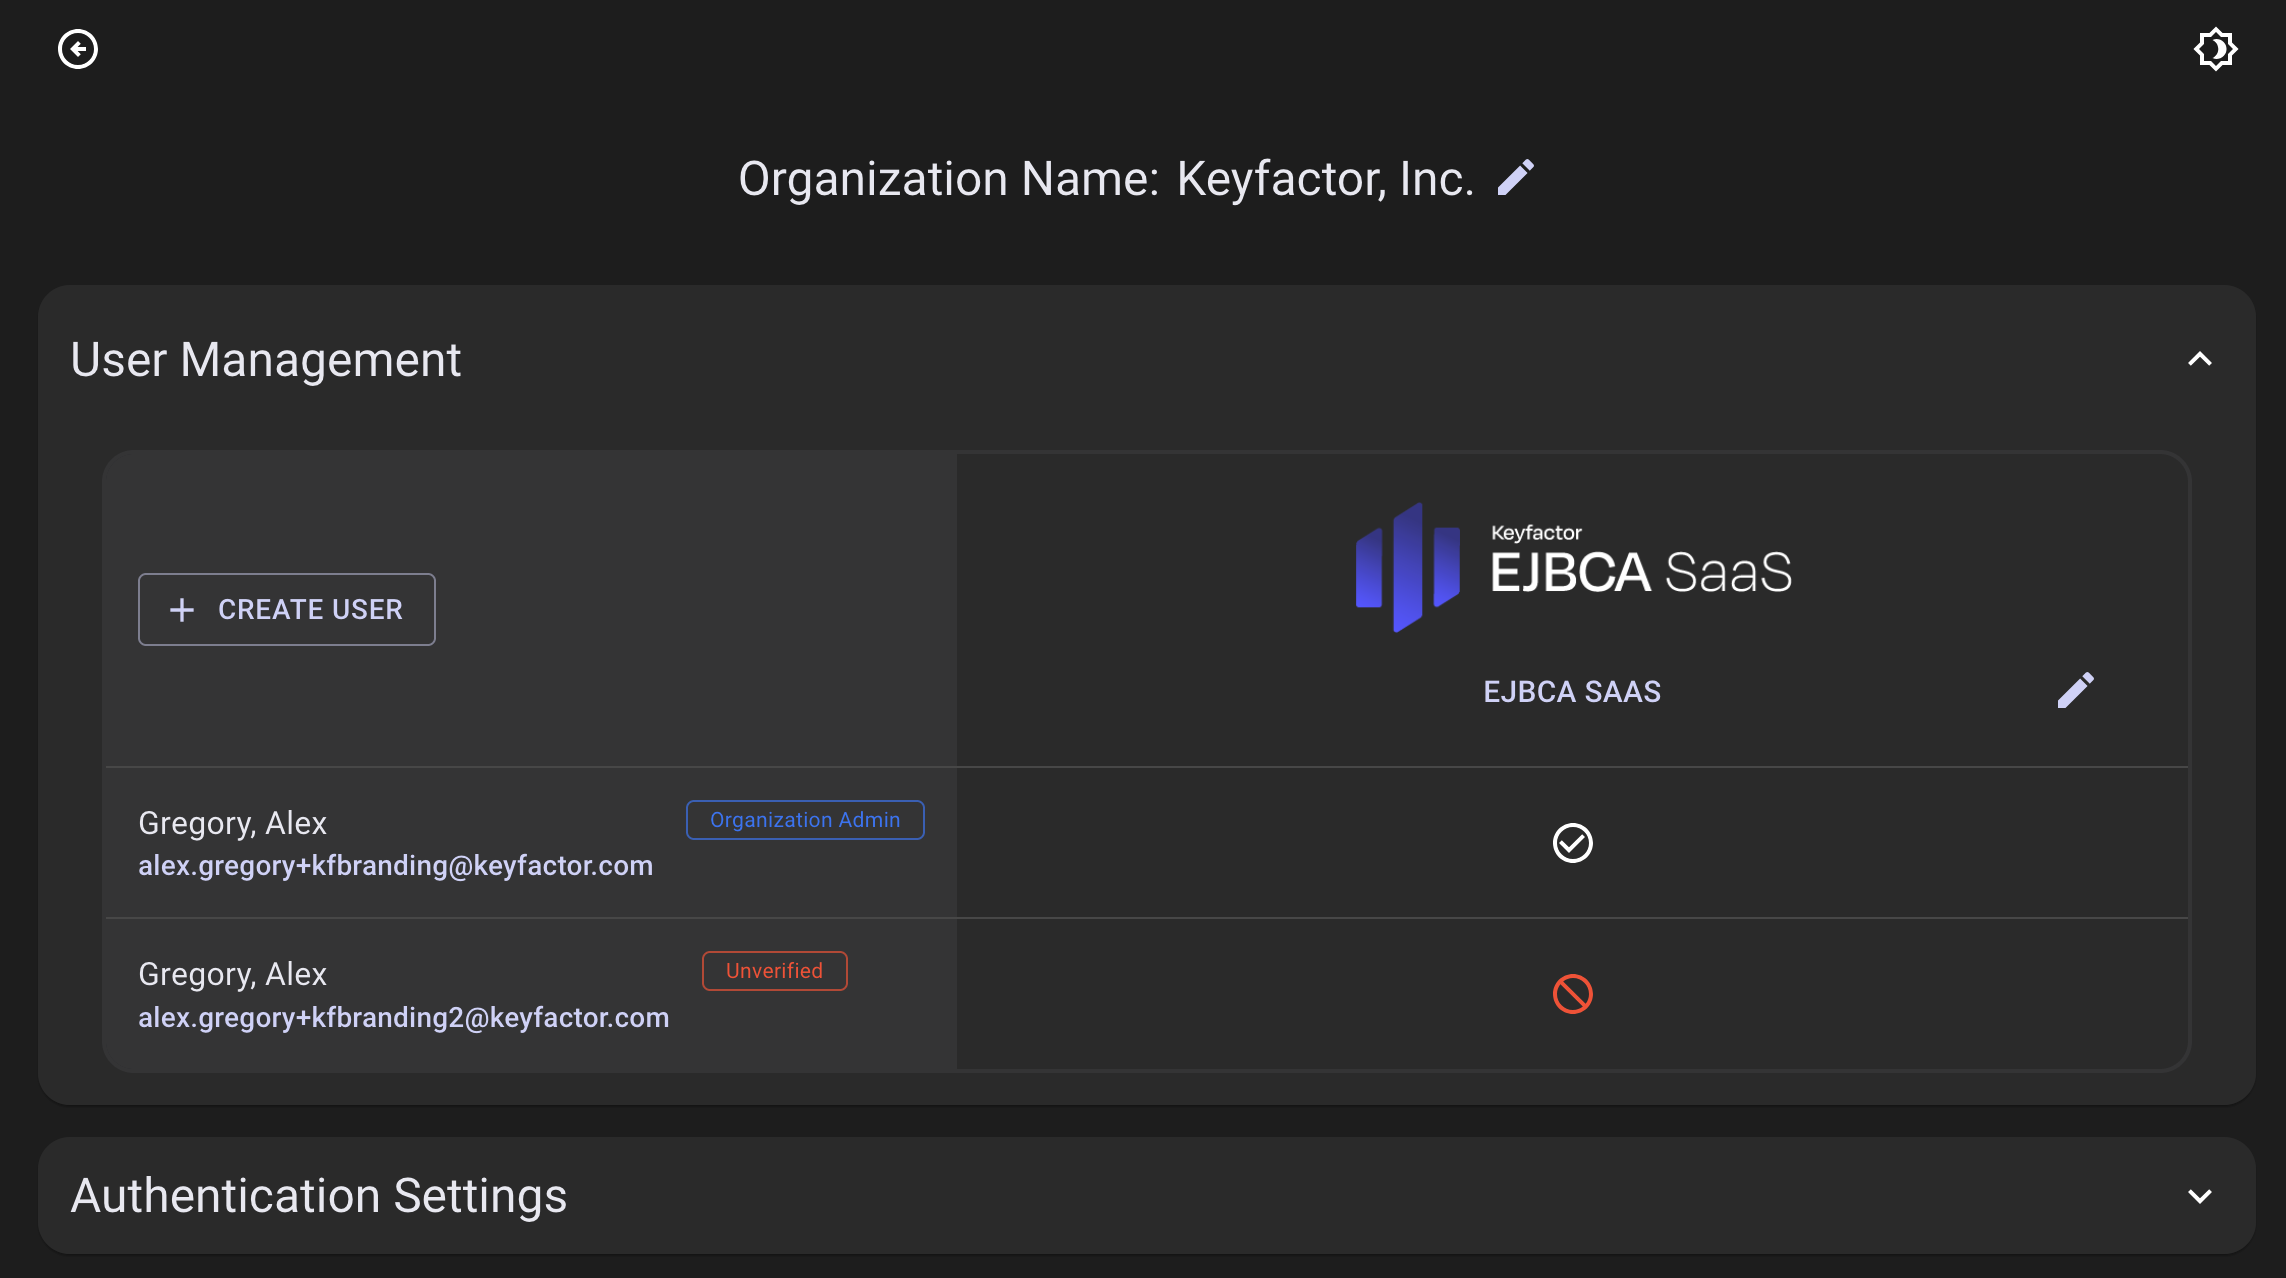
The new user will be added with Unverified status until the user registers and sets a password in the Keyfactor SaaS Portal.
Step 3 - Provide Registration Access
-
Provide user permissions by clicking the 🚫 icon next to the user. A dialog will appear, confirming whether you would like to provide the user access to the Keyfactor SaaS Portal.

-
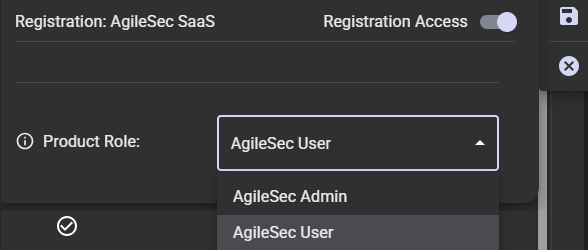
Toggle Registration Access to provide the user access to the deployment identified in the selected column.
-
Providing registration access gives the user access to the following permissions:
-
AgileSec Admin: Full administrative access to perform all AgileSec operations for the organization.
-
AgileSec User: Can create and run scans. By default, Users have read-only permissions to dashboards, policies, and cryptographic findings. Admins may enable additional user permissions through DLS.
-
-
Click the disk icon


The user access options shown here will be different depending on if you are managing access to AgileSec, EJBCA, Command, or Signum.
Authentication Settings
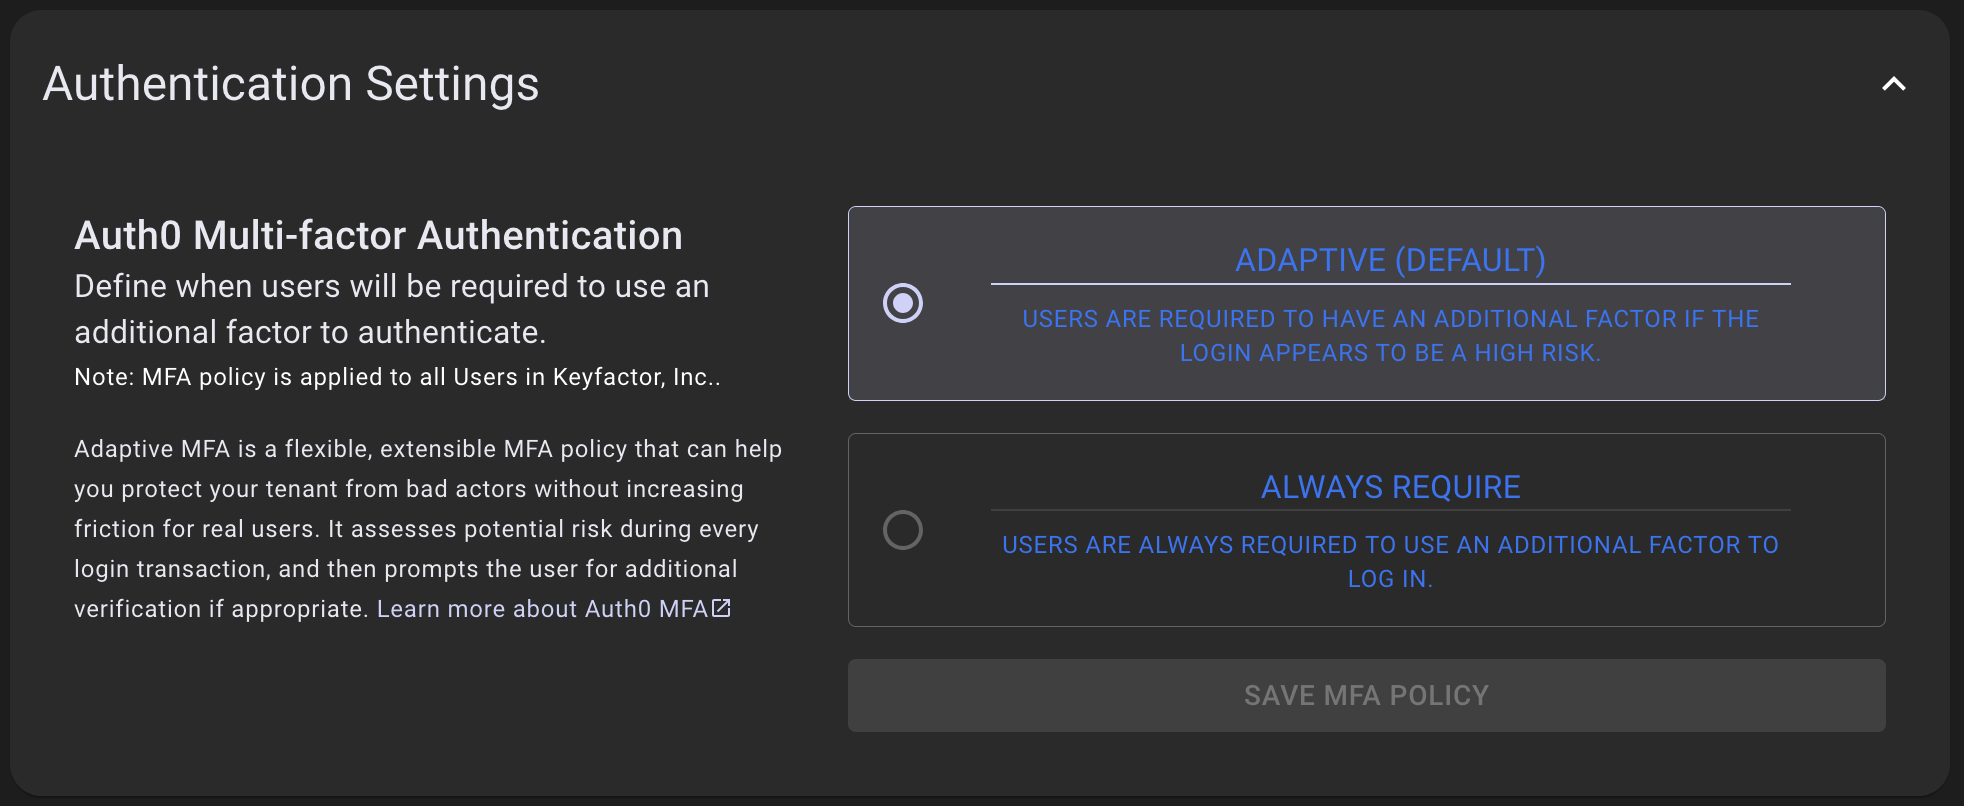
Keyfactor SaaS Customer Portal leverages 2FA as mandatory. The following settings can be selected depending on the level of security desired.
-
Adaptive MFA: Adaptive MFA is a flexible, extensible MFA policy that can help you protect your tenant from bad actors without increasing friction for real users. It assesses potential risk during every login transaction, and then prompts the user for additional verification if appropriate. For more information, refer to the Auth0 by Okta documentation on Adaptive MFA.
-
Always Require: MFA is required for all logins every time a successful password is entered.
Expand the Authentication Settings accordion to access the settings.
During a login transaction, Adaptive MFA calculates an overall confidence score based on analysis of three risk assessments:
|
Assessor |
Risk Signal |
How it is computed |
|---|---|---|
|
|
User attempts to sign in from a device that has not been used to access the account in the last 30 days. |
User agent and browser cookies identify a device. At login time, the device information is compared to the list of devices for the account. |
|
|
User attempts to sign in from a geolocation that indicates an impossible travel situation when compared to the last login. |
The distance between the last valid location and the location of the attempted sign in is computed; the time difference between the sign in attempt is used to compute a hypothetical travel velocity. Velocity is compared to a reasonable travel velocity. |
|
|
User attempts to sign in from an IP address known to be associated with suspicious behavior. |
Auth0 uses intelligence from traffic events to determine the likelihood that the IP address has been used by bad actors to perpetrate high velocity attacks. |
|
Overall Risk Score |
A combination of all 3 factors above. |
Auth0 uses all 3 scores to assign an overall score. Use Actions if you want to implement your own business logic. |