You can delete nodes in a cluster. Proceed as follows:
-
Log in to your Software Appliance and open the Cluster page.
-
In the section Cluster Members, click Unlock to make changes.
-
In the Cluster Members list, find the node you want to delete and click Remove.
-
In the Remove dialog, activate the confirmation Yes, I want to remove this node and click Remove.
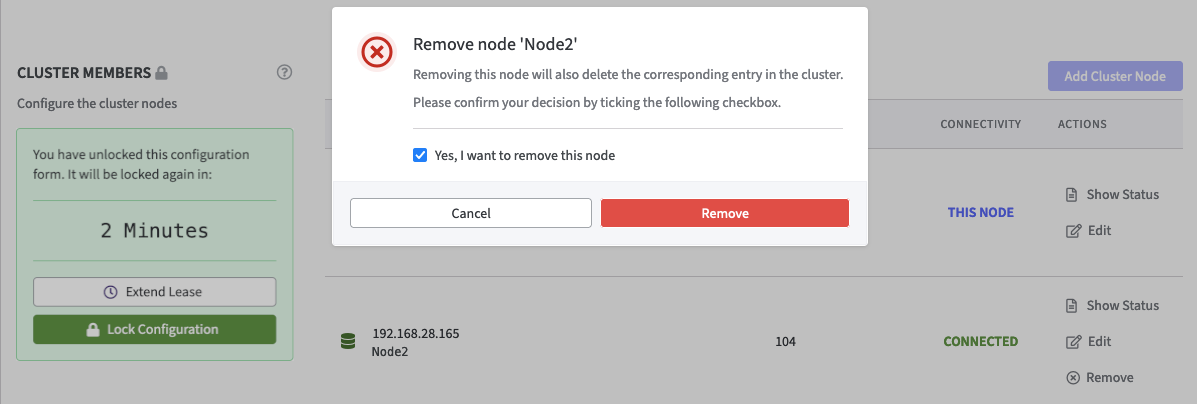
The node will be removed from the cluster. Data on the node will remain untouched by this action.
Dealing with Problems
If the cluster is in a state that makes starting without manual intervention impossible like:
-
node keeps showing Connecting
-
more than one node shows the Force into Primary function in the Action column active
the Force into Primary option has to be used.
-
In the Cluster page, go to the section Cluster Members and click Unlock to make changes.
-
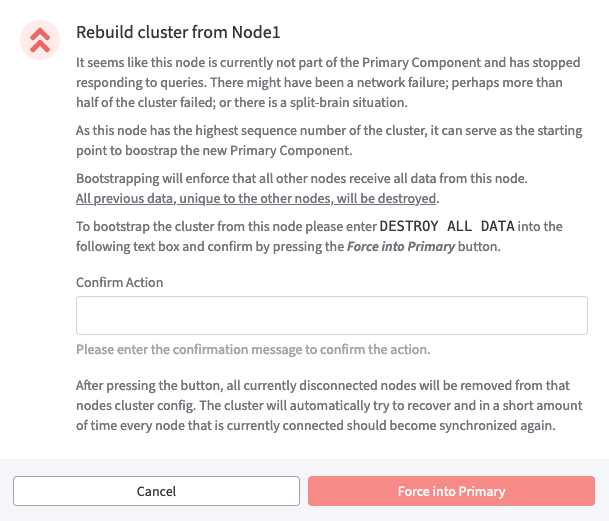
Find the node with the highest LTID and click Force into Primary which appears for this node only.
-
You are prompted to confirm the action. For security reasons and because the data of the other nodes will be destroyed, you have to explicitly type the confirmation: DESTROY ALL DATA.
-
Click Force into Primary to initiate the following:
-
In the event that the the Connectivity status of a node is showing Disconnected, the node will be removed from the cluster configuration.
-
If the Connectivity status of a node shows Connecting, the node will be reconnected to the cluster configuration.
-
Data on all other connected nodes will be deleted.
-
Data from the current node will be transferred to all other connected nodes.
-
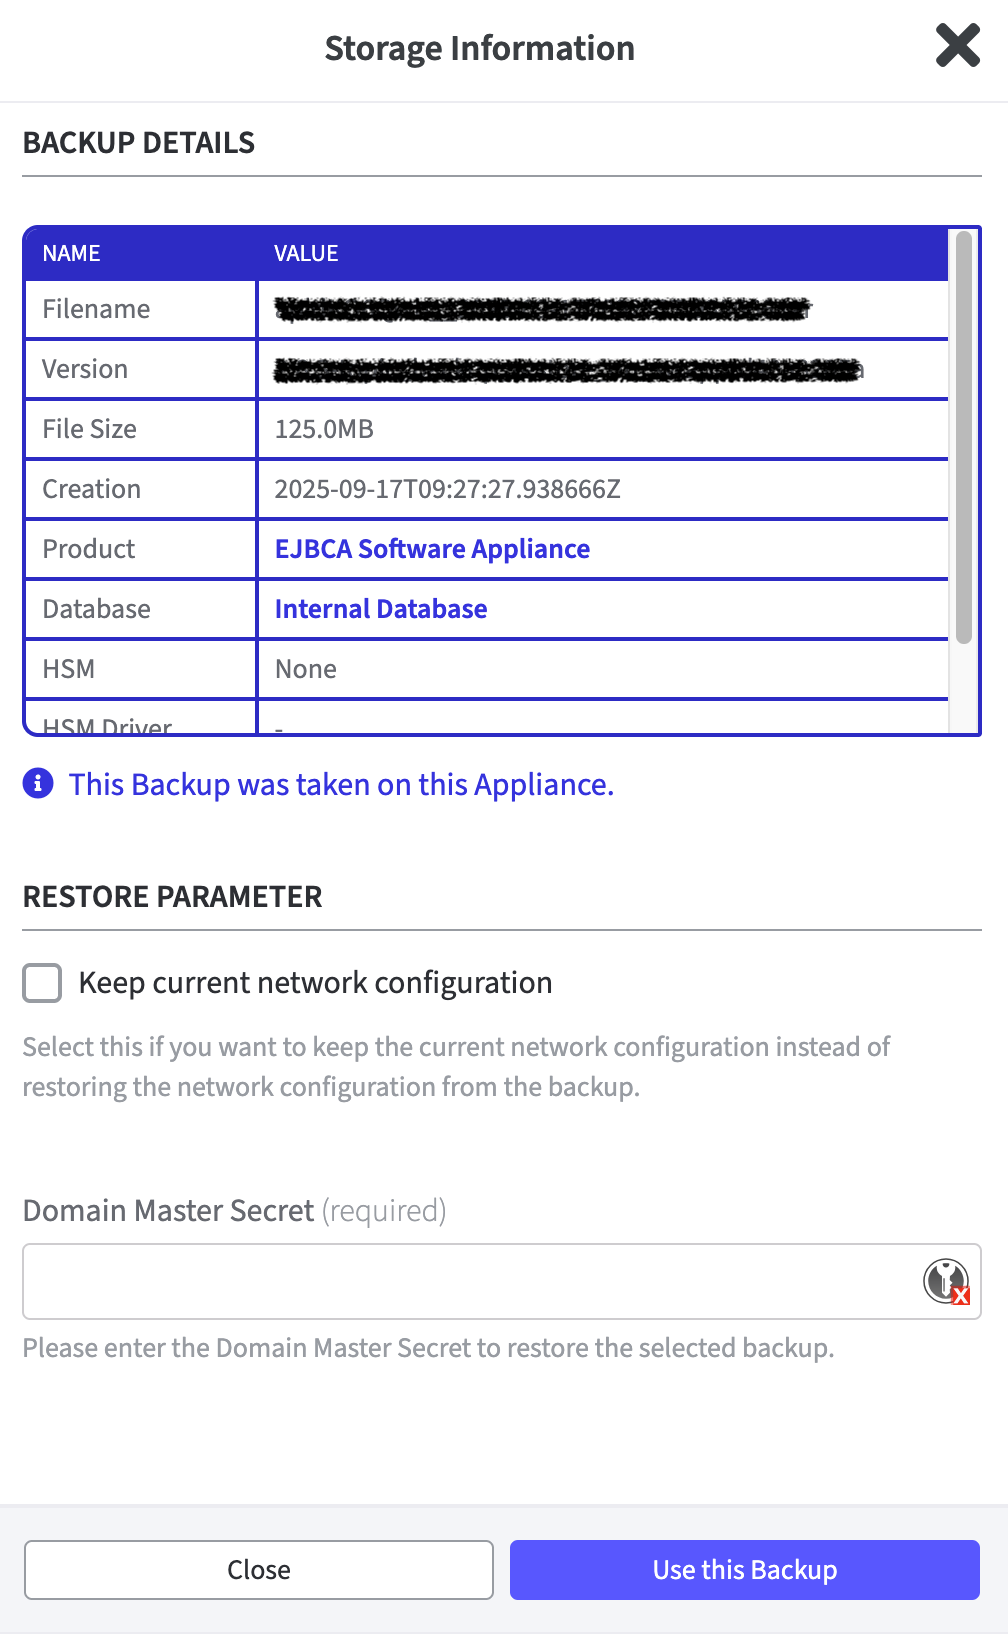
The Cluster IP Address is not updated after Restoring Cluster Backup
When restoring and verifying a backup that contains a cluster configuration on another device, the cluster page may still display the old node IP.
After selecting the Backup to be restored the Storage Information and Backup Details are displayed on the right side of the Restore page.
Restore Parameter
If the option Keep Current Network Configuration has been selected when restoring a cluster backup, and the appliance’s current network configuration differs from the one included in the backup, please note that the IP addresses of the cluster nodes will likely need to be updated manually.