.png)
Configure Nameservers
If you use your own nameservers on your network, you can register and manage them with the Software Appliance Terminal UI. Proceed as follows:
-
Open the Terminal UI. The Status overview will be displayed.
-
Use the arrow and ENTER keys to navigate to the Network Settings.
-
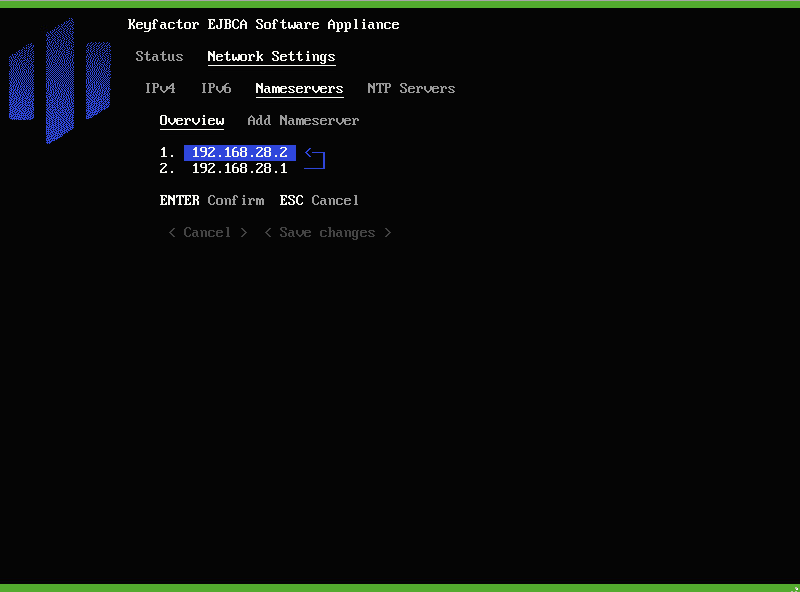
Navigate to Nameservers. The Overview shows the currently configured nameservers:
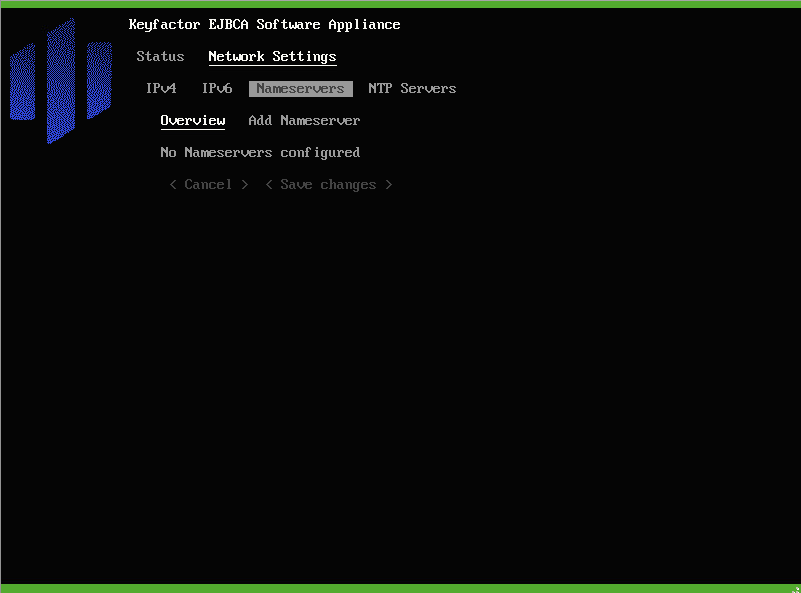
You can now choose to add or delete a nameserver or change the order of the nameservers.
Add a New Nameserver
-
Navigate to Add Nameserver
-
Enter the IPv4 or IPv6 Address of the nameserver.
-
Choose < Add > to confirm your entry.
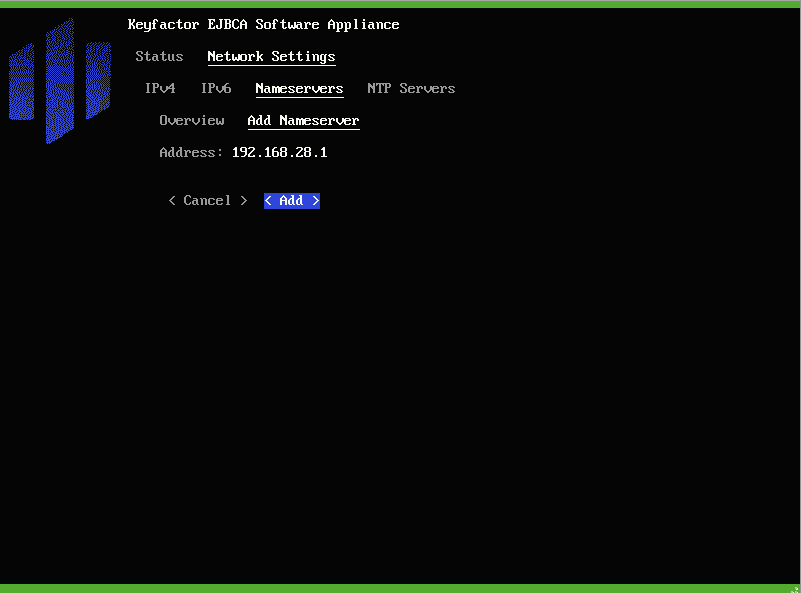
The new nameserver is added to the end of the list of existing nameservers.
Delete a Nameserver
-
In the Overview, use the arrow keys to choose a nameserver entry.
-
Press ENTER on your keyboard to select the entry.
-
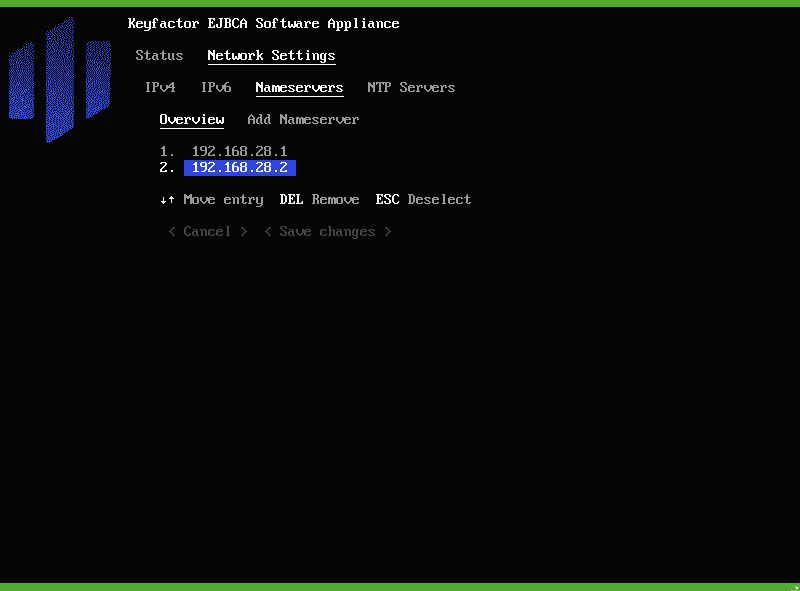
Press DEL on your keyboard to remove the nameserver.
-
Confirm your changes by selecting < Save changes >.
Change the Order of Nameservers
-
In the Overview, use the arrow keys to choose a nameserver entry.
-
Press ENTER on your keyboard to select the entry.
-
Use the arrow keys to move the entry to the desired position. The Terminal UI will indicate the move.
-
Press ENTER on your keyboard again to confirm the new position.
-
Confirm your changes by selecting < Save changes >.