Create a Certificate Profile for SSL Servers
The following describes how to create Certificate Profiles for server certificates.
For more conceptual information about Certificate Profiles, see Certificate Profiles Overview and for information on available Certificate Profiles Fields, see Certificate Profile Fields.
Certificate Profiles provide a template and constraints for the certificates produced for a certain purpose. The certificate profile chosen for a CA constrains the certificates for that CA's keys and not the certificates which are in turn signed by those keys. These are instead defined in the End Entity Profile.
This is merely an example guide, and does not conform to any baseline requirements program or standard. As standards and requirements tend to both differ from each other and evolve, it is always up to the end user to ensure that their configurations are compliant.
Create Certificate Profile for Server Certificates
To create a certificate profile suitable for SSL/TLS servers, such as web servers, do the following:
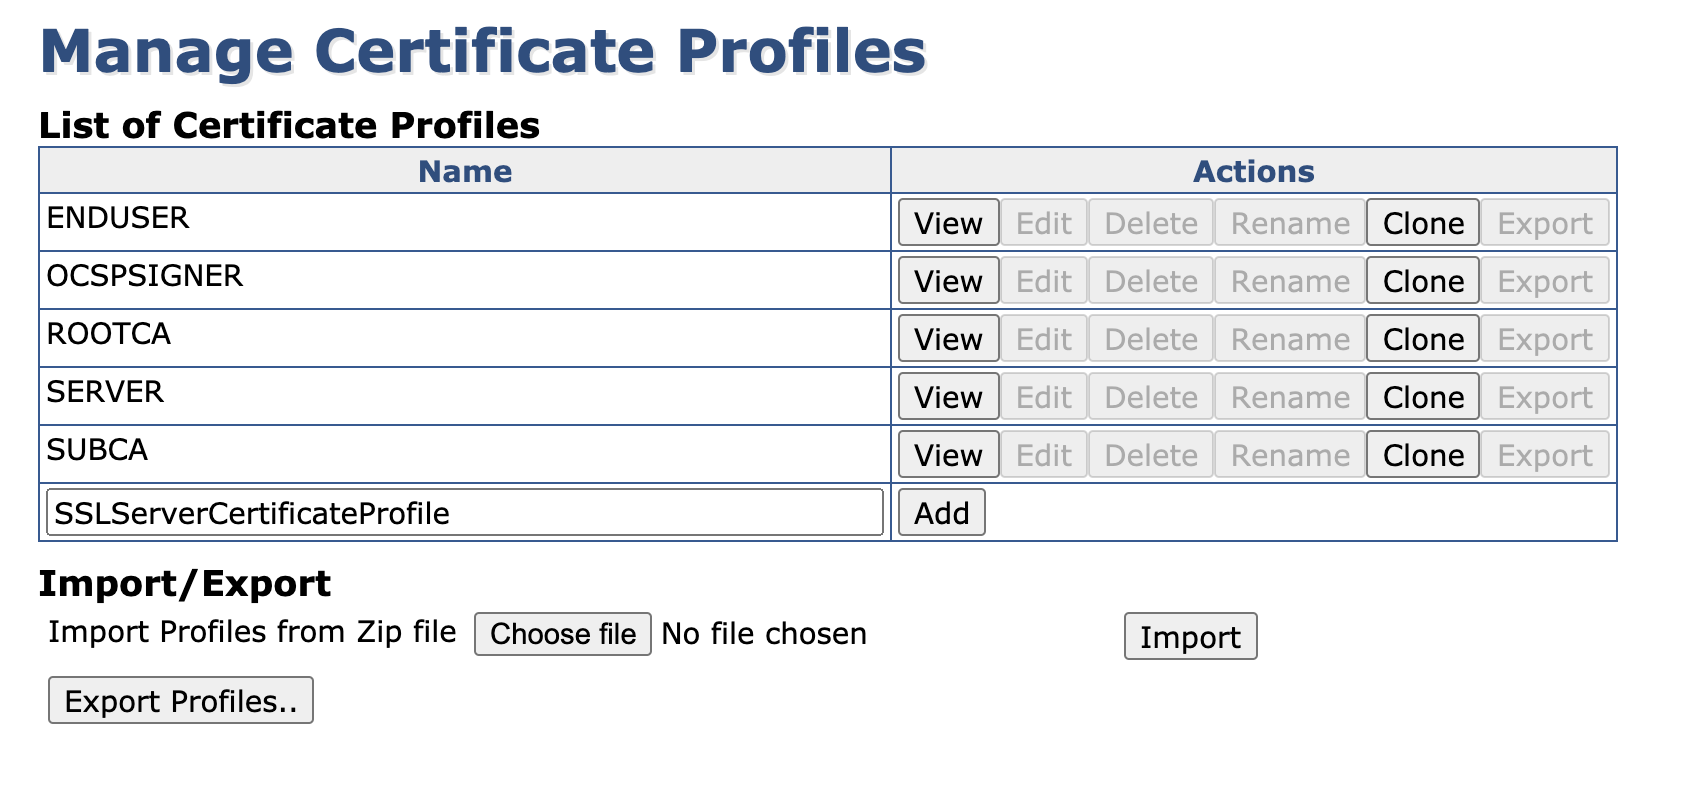
- Click Certificate Profiles under CA Functions to open the Manage Certificate Profiles page.
- Specify a name for the certificate profile, for example SSLServerCertificateProfile, and click Add.

Find your new SSLServerCertificateProfile in the List of Certificate Profiles, and click Edit.
- Edit the settings according to the following:
- In Type, select End Entity.

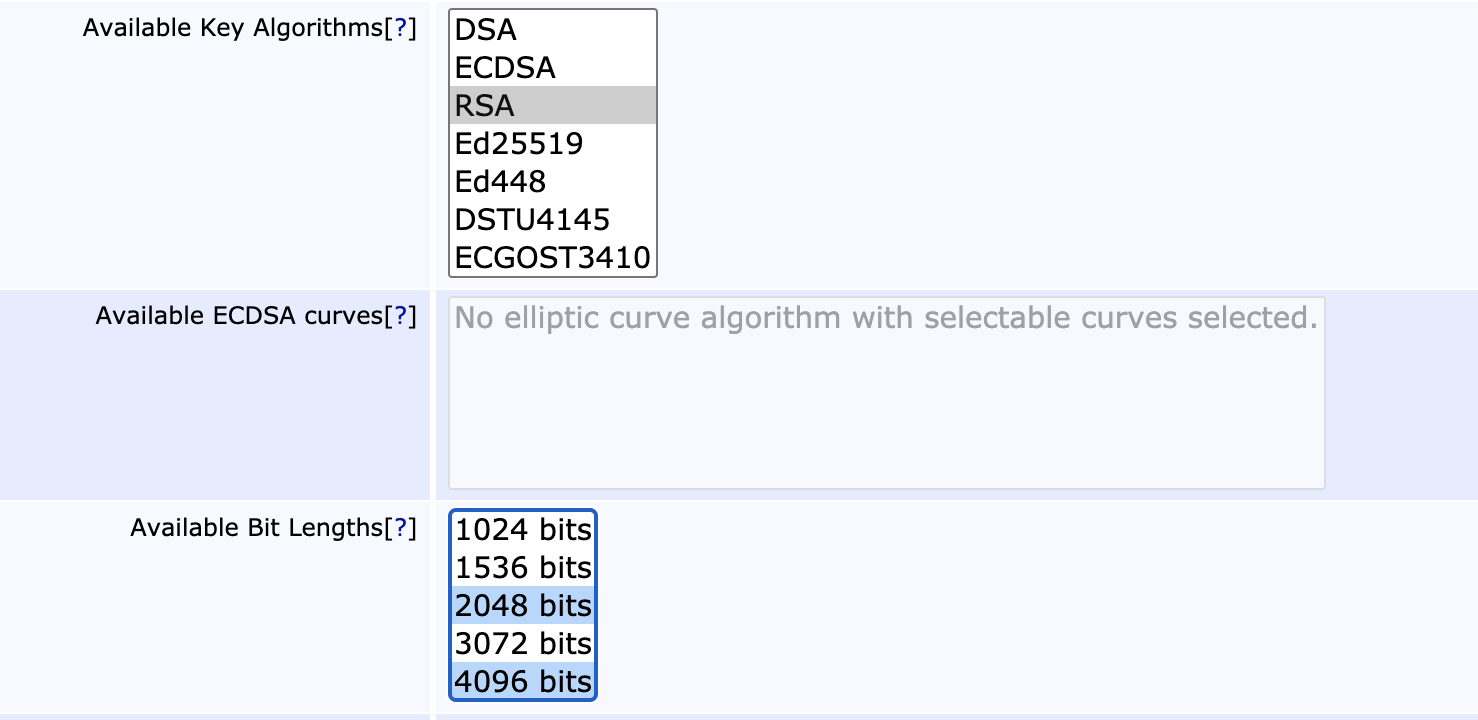
- Select whatever algorithm and parameters you want to accept, this example uses RSA and key sizes of 2048 and 4096 as acceptable.

- In the Validity field, enter 365d to specify the validity of the certificate to 1 year.

- Scroll down to Permissions, and ensure that the Allow Key Usage Override option is not chosen, as this would allow a CSR to override the key usages specified in the profile.

- Scroll down to Key Usage and select Digital Signature and Key encipherment.

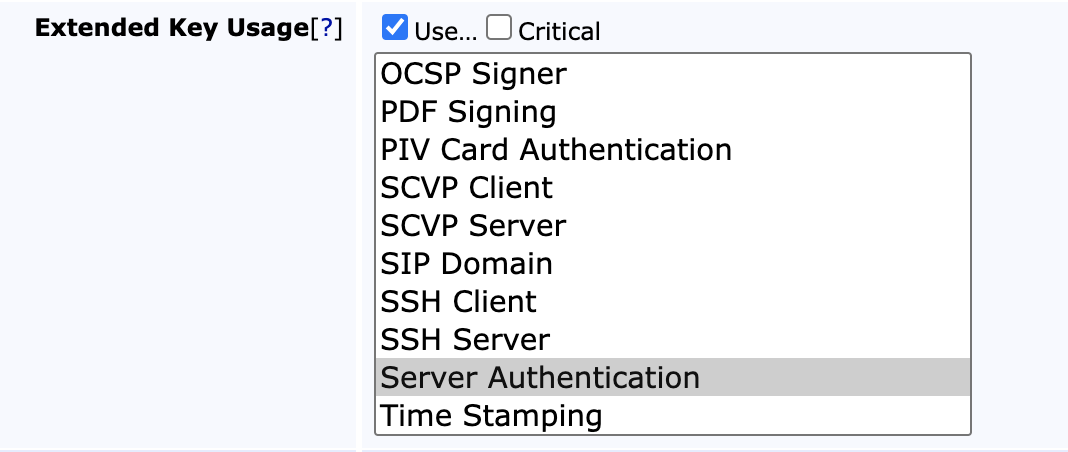
- Enable Extended Key Usage and select Server Authentication.

- If using Certificate Transparency, select Use in New Certificates and then select the labels (log groups) you wish to submit to

- If your workflow requires several administrators to approve of certificate requests, scroll down to Approval Settings and pick your approvals scheme

- Scroll down to Other Data and in the Available CAs list, select the CA's which you wish to be able to use this profile.

- If you're intending to publish your certificates (e.g. publishing revocations to a Verification Authority), select your publishers on the Publishers row.

- In Type, select End Entity.
- Click Save to store the settings and view the new certificate profile in the list.
Create Certificate Profile for Server Certificates from Template
You can create a new Certificate Profile by cloning a default template or any other existing Certificate Profile. The Manage Certificate Profiles page (CA Functions > Certificate Profiles) displays all available profiles and lists the default profiles at the top of the List of Certificate Profiles list, followed by any existing Certificate Profiles created.
To create a new Certificate Profile using an existing profile as a template, do the following:
- Click Certificate Profiles under CA Functions to open the Manage Certificate Profiles page.
- Find the Certificate Profile to use as a template, for example the default SERVER template, and click Clone.
In the Clone screen that appears, specify a name for your new Certificate Profile, for example SSLServerCertificateProfile, and click Create from template.
Find your new SSLServerCertificateProfile in the List of Certificate Profiles, and click Edit to make any changes.
.png)