When you have access to the Test Drive Management Portal, the next step is to access your PQC Lab Test Drive and set it up for the first time.
This initial setup is required to ensure a smooth experience. It guides you through accessing the Test Drive, configuring your browser to trust the Test Drive certificates, downloading the client CLI and signing certificates, and setting up access to the EJBCA CA.
Access the Test Drive
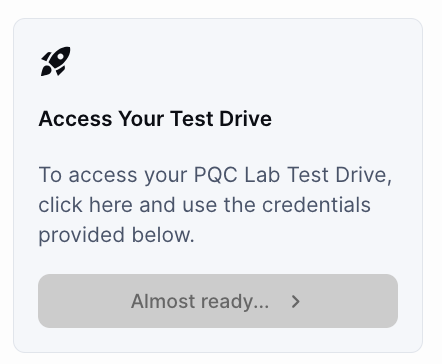
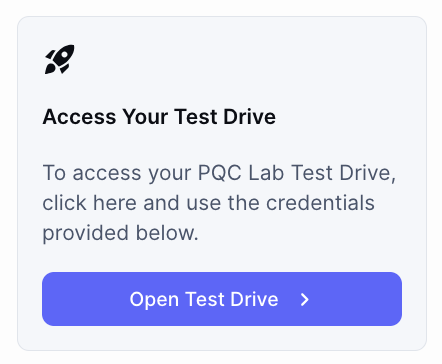
When a new Test Drive is started, it will take a few minutes for it to become active. Before that, the button to access the Test Drive is greyed out. When the button says Open Test Drive, it is ready for you to access.
To access your Test Drive:
-
In the Management Portal, click the link to Open Test Drive.
-
The first time you access the Test Drive, you will get a warning due to the self-signed certificate: Your connection is not private.
To continue, click Advanced and then Proceed to … (unsafe).
-
While the Test Drive is deploying, you will see a temporary Landing page.
-
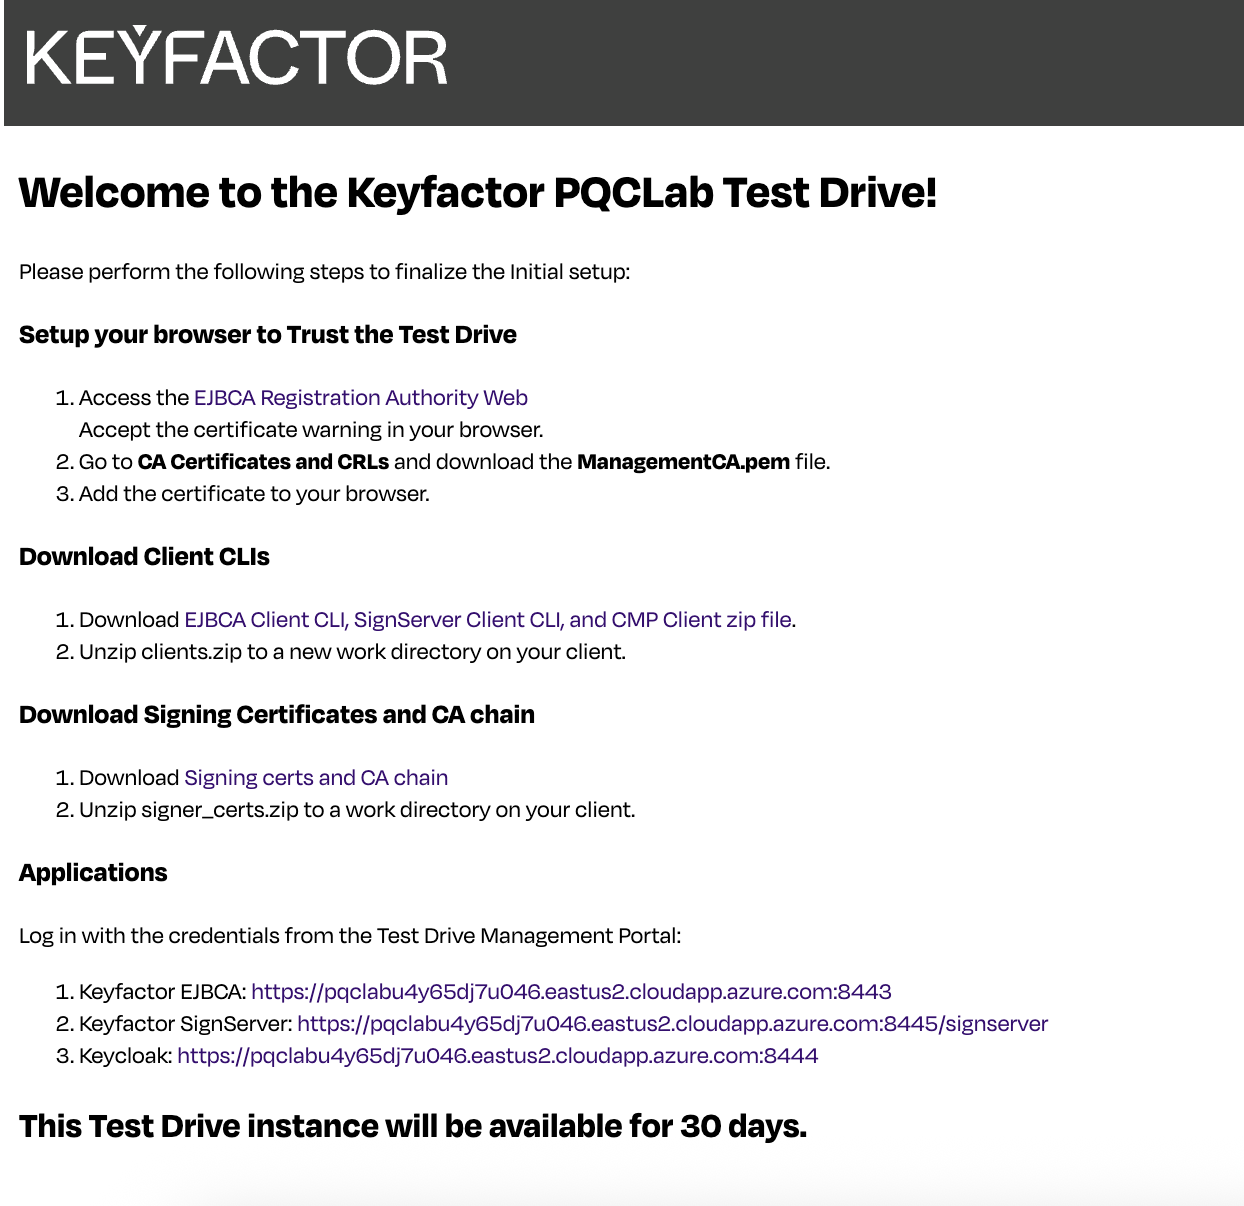
Once completed, after about 15-20 minutes, the Test Drive Landing Page will appear.
Set up your Browser to Trust the Test Drive
To make your browser trust the Test Drive’s self-signed CA (and avoid getting warnings about your connection not being private), download the Test Drive CA certificate and add it to your browser:
-
Access the EJBCA Registration Authority Web by clicking the link on the Landing page. Accept the certificate warning in your browser.
-
Go to the CA Certificates and CRLs tab. Find ManagementCA in the list. In the Certificate column, click PEM to download the .pem file
-
Add the certificate to your browser’s certificate store.
For details on how to download and add the CA certificate to your browser, see Add the PQC Lab Test Drive Certificate to your browser.
Download Client CLIs
Download the EJBCA & SignServer Client CLI that will allow you to generate PQC Certificate Signing Requests (CSRs) and sign artifacts with PQC.
-
On the Test Drive landing page, click EJBCA Client CLI, SignServer Client CLI, and CMP Client zip file to download the clients.zip file.
-
Unzip clients.zip to a new work directory.
Download Signing Certificates
Download the Signing certificates and CA certificate files to validate the signing use cases:
-
On the Test Drive landing page, click Signing Certs and CA chain to download the signer_certs.zip file.
-
Unzip signer_certs.zip to the same directory as clients.zip.
-
Confirm that you have
ca-certificates.crt,CmsSigner.crt,PlainSigner.crt,TimeStampSigner.crtin the directory.
Activate EJBCA and SignServer Access
To effectively explore the PQC use cases and configurations, you need to set up access to EJBCA.
Select the authentication option you prefer, or try both:
-
Use OAuth (Open Authorization) with Keycloak: Access EJBCA via OAuth in the PQC Lab Test Drive
-
Use mTLS certificate-based authentication with superadmin credentials: Access EJBCA with the Superadmin Certificate for PQC Lab Test Drive
Access Applications
To access the Test Drive applications:
-
On the Test Drive Landing Page, click the link to the application you wish to open.
If you did not set up your browser to trust the Test Drive, you will get one or more warnings due to the self-signed certificate: Your connection is not private.
To continue, click Advanced and then Proceed to … (unsafe). -
When prompted for credentials, enter the Test Drive username and password.
Next Steps
When the PQC Lab Test Drive is set up, you can explore the PQC PKI and signing use cases:
If you want to add other users to test the PQC Lab Test Drive, follow these instructions:
Contact us
Schedule a live demo with one of our experts to discuss your environment, integration options, and how we can help you move from test drive to production.