.png)
Deploy a new, highly available (no single point of failure) multi-node cluster install with two Backend Nodes and two Frontend Nodes to support high-reliability production environment workloads and large data volumes.
Overview
Install and configure a new, highly available (no single point of failure) multi-node cluster install with two Backend Nodes and two Frontend Nodes.
This guide differs from the basic Multi-Node Linux Installation guide as it includes a second Frontend Node to ensure no single point of failure. This configuration is recommended for:
-
Production environments
-
High availability requirements
-
Large data volumes
-
Higher reliability requirements
The installation can be performed in two modes: Interactive (default) or Non-Interactive (for automated/CI-CD deployments).
Non-Interactive Mode
All key installation scripts support a --non-interactive (or -n) flag that skips confirmation prompts, enabling fully automated deployments.
|
Script |
Flag |
Behavior |
|---|---|---|
|
|
|
Overwrites existing env files without prompting. |
|
|
|
Overwrites existing certificate files without prompting. |
|
|
|
Skips all confirmation prompts; overwrites existing files in |
|
|
|
Skips uninstall confirmation prompt. |
Directory Path Variables
There are two referenced directory locations in these instructions:
-
installer_dir: the location where the unzipped install files reside, including all installation scripts and supporting files. -
agilesec_install_dir: the location where AgileSec will be installed to.
Export these as bash variables to easily copy and paste guide instructions:
export installer_dir=</path/to/installer>
export agilesec_install_dir=</path/to/installation>
Step 1: Review Prerequisites (all nodes)
This scenario requires 4 nodes:
-
2 Backend Nodes (
backend-1,backend-2) -
2 Frontend Nodes (
frontend-1,frontend-2)
Ensure you meet all Multi-Node Linux Install Prerequisites for each node, including meeting minimum node requirements, downloading and unarchiving the installer package, and reviewing configuration decisions.
Step 2: Update Cluster Configuration (backend-1)
Environment configuration is required before starting the installation. A configuration file with default values for a multi-node installation is available at generate_envs/multi_node_config.conf. Edit this file on backend-1 based on your installation type.
Uncomment the following frontend-2 entries in generate_envs/multi_node_config.conf:
-
frontend2_private_ip -
frontend2_node_hostname -
frontend2_node_profile
You must provide the private IP addresses of all nodes (backend-1,backend-2,frontend-1, frontend-2). The rest of the values may remain as default or additional settings can be updated based on desired setup.
For bringing your own certificates (BYOC): Review BYOC: Prerequisites for additional environment configuration requirements.
|
multi_node_config.conf Setting |
Purpose |
Default |
|---|---|---|
|
|
IP address of primary Backend node |
Default value is empty. Must be specified. |
|
|
IP address of additional Full Backend Node |
Default value is empty. Must be specified. |
|
|
IP address of primary Frontend node |
Default value is empty. Must be specified. |
|
|
IP address of Additional Frontend Node |
Default value is empty. Must be specified. |
|
|
Organization name used by the platform. |
|
|
|
Primary external-facing hostname (FQDN host portion) for the platform. |
|
|
|
Primary external-facing domain for the platform. |
|
|
|
Domain name for creating org to map to indexes in OpenSearch. Note: The default admin username will be The default admin user is a Platform Admin, the highest permissioned role. Post-installation, Platform Admins may reset passwords, add additional users, and set up SSO logins via UI. Note: OpenSearch does not support subdomains. If |
Equal to
|
|
|
External-facing port for accessing the platform. |
|
|
|
Base Distinguished Name (DN) used to generate server certificates. Note: Must include |
|
|
|
Base DN used to generate internal client certificates. Note: Must include |
|
|
|
Enables support for v2 sensors. When enabled, Fluentd (td-agent) is installed alongside the Indexing Service for backward compatibility with v2 sensor data ingestion. |
|
|
|
Internal domain used for internal node-to-node communication and certificate file folder name when generating certificates. |
|
|
|
Individual node’s unique hostname. Original nodes should be left as default; additional node’s format should follow |
Examples:
|
|
|
Individual node’s profile type. Original nodes should be left as default. Additional nodes should be assigned as follows:
|
Examples:
|
[Optional] Using Port 443 (HTTPS Standard Port)
To run the platform on the standard HTTPS port (443) instead of the default 8443, set analytics_port=443 in generate_envs/multi_node_config.conf before running generate_envs.sh. Then proceed with the normal installation steps.
When using port 443, be aware of the following post-install behavior:
-
Since port 443 is a privileged port (< 1024), HAProxy requires root privileges to bind to it.
-
./manage.sh startas a regular user will start all services except HAProxy. -
Post-installation, HAProxy must be started or restarted with sudo in
agilesec_install_dir:
cd $agilesec_install_dir
sudo ./scripts/manage.sh start haproxy
-
However, stopping HAProxy does not require sudo:
cd $agilesec_install_dir
./scripts/manage.sh stop haproxy
-
The platform URL simplifies to
https://<analytics_hostname>.<analytics_domain>(no port number needed, since 443 is the default HTTPS port).
Step 3: Generate Environment Files (backend-1)
From the installer_dir on backend-1, run:
cd $installer_dir
./generate_envs/generate_envs.sh -t multi-node
generate_envs.sh will generate the following four files, one for each node:
-
$installer_dir/generate_envs/generated_envs/env.backend-1 -
$installer_dir/generate_envs/generated_envs/env.backend-2 -
$installer_dir/generate_envs/generated_envs/env.frontend-1 -
$installer_dir/generate_envs/generated_envs/env.frontend-2
generate_envs.sh will also copy env.backend-1 to $installer_dir/.env.
Step 4: Generate Certificates (backend-1)
You can generate and self-sign all required certificates using generate_certs.sh, or you can use certificates issued by your own CA. For POCs and first-time installations, it is recommended you use installer-generated certificates.
Follow instructions in On-Prem Certificates Management Guide to configure, create, and install certificates.
Note: During certificate installation, kf-agilesec.internal-certs.tgz should be deployed to every node and unarchived in $installer_dir/certificates/. This archive file includes each node’s .env file.
Certificate Management: Installer-Generated Certificates quick example:
# On backend-1, generate installer-generated certificates:
cd $installer_dir/certificates
./generate_certs.sh
cd ..
# Copy resulting kf-agilesec.internal-certs.tgz from backend-1 to all other nodes:
scp kf-agilesec.internal-certs.tgz <user@other-node IP>:$installer_dir/certificates/
# Repeat copy from backend-1 to all other nodes

# On each other node (not backend-1), unarchive kf-agilesec.internal-certs.tgz:
cd $installer_dir/certificates/
tar zxvf kf-agilesec.internal-certs.tgz
# Repeat on all other nodes

# Establish external certificate trust (see Certificate Management Guide)
Step 5: Deploy .env Files
generate_envs.sh automatically copied backend-1.env to <installer-dir>/.env. This must be done manually for other nodes.
On each node EXCEPT backend-1, copy the specific node’s environment file from $installer_dir/certificates/ to <installer-dir>/.env.
# On backend-2
cd $installer_dir/certificates/
cp env.backend-2 ../.env
cd ..

# On frontend-1
cd $installer_dir/certificates/
cp env.frontend-1 ../.env
cd ..

# On frontend-2
cd $installer_dir/certificates/
cp env.frontend-2 ../.env
cd ..
Step 6: Install AgileSec (All nodes in specific order)
On each node perform the following steps:
-
Check Environment Setup
-
Run system tuning
tune.sh -
Run installation script
install_analytics.sh
1. Check Environment Setup
Make sure settings file $installer_dir/.env is present on each node.
Tip: Use ls -a to see files beginning with a .
2. Run System Tuning
On each node, run tune.sh:
cd $installer_dir
sudo ./scripts/tune.sh -u <username>
3. Run Installation Script
Each node must have its correct .env file set, certificates placed, and system tuning applied before running the install command.
Run install_analytics.sh on each node in the following sequential order:
-
Install backend-1
Must complete first – initializes MongoDB primary, OpenSearch cluster manager, Kafka leader.
cd $installer_dir
./install_analytics.sh install -u <user> -p <installation-dir> --non-interactive
-
Install backend-2
Afterbackend-1installation completes – adds MongoDB secondary.
cd $installer_dir
./install_analytics.sh install -u <user> -p <installation-dir> --non-interactive
-
Install frontend-1
Afterbackend-2installation completes.
cd $installer_dir
./install_analytics.sh install -u <user> -p <installation-dir> --non-interactive
-
Install frontend-2
Afterfrontend-1installation completes.
cd $installer_dir
./install_analytics.sh install -u <user> -p <installation-dir> --non-interactive
Note: After installation, the following scripts can be used from agilesec_install_dir/scripts:
-
manage.sh: Manage services. See On-Prem Managing Services for details. -
uninstall.sh: Uninstalls the AgileSec platform. cleans up ports, cron, /etc/hosts, installation directory, etc. -
startup.sh: Enables auto-start after reboot. -
health_check.sh: Checks services and attempts to start any with “Not running” status.
Verify Installation
On each node, check the status of all services:
cd $agilesec_install_dir #Where AgileSec was installed to
./scripts/manage.sh status
If any service shows Not running, try starting or restarting it. See On-Prem Managing Services for instructions on starting and restarting services.
On all Backend nodes you should see 9 services in Running status:
$ ./scripts/manage.sh status
SERVICE                   DESCRIPTION                              STATUS                         UPTIME
------------------------  ---------------------------------------- ------------------------------ ---------------
mongodb                   MongoDB Server                           Running (PID: ####)            23h 8m 51s
opensearch                OpenSearch Search Engine                 Running (PID: ####)            23h 8m 52s
kafka                     Kafka Server                             Running (PID: ####)          23m 17s
scheduler                 Scheduler Microservice                   Running (PID: ####)            23h 8m 37s
analytics-manager         Analytics Manager Microservice           Running (PID: ####)            23h 8m 37s
ingestion                 Ingestion Microservice                   Running (PID: ####)            23h 8m 37s
indexing                  Indexing Microservice                    Running (PID: ####)            23h 8m 37s
sm                        Security Manager Microservice            Running (PID: ####)            23h 8m 37s
haproxy                   HAProxy Load Balancer                    Running (PID: ####)
Note: If v2_sensors is enabled in the .conf prior to install, you will also see td-agent Fluentd Data Collector service running on backend-1 and backend-2.
On the Primary Frontend node, you should see 9 services in Running status:
$ ./scripts/manage.sh status
SERVICE                   DESCRIPTION                              STATUS                         UPTIME
------------------------  ---------------------------------------- ------------------------------ ---------------
mongodb                   MongoDB Server                           Running (PID: 7702)            6m 28s
opensearch                OpenSearch Search Engine                 Running (PID: 7709)            6m 28s
kafka                     Kafka Server                             Running (PID: 8117)            5m 58s
sm                        Security Manager Microservice            Running (PID: 8127)            5m 58s
api                       Web API Microservice                     Running (PID: 25943)           2m 59s
webui                     Web UI Microservice                      Running (PID: 8179)            5m 58s
opensearch-dashboards     OpenSearch Dashboards                    Running (PID: 8900)            5m 21s
cbom                      CBOM Exporter Microservice               Running (PID: 26039)           2m 50s
haproxy                   HAProxy Load Balancer                    Running (PID: 8279)            5m 59s
On Additional Frontend nodes, you should see 5 services in Running status:
$ ./scripts/manage.sh status
SERVICE                   DESCRIPTION                              STATUS
------------------------  ---------------------------------------- --------
sm                        Security Manager Microservice            Running
api                       Web API Microservice                     Running
webui                     Web UI Microservice                      Running
opensearch-dashboards     OpenSearch Dashboards                    Running
cbom                      CBOM Exporter Microservice               Running
haproxy                   HAProxy Load Balancer                    Running
After installation completes, allow approximately 30 seconds for all services to fully initialize before accessing the UI. Attempting to log in immediately may result in a 503 Service Unavailable error. If this occurs, wait 30 seconds and refresh the page.
AgileSec Access
Setup External Browser FQDN Access
Ensure computers where you will be accessing the AgileSec Platform UI from have at least one of the following for browser access:
-
Recommended: A DNS entry for
<analytics_hostname>.<analytics_domain>pointing to each Frontend Node’s IP address. -
For proof of concept, test cases, or single computer access: Add entries in your external computer’s
/etc/hostsfor<analytics_hostname>.<analytics_domain>pointing to bothfrontend-1andfrontend-2’s IP address. If you have an upstream load balancer, it is better to use the IP of the load balancer.# Example /etc/hosts entry: <frontend-1 ip> agilesec.kf-agilesec.com <frontend-2 ip> agilesec.kf-agilesec.com
URL and Login Info
After successful installation, the frontend-1 installer will output an install summary with login URLs and login info. This information can also be found in $installer_dir/INSTALL_SUMMARY.txt.
Web UI example:
-
Login URL:
https://<analytics_hostname>.<analytics_domain>:<analytics_port> -
Username:
admin@<org_domain> -
Password: <the admin password you entered at the beginning of install>
Default Settings example:
-
Login URL:
https://agilesec.kf-agilesec.com:8443 -
Username:
admin@kf-agilesec.com -
Password:
HelloWorld123456!
Access the AgileSec Platform UI
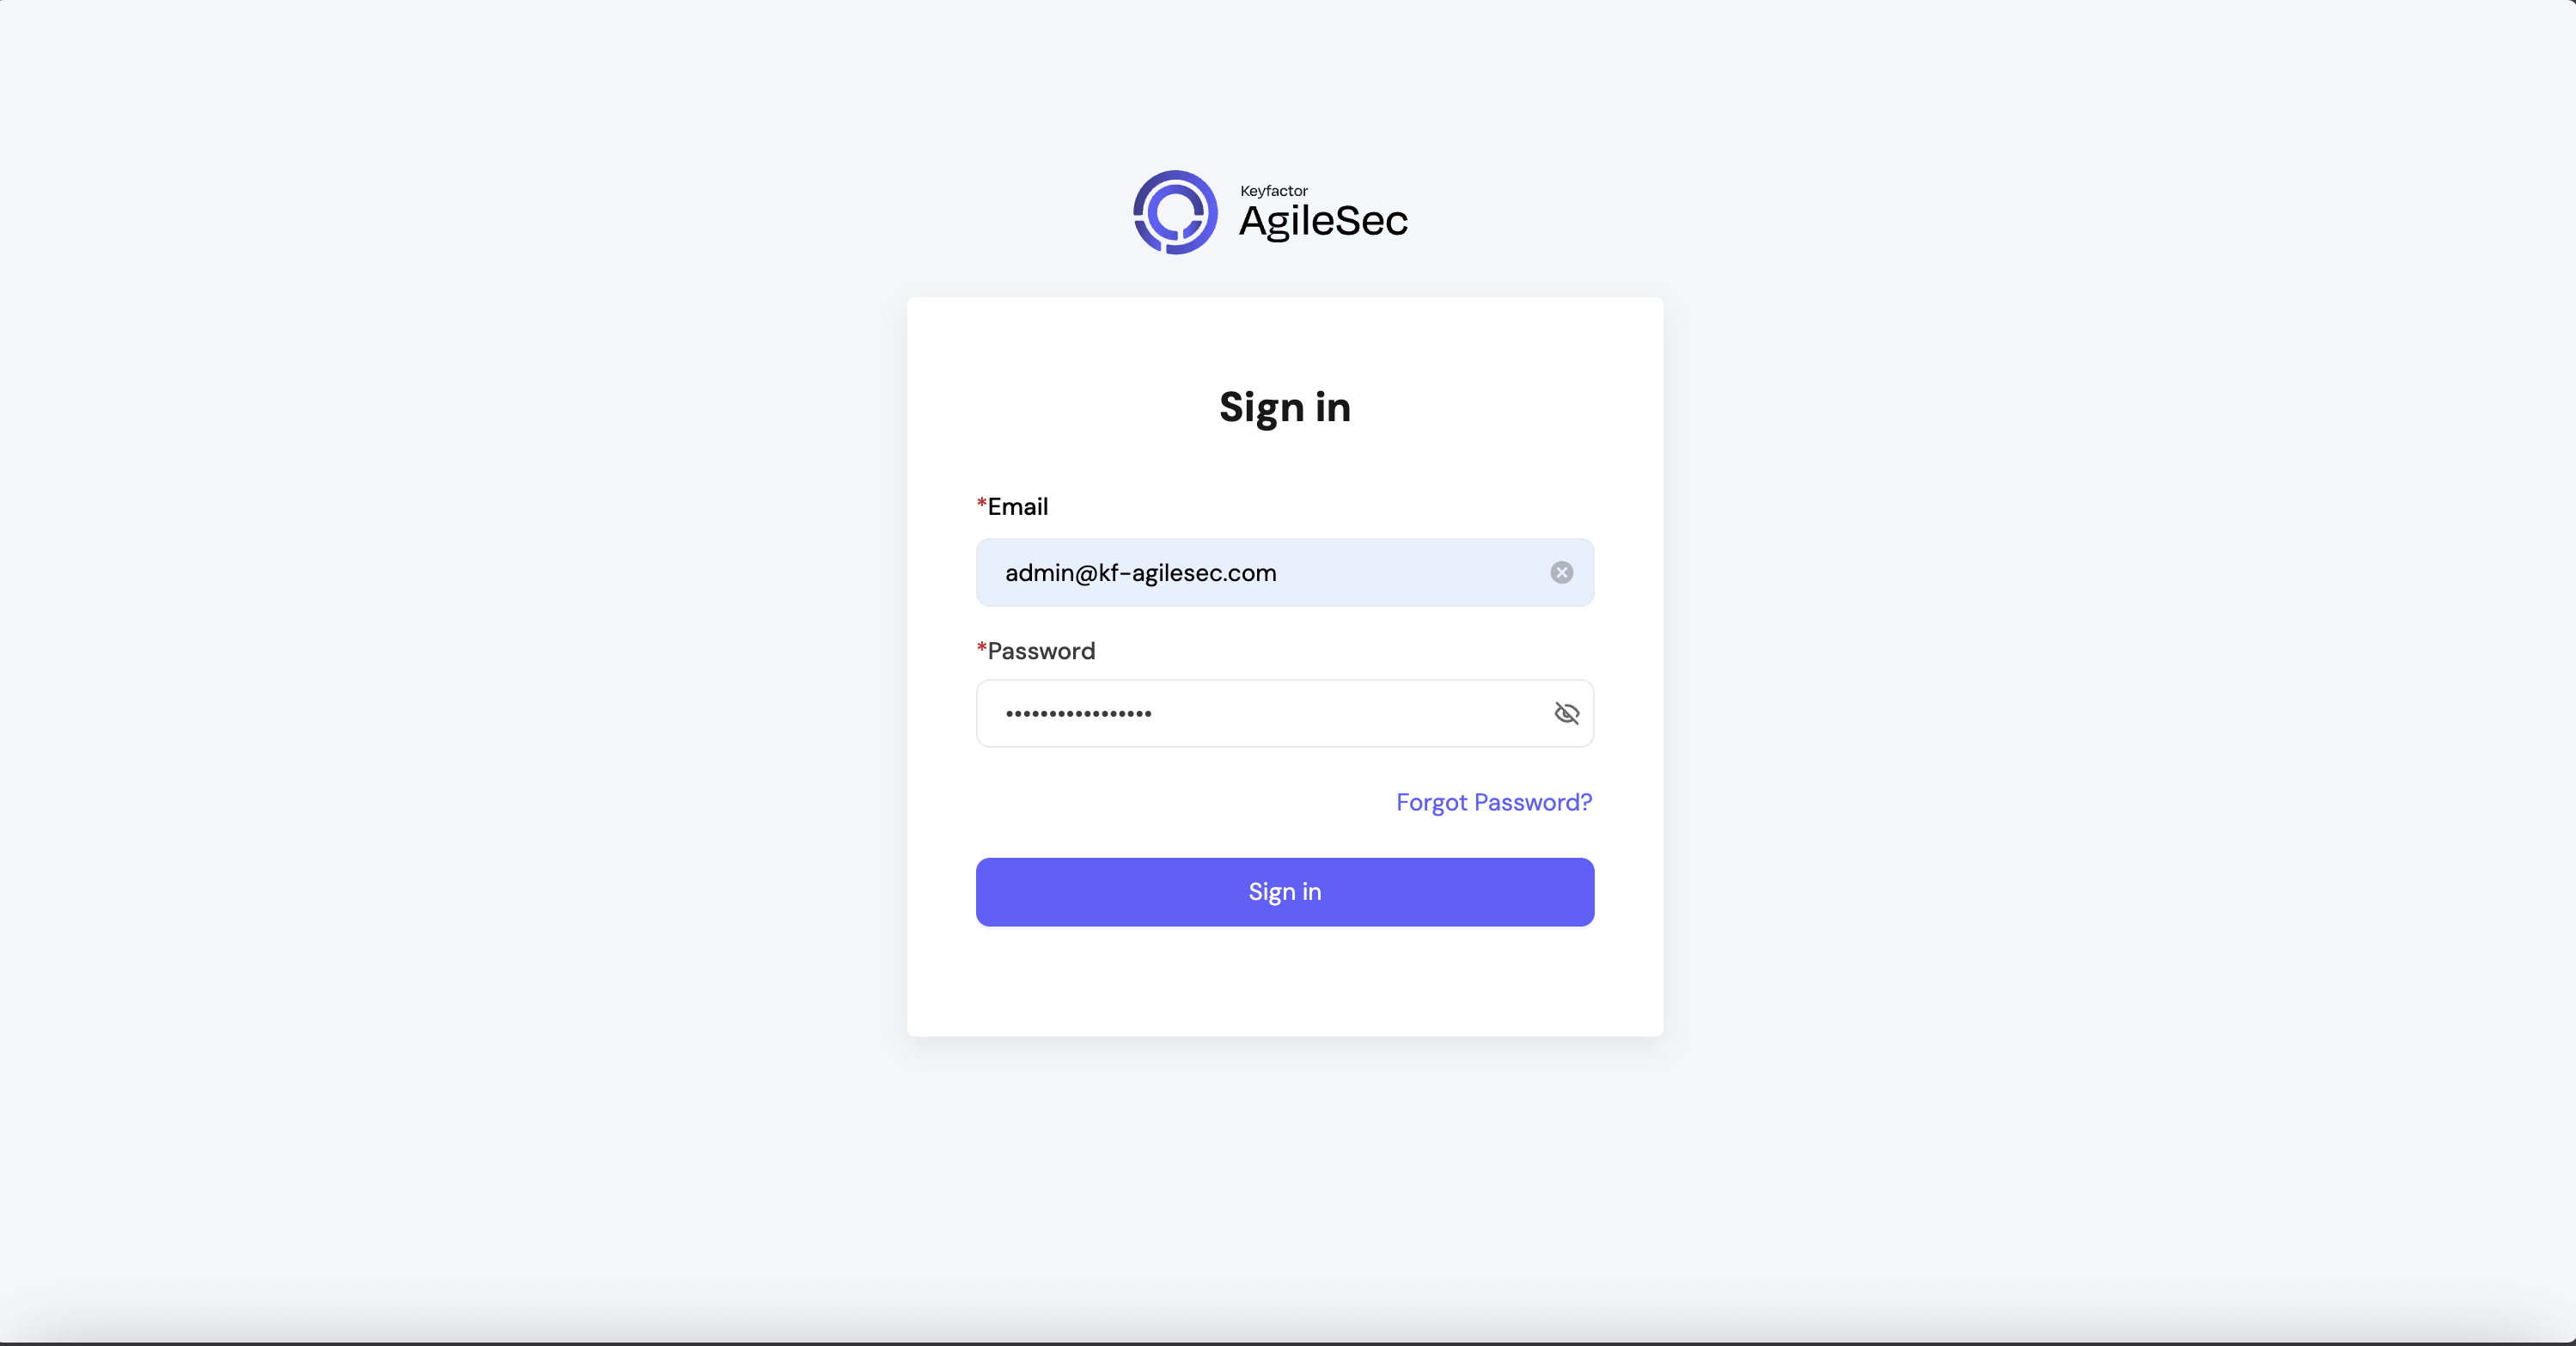
To log into the new Web UI, use the URL displayed at the end of the install or in $installer_dir/INSTALL_SUMMARY.txt on Frontend Nodes.
You will see a login screen like this:
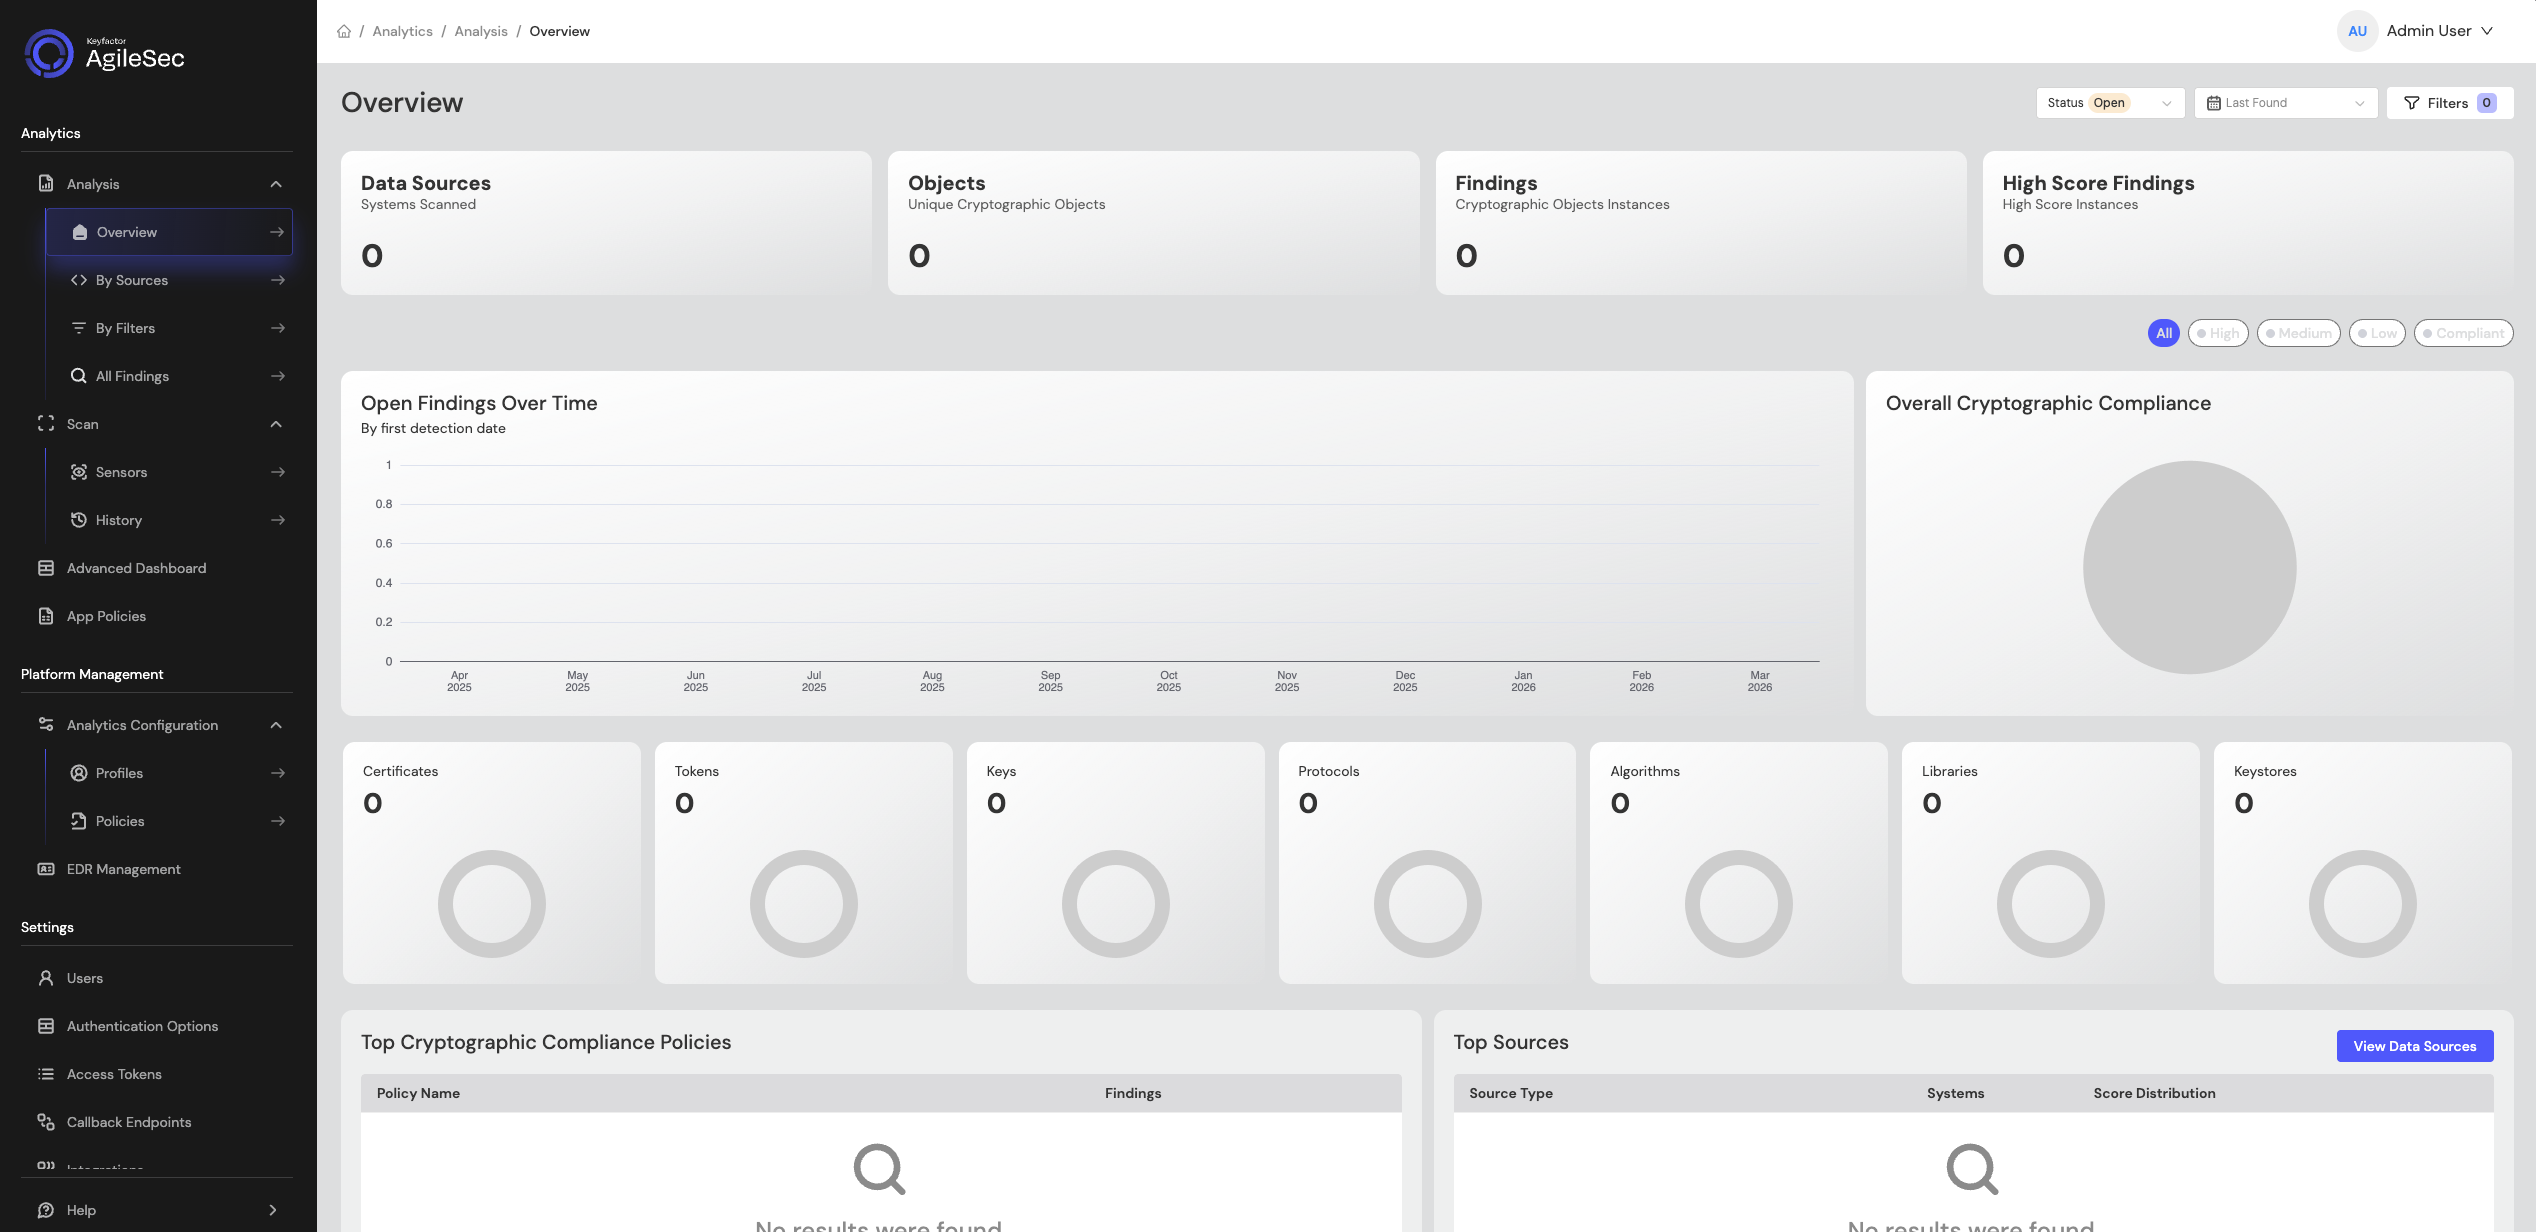
After logging in, the Overview Dashboard should show 0 across all charts:
Run a Network Scan Test
Follow these steps to run a quick network scan test and confirm the platform is working:
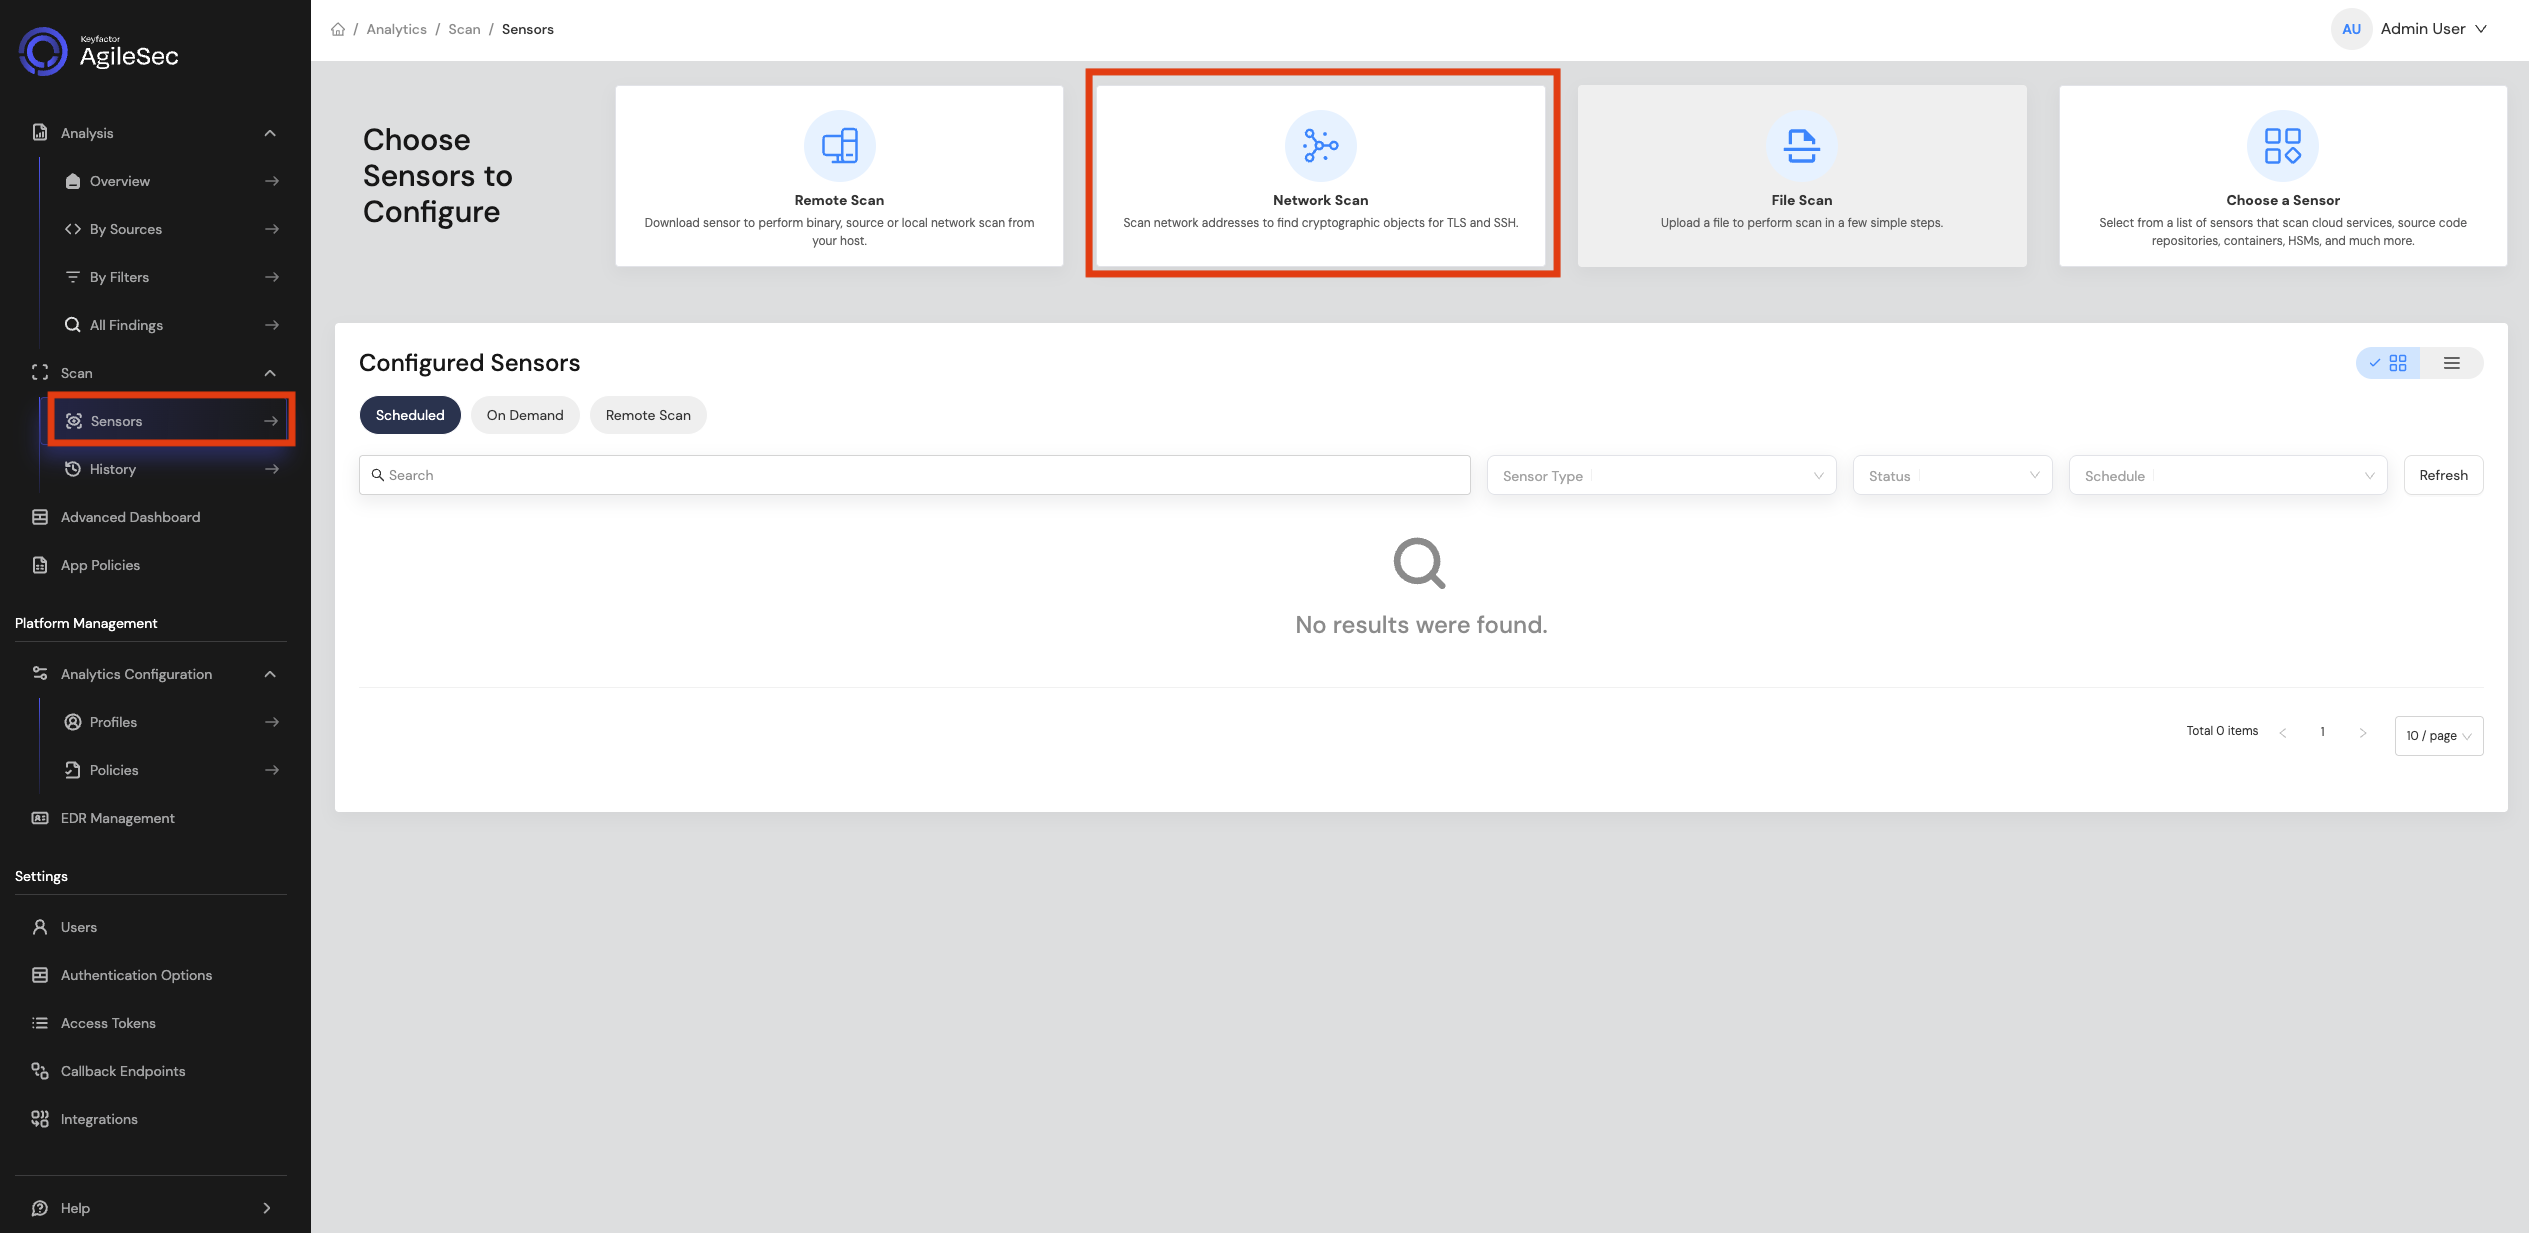
Step 1: In the Web UI, go to Sensors -> Network Scan.
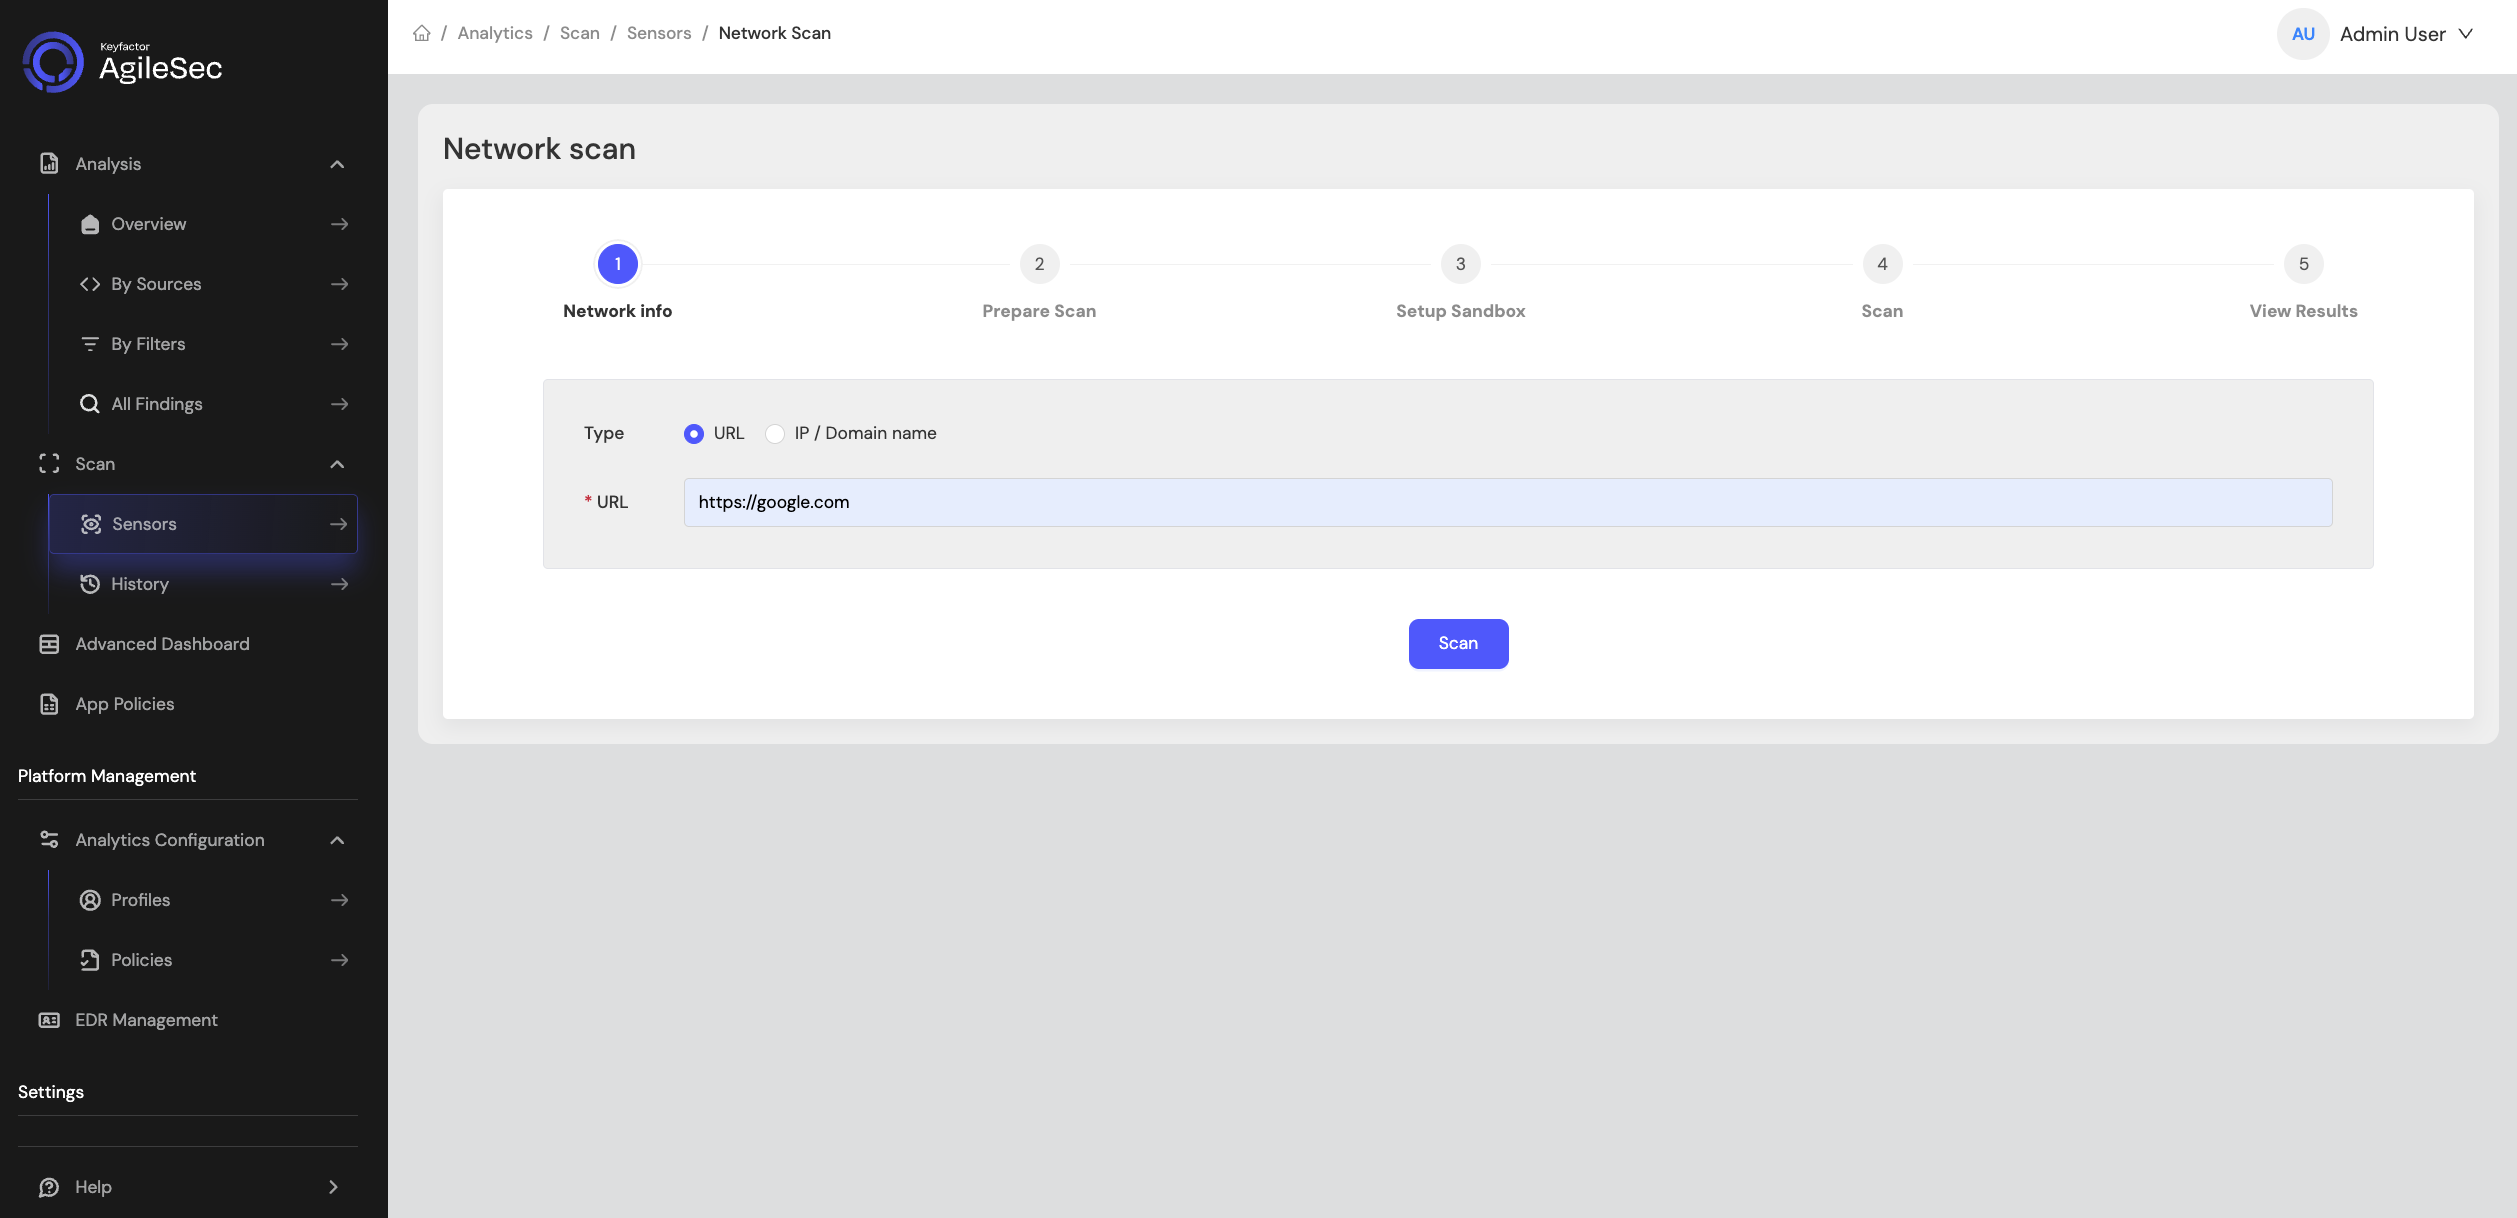
Step 2: On the network scan page, enter an HTTPS URL to scan (for example: https://www.google.com), then click Scan to start the scan.
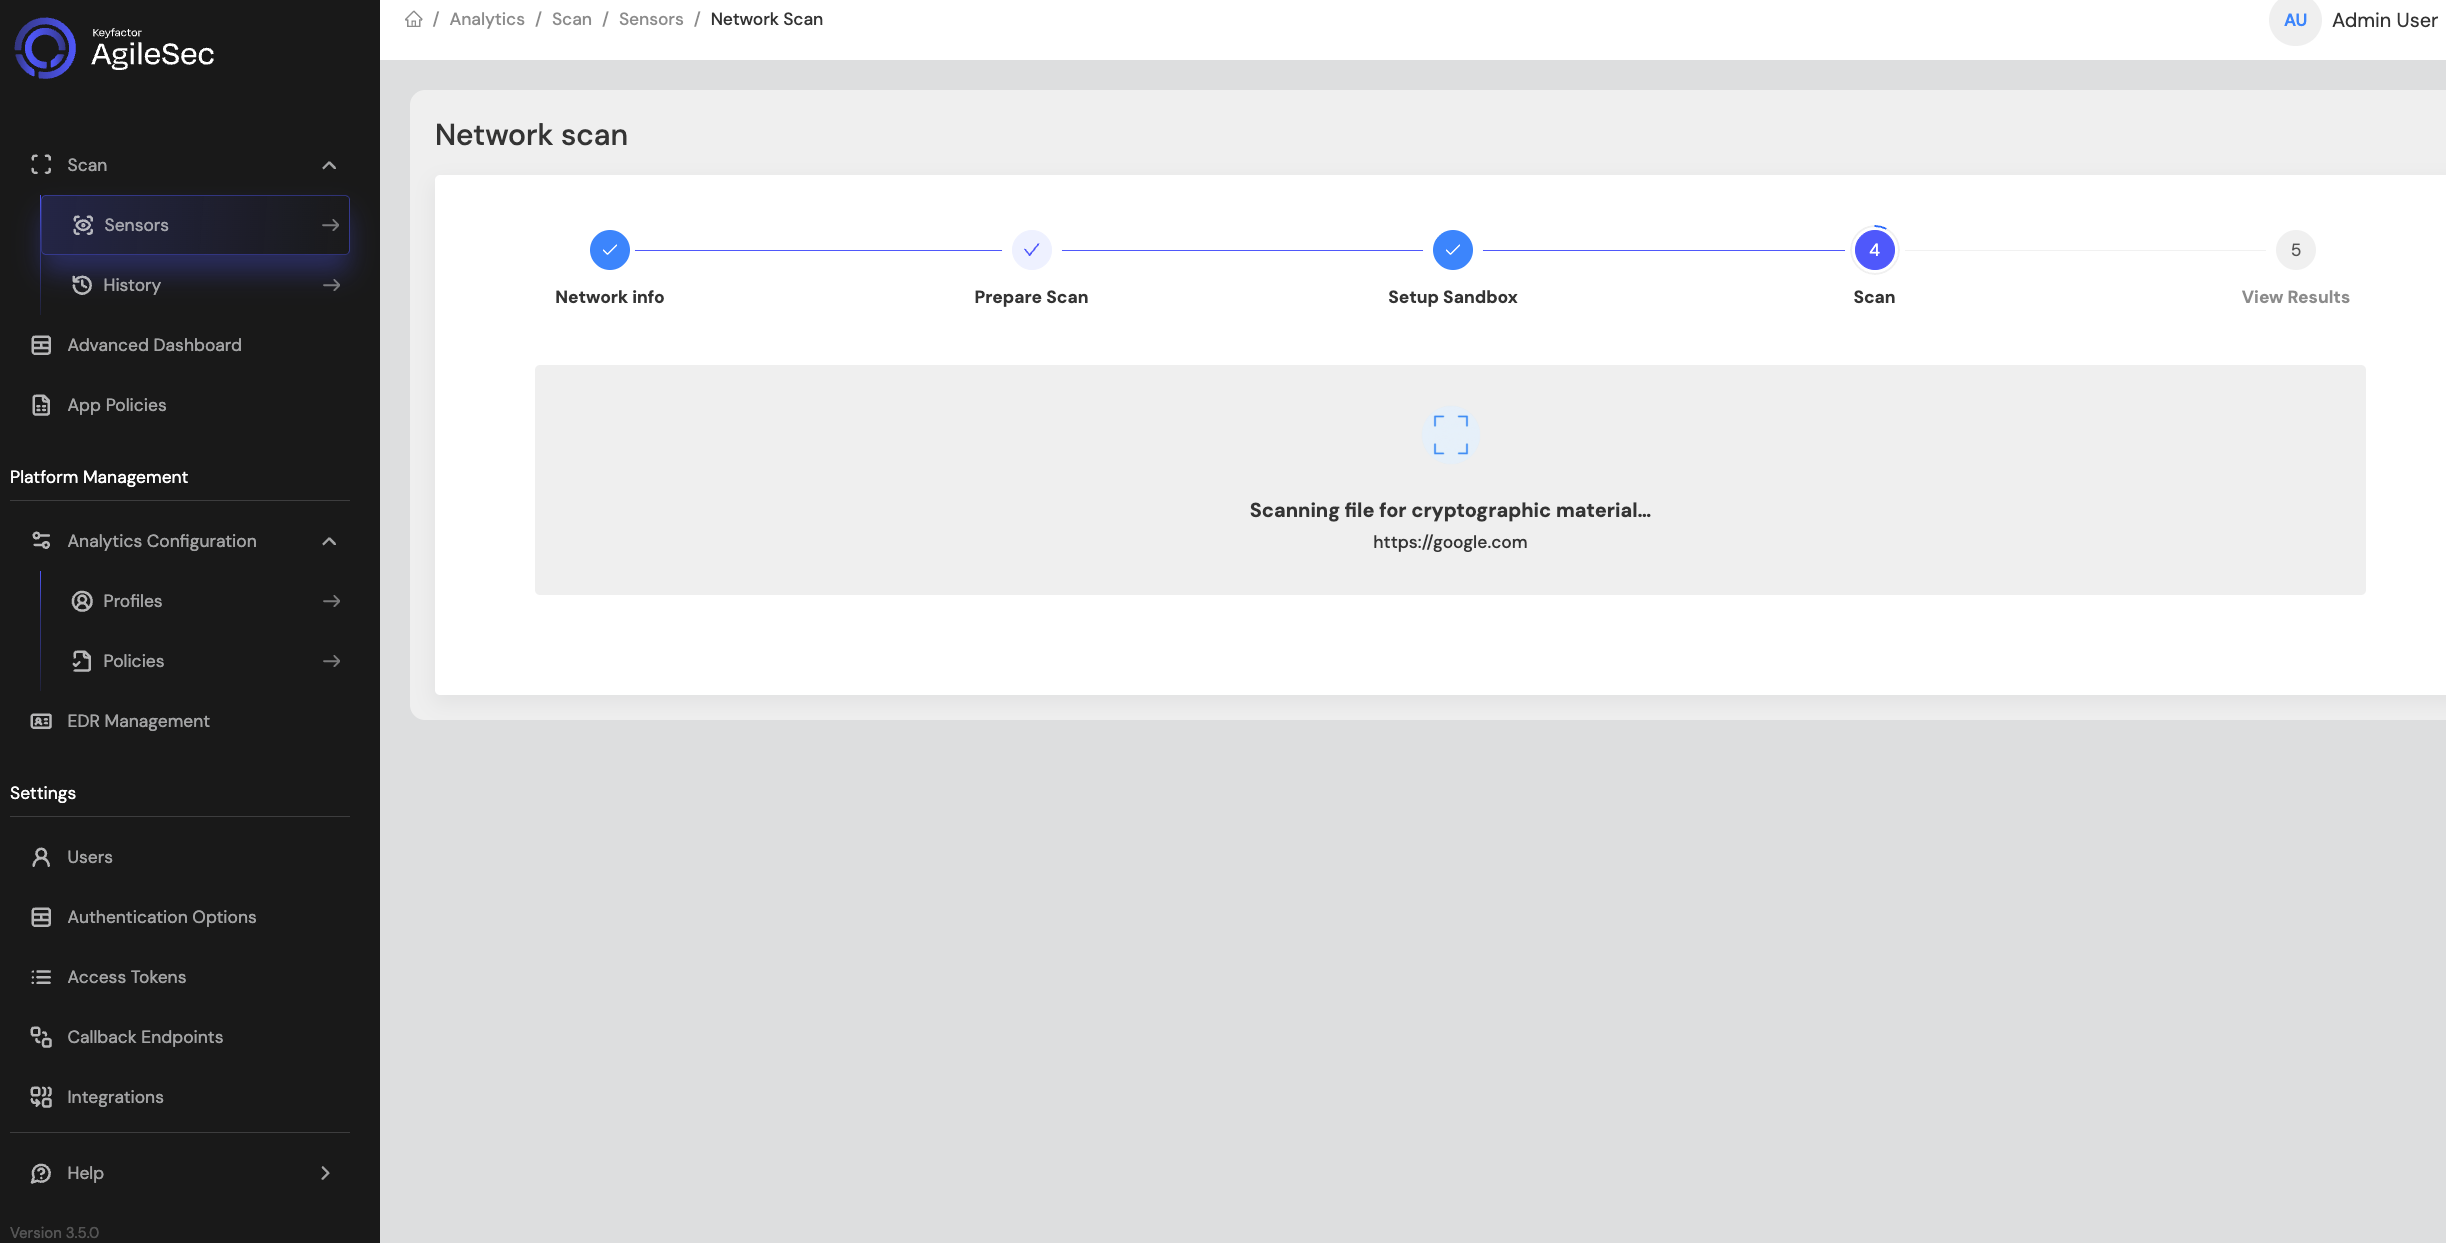
Step 3: While the scan is running, the screen will be similar to the following:
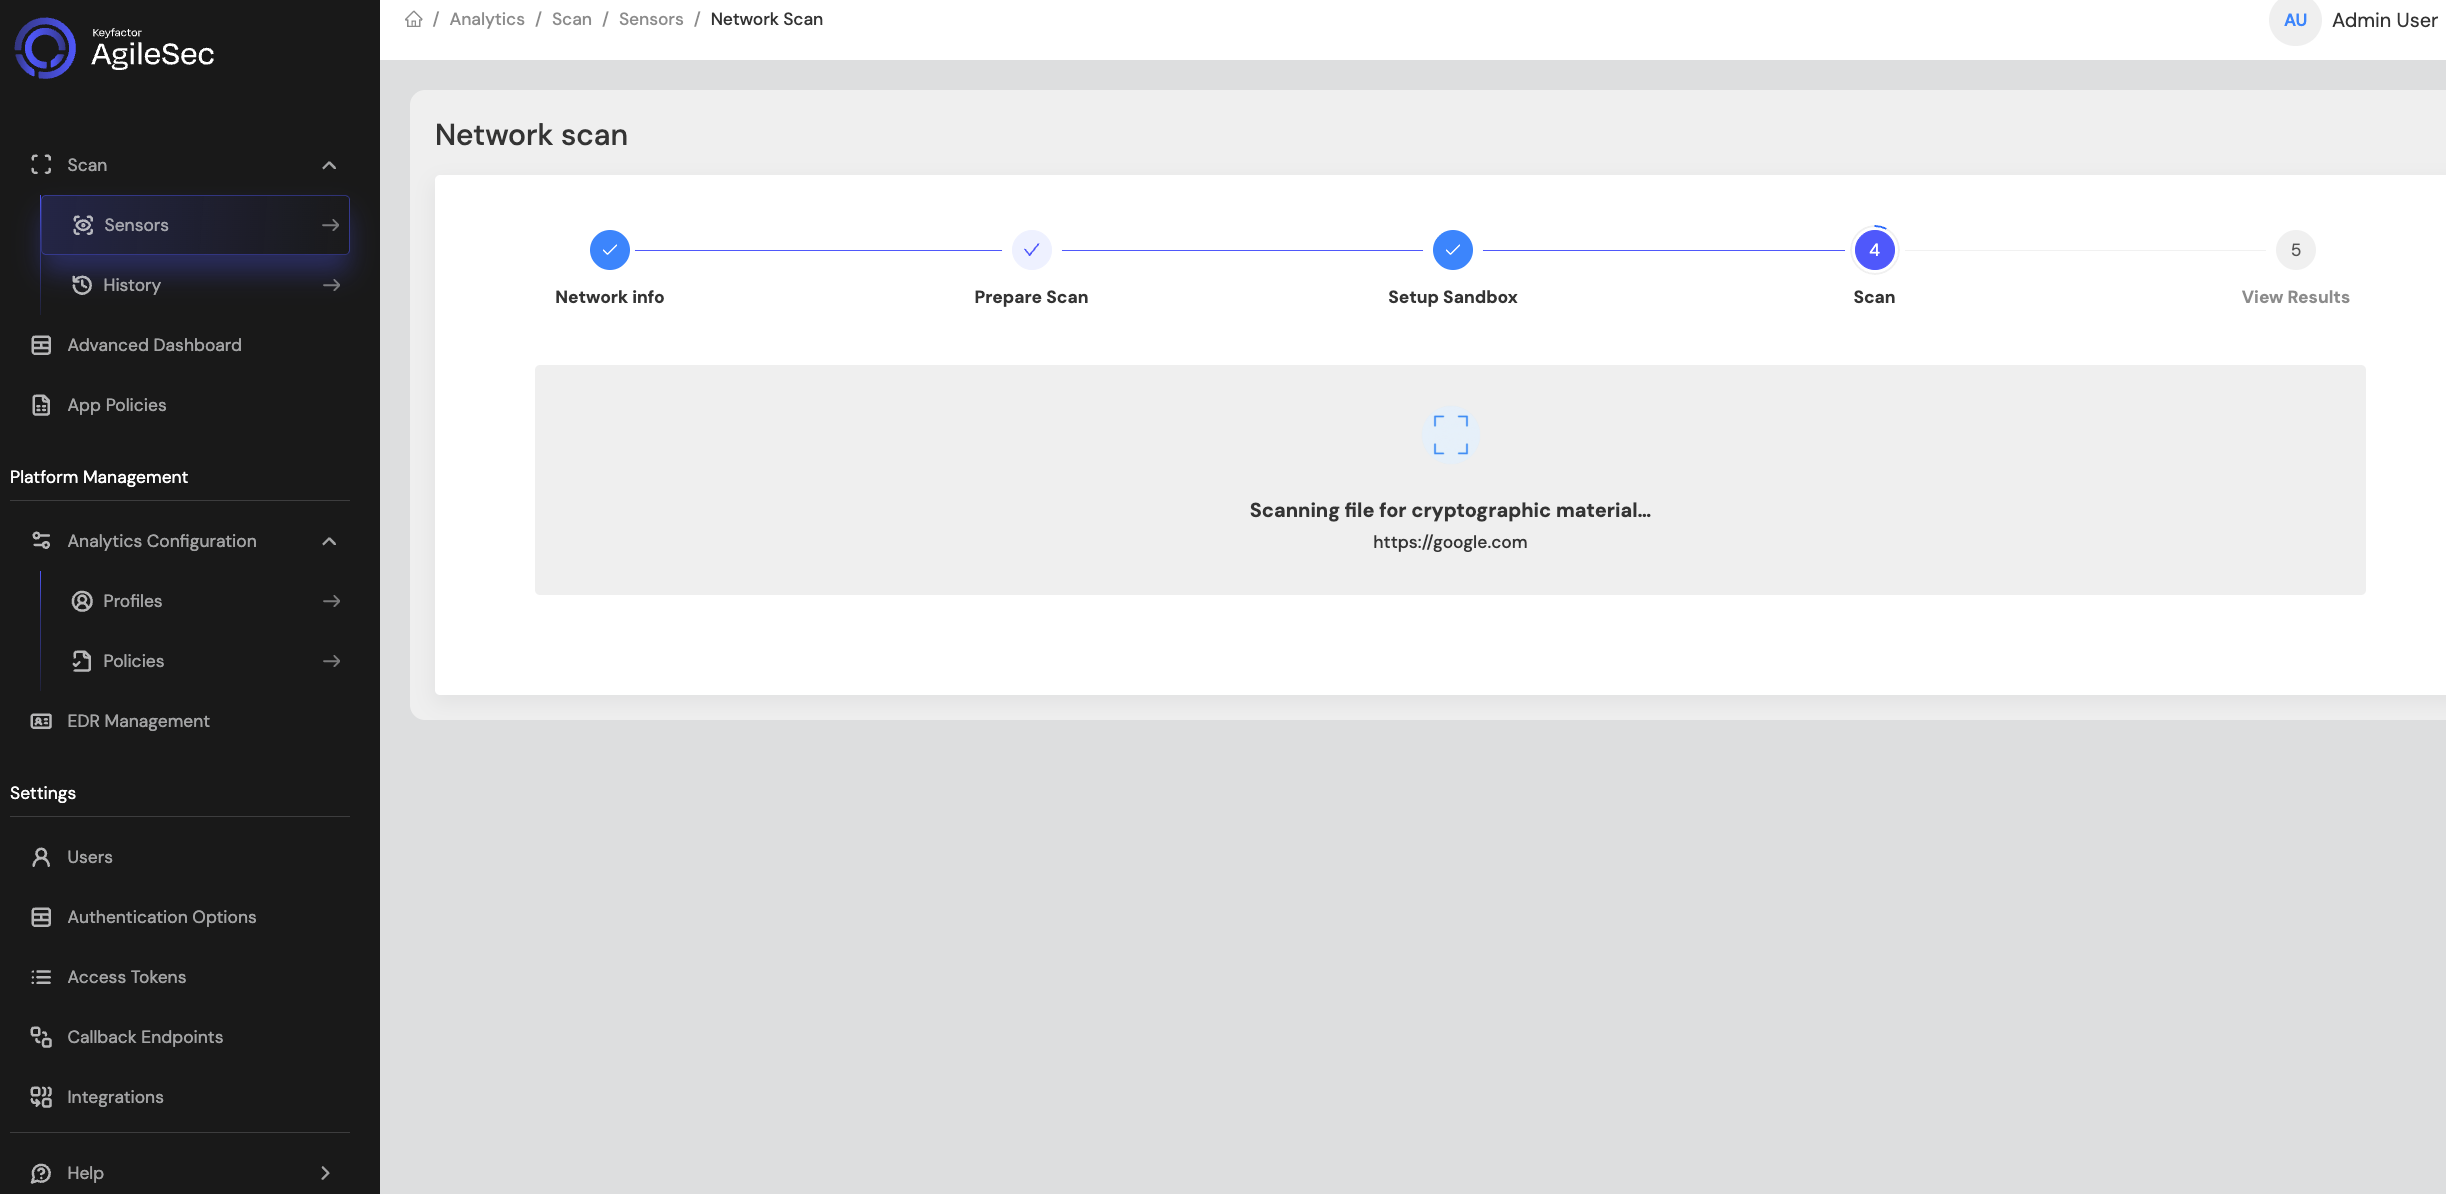
Step 4: Once the scan is completed successfully, you will see a screen similar to following:
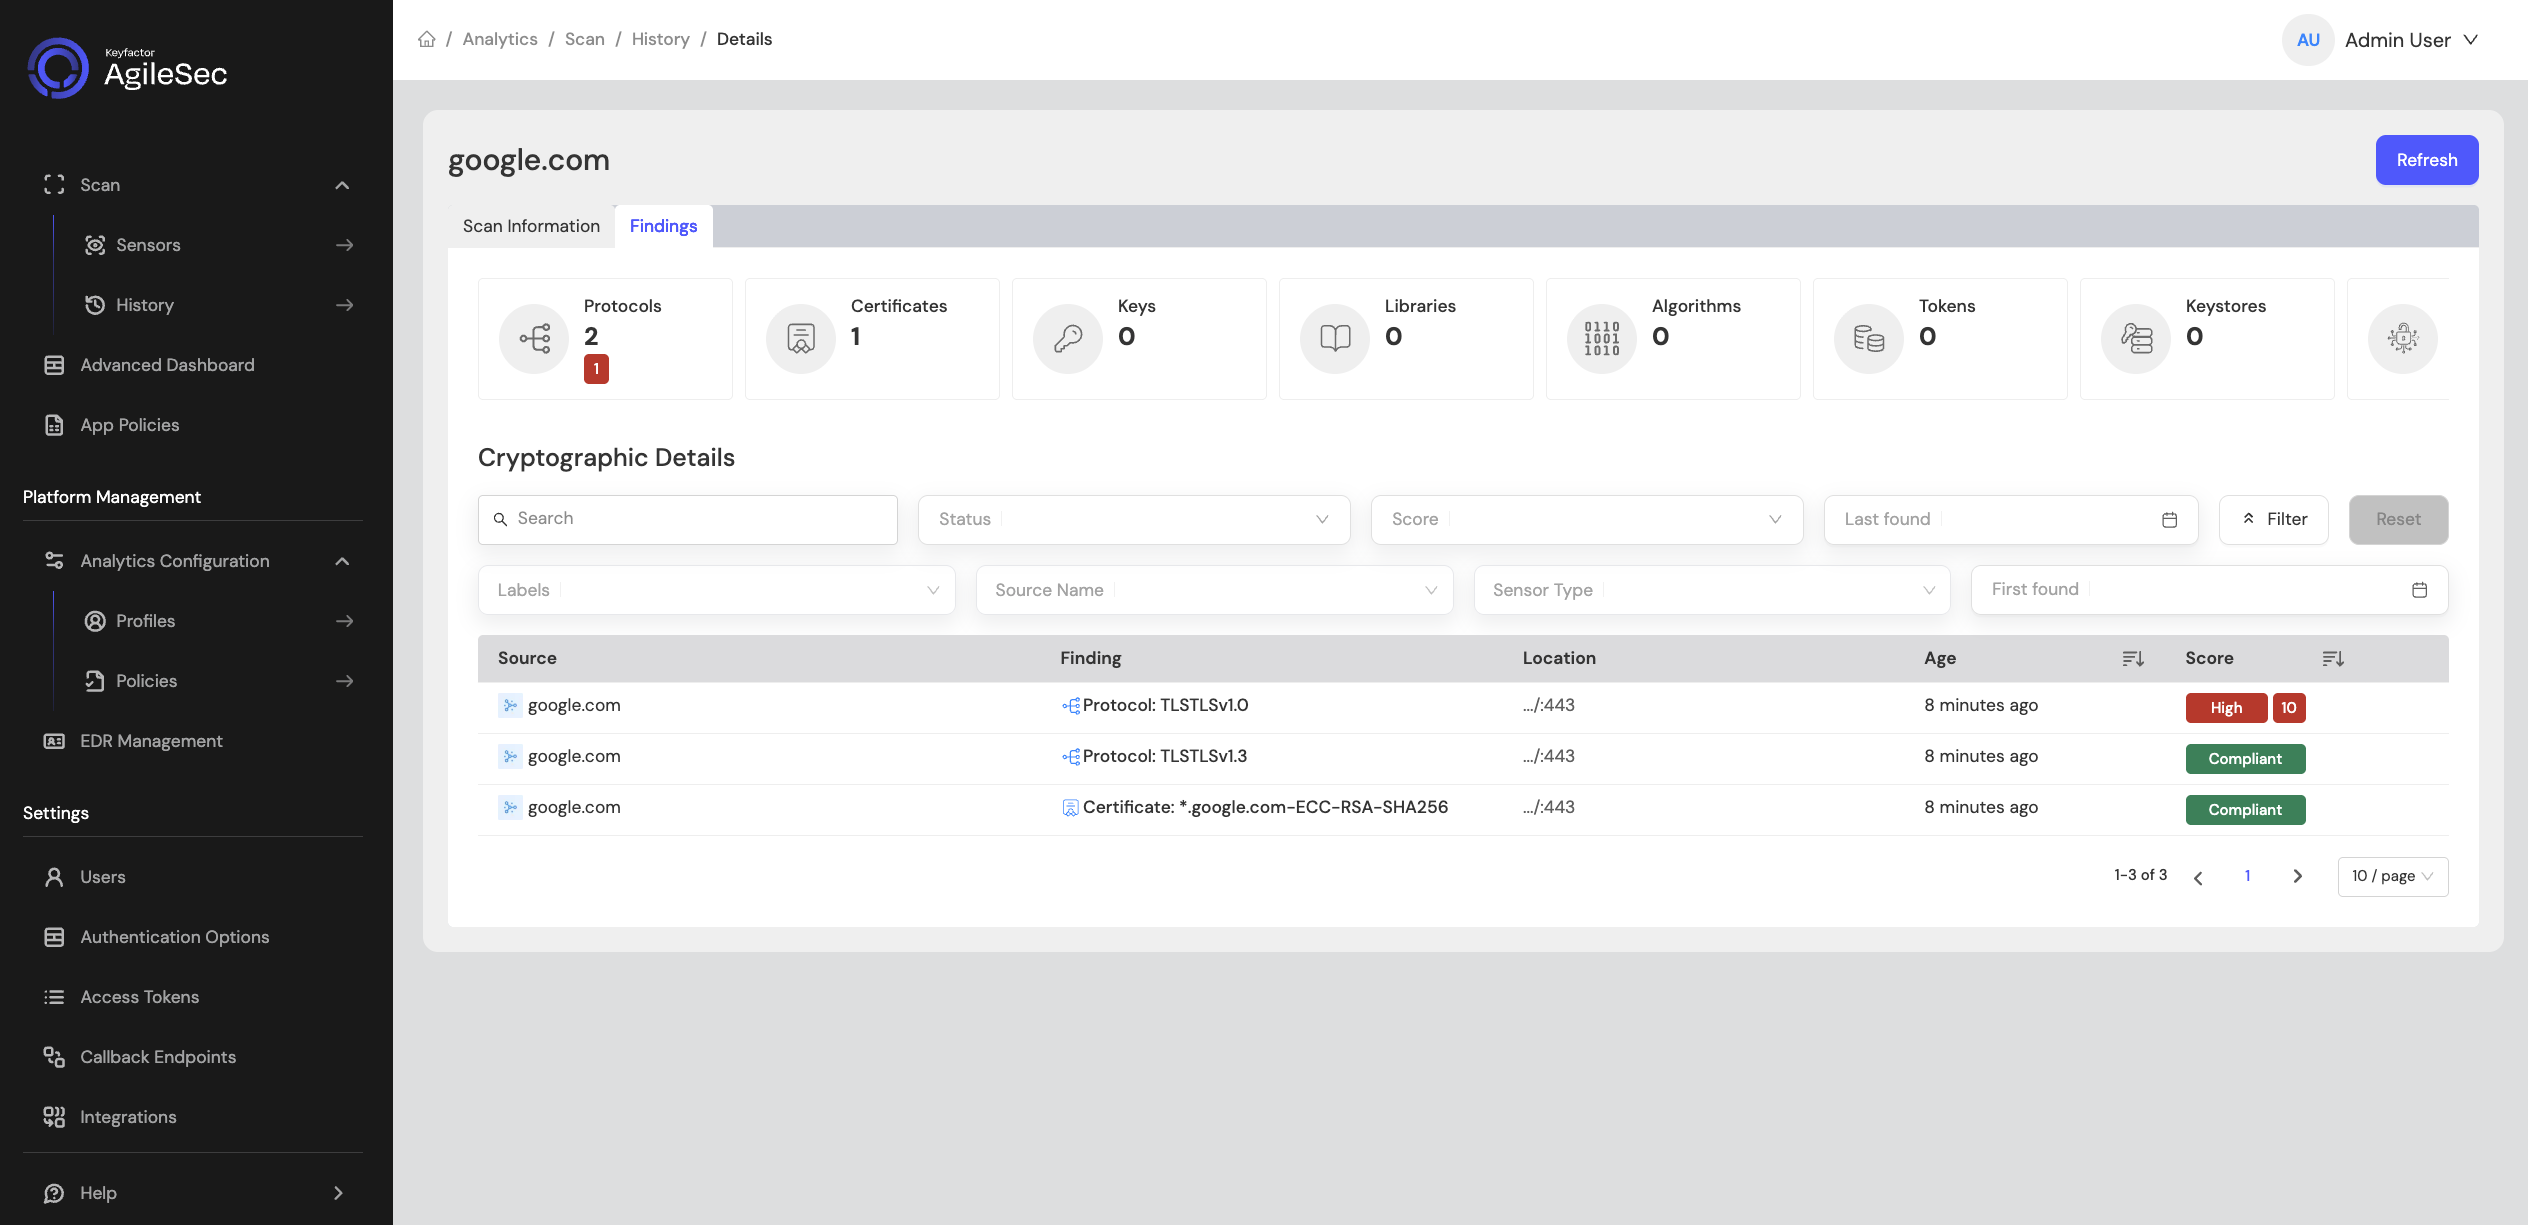
Step 5: At this point, the scan has completed and the pipeline is waiting for the policy execution to finish. Policy execution can take up to 45 seconds. Until policies run, all findings will show a Pending status instead of a Score under the Findings tab.
Once policies have run, the Score column will show a risk score instead of Pending, as shown in the screenshot below:
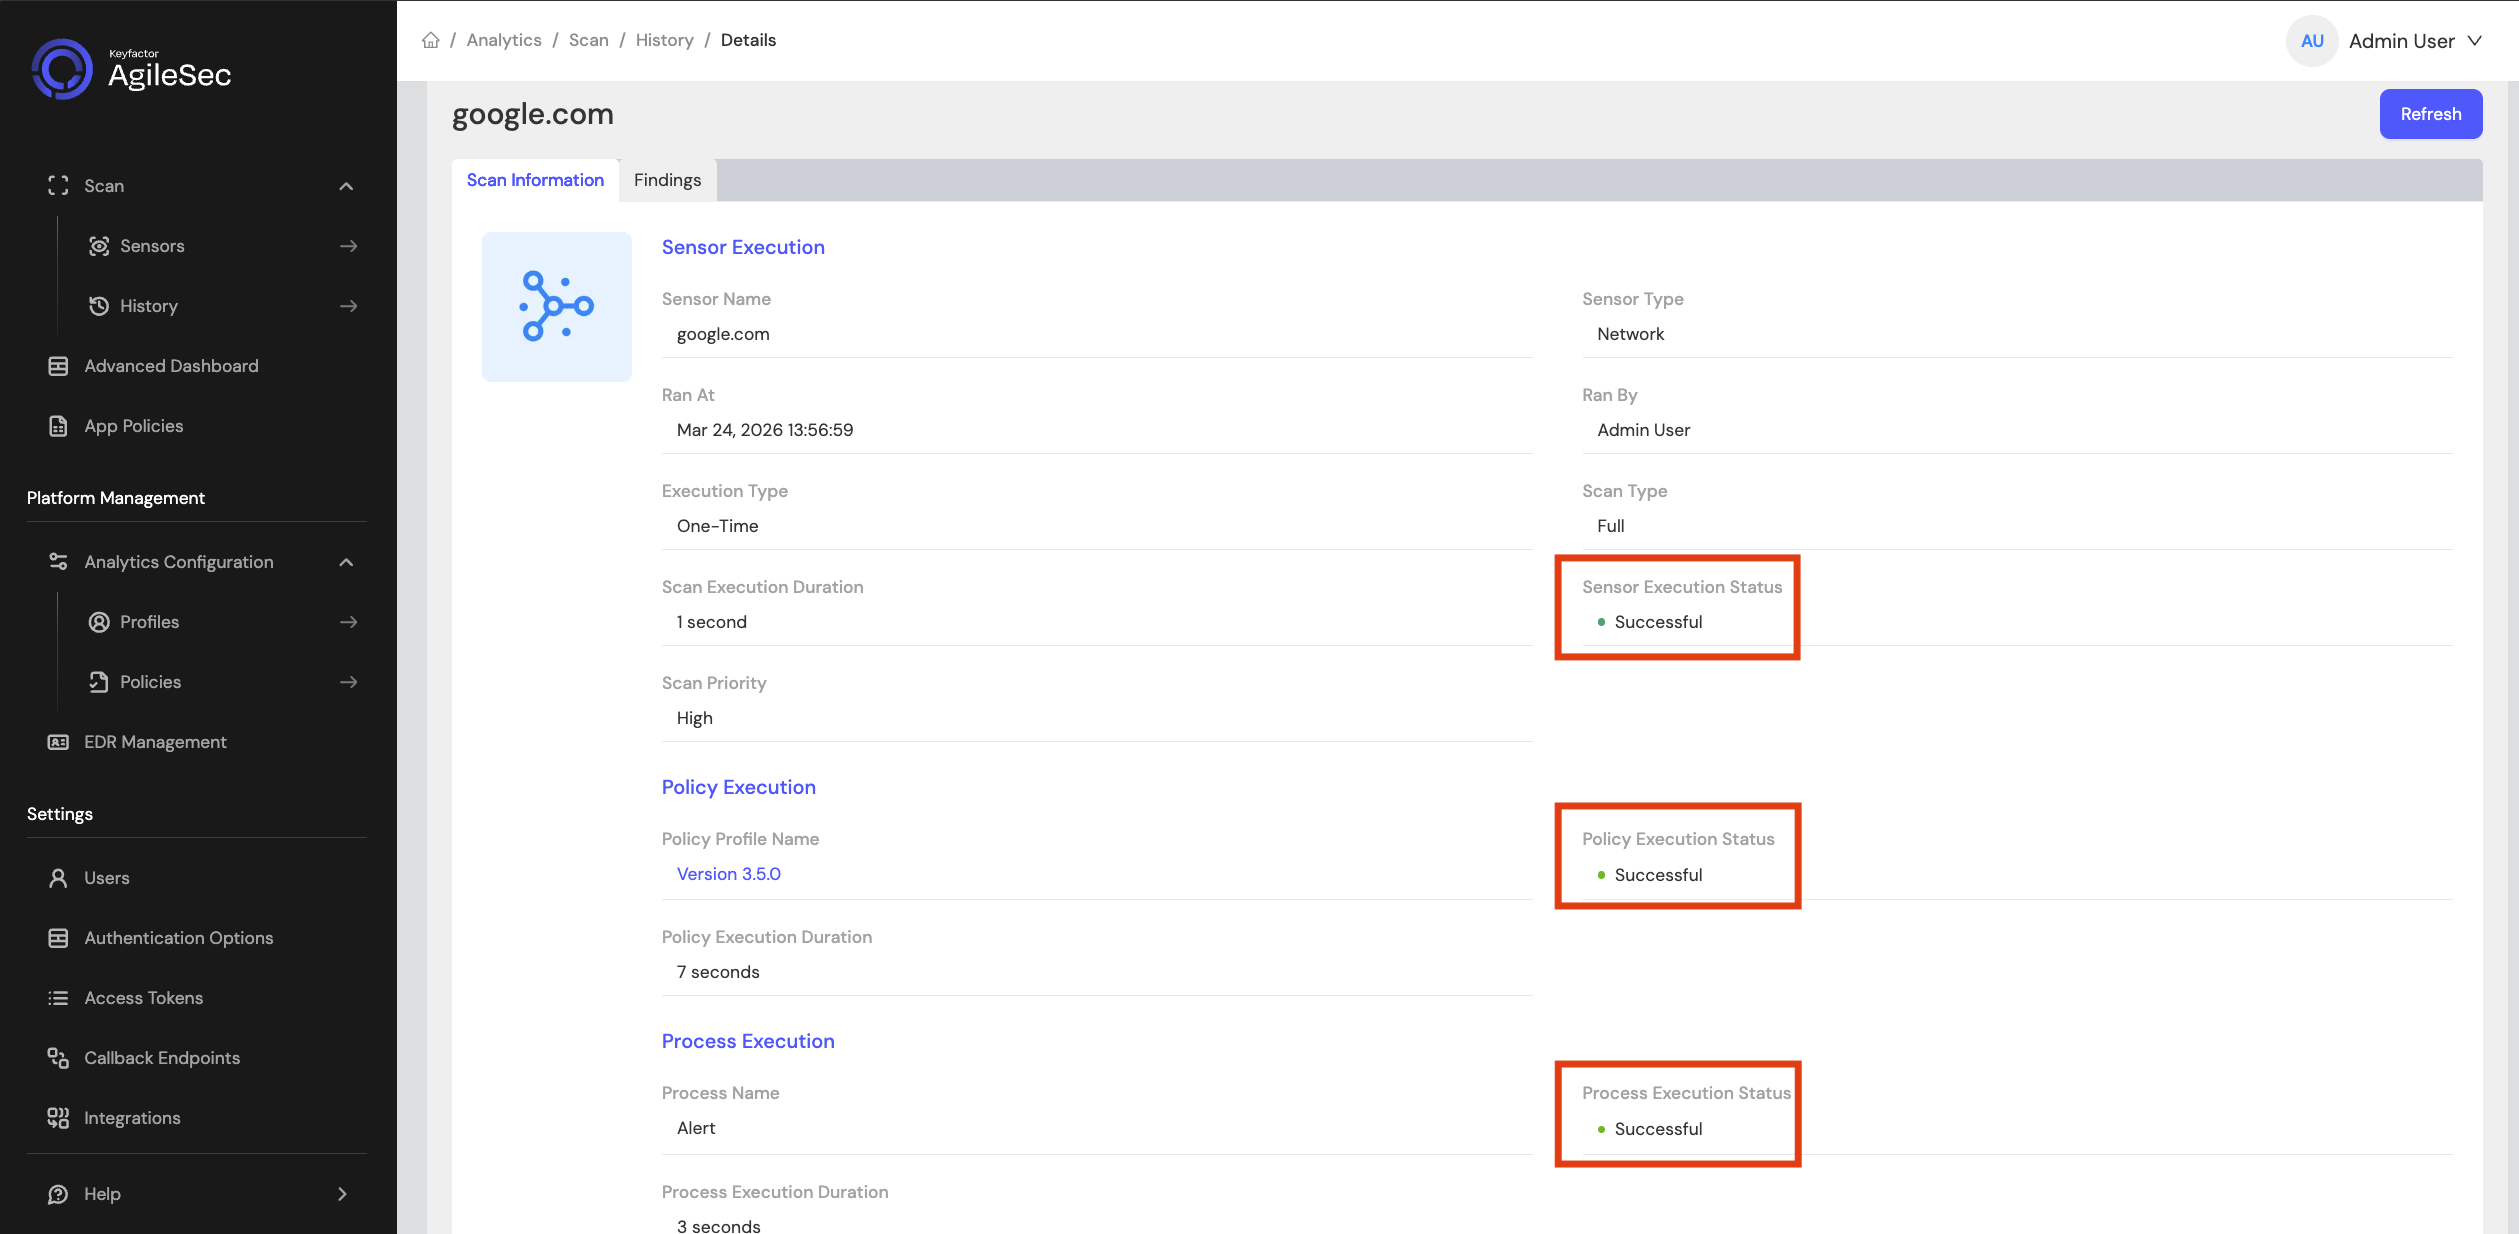
Step 6: Shortly after policies run successfully, a backend process performs additional analysis on the findings. Once this process completes, you will see Successful statuses under Scan Information as shown in the screenshot below. This confirms the platform is working as expected.
Test HA Configuration
For a truly highly available cluster, ensure you can lose any single node (frontend or backend) without service interruption.
For each node:
-
Stop the node:
cd $agilesec_install_dir ./scripts/manage.sh stop -
Run a network scan from AgileSec UI (Sensors → Network Scan).
-
The scan should complete successfully, confirming the cluster remains operational with a single node failure.
-
Restart the node:
cd $agilesec_install_dir ./scripts/manage.sh start -
Repeat with each frontend and backend node.
Post-Installation Validation
See On-Prem AgileSec Validation Checklist for thorough post-installation validation checks.
Post-Installation System Administration
For information on System Administration options post-installation, see System Administration.
Troubleshooting
If you encounter issues during installation or operation, review AgileSec Linux Installation Troubleshooting Guide.