.png)
Add a Coordinator Node to Stretch Clusters to maintain majority during an availability zones (AZ) or data centers (DC) failure. This ensures the Stretch Cluster will remain operational if one data-center fails, ensuring true high availability.
Overview
High-availability stretch clusters have the ability to quorum, meaning the ability to implement a majority vote to help with
When deploying across multiple regions or availability zones (AZ) or data centers (DC), you need an odd number of quorum-participating nodes to maintain majority during an AZ/DC failure. The COORDINATOR profile node coordinator-1 provides a quorum tiebreaker node, which runs only cluster management services without the overhead of a full backend or frontend.
In a standard topology, the PRIMARY_FRONTEND frontend-1 runs quorum services (MongoDB Arbiter, Kafka Controller, OpenSearch Cluster Manager) alongside the user-facing services (API, WebUI, Dashboards). The Coordinator Node splits these quorum services onto a dedicated node, allowing you to place the tiebreaker in a separate AZ/DC while keeping all frontends as ADDITIONAL_FRONTEND.
When to Use a Coordinator Node
-
Stretch clusters spanning 2+ regions or availability zones or data-centers where you need a quorum tiebreaker in a third location.
-
When you want all frontend nodes to be identical (ADDITIONAL_FRONTEND) without one special PRIMARY_FRONTEND.
-
When the quorum tiebreaker AZ/DC doesn't need to serve user traffic (no WebUI, API, or Dashboards needed there).
Example Topology: 7-Node Stretch Cluster
This guide uses a cluster topology with a 7-node stretch cluster across 2 AWS regions and 3 availability zones. All nodes must meet requirements listed in Multi-Node Linux Install Prerequisites
Note: Users may modify the node cluster configuration for their use case. Using this exact 7-node stretch cluster topology is not required.
|
Node |
Region / AZ |
Role |
|---|---|---|
|
|
us-west-1a |
Primary full backend |
|
|
us-west-1a |
Full backend |
|
|
us-west-1a |
Additional frontend |
|
|
us-west-2b |
Full backend |
|
|
us-west-2b |
Full backend |
|
|
us-west-2a |
Coordinator (quorum tiebreaker) |
|
|
us-west-2b |
Additional frontend |

Note: An Availability Zone (AZ) is equivalent to a datacenter or an independent failure domain within a region.
In this topology there are
-
5 quorum voters: 4 backends + 1 coordinator (odd number for majority)
-
2 frontends serving user traffic (both ADDITIONAL_FRONTEND)
-
Coordinator in us-west-2a acts as tiebreaker between the two regions
Prerequisites
All nodes must meet requirements listed in Multi-Node Linux Install Prerequisites. This guide uses an example topology with 7 nodes:
-
4 Backend Nodes (
backend-1,backend-2,backend-3,backend-4) -
1 Coordinator Node (
coordinator-1) -
2 Frontend Nodes (
frontend-2,frontend-3)
Optional but highly recommended:
-
1 Load Balancer node (
loadbalancer) meeting requirements listed in Multi-Node Linux Install Prerequisites
Inter-Datacenter Latency Requirements
A stretch cluster requires low-latency, stable network links between datacenters. Kafka, MongoDB, and OpenSearch perform synchronous replication and quorum coordination across nodes, so inter-datacenter latency directly impacts write performance, quorum elections, and pipeline throughput.
|
Inter-Datacenter RTT |
Minimum Throughput |
Suitability |
Notes |
|---|---|---|---|
|
< 5ms |
1 Gbps+ |
Ideal |
Same metro area or campus network. All services operate at full performance. |
|
5-20ms |
1 Gbps+ |
Recommended |
Nearby datacenters or neighboring regions. Tested and recommended range for stretch clusters. |
|
20-50ms |
500 Mbps+ |
Degraded |
Write latency increases. Kafka consumer group rebalancing becomes slower. Scans might work but pipeline latency increases. |
|
> 50ms |
Any |
Not recommended |
Quorum coordination becomes fragile. Consumer groups may fail to stabilize. |
-
Zero packet loss and low jitter are as important as low latency.
-
These requirements apply to inter-datacenter links only. Intra-datacenter communication is assumed to be sub-millisecond with multi-Gbps throughput.
-
Based on stretch cluster testing with 18ms inter-datacenter latency (us-west-1 to us-west-2), all services including Kafka, MongoDB, and OpenSearch operated within acceptable parameters.
Quorum Considerations
The Coordinator Node's primary purpose is to maintain an odd quorum voter count for Kafka KRaft, MongoDB replica set, and OpenSearch cluster manager elections.
|
Component |
Quorum Voters |
Majority Needed |
|---|---|---|
|
Kafka KRaft |
5 (4 backends + 1 coordinator) |
3 |
|
MongoDB |
5 (4 backends + 1 coordinator arbiter) |
3 |
|
OpenSearch |
5 (4 backends + 1 coordinator) |
3 |
Placement guidance:
-
Place the Coordinator in a different AZ from the majority of your Backend Nodes. This ensures if one AZ fails, the surviving nodes (in the other AZ + coordinator) retain quorum majority.
-
In the example topology above, if us-west-1a fails (losing
backend-1,backend-2,frontend-2), the surviving nodes in us-west-2 (backend-3,backend-4,coordinator-1,frontend-3) retain 3 of 5 quorum voters.
Directory Path References
Directory Path Variables
There are two referenced directory locations in these instructions:
-
installer_dir: the location where the unzipped install files reside, including all installation scripts and supporting files. -
agilesec_install_dir: the location where AgileSec will be installed to.
Export these as bash variables to easily copy and paste guide instructions:
export installer_dir=</path/to/installer>
export agilesec_install_dir=</path/to/installation>
Step 1: Review Prerequisites (all nodes)
Ensure you meet all Multi-Node Linux Install Prerequisites for each node, including meeting minimum node requirements, downloading and unarchiving the installer package, and reviewing configuration decisions.
Step 2: Update Cluster Configuration (backend-1)
Environment cluster configuration is required before starting the installation. A configuration file with default values for a multi-node installation is available at generate_envs/multi_node_config.conf. Edit this file on backend-1 based on your installation configuration.
Edit generate_envs/multi_node_config.conf on backend-1:
-
Comment out the
frontend-1entries (Coordinator will replace its quorum role):
#frontend1_private_ip=""
#frontend1_node_hostname=""
#frontend1_node_profile=""
-
Set the coordinator IP (uncomment and populate):
coordinator1_private_ip="<coordinator-ip>"
-
Append the coordinator node configuration block
For example, using the cat command:
cat >> generate_envs/multi_node_config.conf <<'EOF'
coordinator1_node_hostname="coordinator-1"
coordinator1_node_profile="COORDINATOR"
EOF
-
Set additional backend and frontend IPs as needed for your topology (e.g.,
backend3_private_ip,backend4_private_ip,frontend2_private_ip,frontend3_private_ip). -
Set OpenSearch index replication for AZ failover tolerance:
# In generate_envs/multi_node_config.conf, set:
opensearch_index_number_of_shards=4
opensearch_index_number_of_replicas=3
With 4 data nodes across 2 AZs, setting number_of_replicas=3 ensures every index has copies on all 4 data nodes. This means a full AZ failure (losing 2 data nodes) still leaves every index with at least 1 surviving replica, keeping the cluster YELLOW (data accessible) instead of RED (data loss).
Step 3: Generate Environment Files (backend-1)
Generate environment files on backend-1:
cd $installer_dir
./generate_envs/generate_envs.sh -t multi-node
This will generate env files for all nodes, including env.coordinator-1. No env.frontend-1 will be generated since it was commented out.
generate_envs.sh will also copy env.backend-1 to $agilesec_install_dir/.env.
Step 4: Generate and Install Certificates (backend-1)
You can generate and self-sign all required certificates using generate_certs.sh, or you can use certificates issued by your own CA. For POCs and first-time installations, it is recommended you use installer-generated certificates.
Follow instructions in On-Prem Certificates Management Guide to configure, create, and install certificates.
Note: During certificate installation, kf-agilesec.internal-certs.tgz should be deployed to every node and unarchived in $installer_dir/certificates/. This archive file includes each node’s .env file.
Certificate Management: Installer-Generated Certificates quick example:
# On backend-1, generate installer-generated certificates:
cd $installer_dir/certificates
./generate_certs.sh
cd ..
# Copy resulting kf-agilesec.internal-certs.tgz from backend-1 to all other nodes:
scp kf-agilesec.internal-certs.tgz <user@other-node IP>:$installer_dir/certificates/
# Repeat copy from backend-1 to all other nodes

# On each other node (not backend-1), unarchive kf-agilesec.internal-certs.tgz:
cd $installer_dir/certificates/
tar zxvf kf-agilesec.internal-certs.tgz
# Repeat on all other nodes

# Establish external certificate trust (see Certificate Management Guide)
Step 5: Deploy .env Files (all nodes except backend-1)
generate_envs.sh automatically copied backend-1.env to <installer-dir>/.env. This must be done manually for other nodes.
On each node EXCEPT backend-1, copy the specific node’s environment file from $installer_dir/certificates/ to <installer-dir>/.env.
cd $installer_dir/certificates/
tar zxvf kf-agilesec.internal-certs.tgz
cp <env-file> ../.env
cd ..
|
Node |
env file copy command |
|---|---|
|
|
|
|
|
|
|
|
|
|
|
|
|
|
|
|
|
|
Step 6: Install AgileSec (All nodes in specific order)
On each node perform the following steps:
-
Check Environment Setup
-
Run system tuning
tune.sh -
Run installation script
install_analytics.sh
1. Check Environment Setup
Make sure settings file $installer_dir/.env is present on each node.
Tip: Use ls -a to see files beginning with a .
2. Run System Tuning
On each node, run tune.sh:
cd $installer_dir
sudo ./scripts/tune.sh -u <user>
3. Run Installation Script
IMPORTANT:
Kafka quorum during installation: When multiple backend nodes are installed in parallel, the Kafka KRaft quorum may go through re-elections as new nodes join. If Kafka stops running on any backend node during installation, manually restart it with ./scripts/manage.sh start kafka to help the quorum form and allow the installation to make progress.
Health check cron: As installation of each node completes, verify the health check cron job is active on all nodes (crontab -l). This cron automatically detects and restarts stopped services, which helps maintain Kafka quorum stability during normal operation.
Each node must have its correct .env file set, certificates placed, and system tuning applied before running the install command.
Run install_analytics.sh on each node in the following sequential order:
-
Install backend-1
Must complete first – initializes MongoDB primary, OpenSearch cluster manager, Kafka leader.
cd $installer_dir
./install_analytics.sh install -u <user> -p <installation-dir> --non-interactive
-
Install backend-2
Afterbackend-1– adds MongoDB secondary.
cd $installer_dir
./install_analytics.sh install -u <user> -p <installation-dir> --non-interactive
-
Install backend-3, backend-4, coordinator-1 in parallel.
After backend-2 completes. The coordinator creates Kafka topics during this phase.
cd $installer_dir
./install_analytics.sh install -u <user> -p <installation-dir> --non-interactive
Wait for all 3 nodes installations to complete before proceeding.
-
Install frontend-2, frontend-3 in parallel
After previous nodes complete installation. Frontend nodes depend on Kafka topics created by the Coordinator.
cd $installer_dir
./install_analytics.sh install -u <user> -p <installation-dir> --non-interactive
Note: After installation, the following scripts can be used from agilesec_install_dir/scripts:
-
manage.sh: Manage services. See On-Prem Managing Services for details. -
uninstall.sh: Uninstalls the AgileSec platform. cleans up ports, cron, /etc/hosts, installation directory, etc. -
startup.sh: Enables auto-start after reboot. -
health_check.sh: Checks services and attempts to start any with “Not running” status.
Step 6 (Optional but Highly Recommended): Add Load Balancer
AgileSec strongly recommends adding a Load Balancer to balance traffic between frontend-2 and frontend-3 for Stretch Clusters. See Add an Upstream Load Balancer for more guidance.
Verify Installation
On each node, check the status of all services. Run manage.sh status on each node:
cd $agilesec_install_dir
./scripts/manage.sh status
If any service shows Not running, try restarting it. See On-Prem Managing Services for instructions on starting and restarting services.
On the Coordinator Node, you should see 3 services:
$ ./manage.sh status
SERVICE                   DESCRIPTION                              STATUS
------------------------  ---------------------------------------- -----------
mongodb                   MongoDB Server                           Running
opensearch                OpenSearch Search Engine                 Running
kafka                     Kafka Server                             Running
On Frontend Nodes (ADDITIONAL_FRONTEND), you should see 6 services:
$ ./manage.sh status
SERVICE                   DESCRIPTION                              STATUS
------------------------  ---------------------------------------- -----------
sm                        Security Manager Microservice            Running
api                       Web API Microservice                     Running
webui                     Web UI Microservice                      Running
opensearch-dashboards     OpenSearch Dashboards                    Running
cbom                      CBOM Exporter Microservice               Running
haproxy                   HAProxy Load Balancer                    Running
Backend Nodes should show the standard 9 services (mongodb, opensearch, kafka, scheduler, analytics-manager, ingestion, indexing, sm, haproxy):
$ ./manage.sh status
SERVICE                   DESCRIPTION                              STATUS                         UPTIME
------------------------  ---------------------------------------- ------------------------------ ---------------
mongodb                   MongoDB Server                           Running (PID: ####)            23h 8m 51s
opensearch                OpenSearch Search Engine                 Running (PID: ####)            23h 8m 52s
kafka                     Kafka Server                             Running (PID: ####)          23m 17s
scheduler                 Scheduler Microservice                   Running (PID: ####)            23h 8m 37s
analytics-manager         Analytics Manager Microservice           Running (PID: ####)            23h 8m 37s
ingestion                 Ingestion Microservice                   Running (PID: ####)            23h 8m 37s
indexing                  Indexing Microservice                    Running (PID: ####)            23h 8m 37s
sm                        Security Manager Microservice            Running (PID: ####)            23h 8m 37s
haproxy                   HAProxy Load Balancer                    Running (PID: ####)            23h 8m 37s
*Note: If v2_sensors is enabled in the .conf prior to install, you should also see td-agent Fluentd Data Collector service running on Backend Nodes.
After installation completes, allow approximately 30 seconds for all services to fully initialize before accessing the UI. Attempting to log in immediately may result in a 503 Service Unavailable error. If this occurs, wait 30 seconds and refresh the page.
Access AgileSec
Setup External Browser FQDN Access
Ensure computers where you will be accessing the AgileSec Platform UI from have at least one of the following for browser access:
-
Recommended: A DNS entry for
<analytics_hostname>.<analytics_domain>pointing to each Frontend Node’s IP address. -
For proof of concept, test cases, or single computer access: Add entries in your external computer’s
/etc/hostsfor<analytics_hostname>.<analytics_domain>pointing to bothfrontend-1andfrontend-2’s IP address. If you have an upstream load balancer, it is better to use the IP of the load balancer.# Example /etc/hosts entry: <coordinator-1 ip> agilesec.kf-agilesec.com <frontend-2 ip> agilesec.kf-agilesec.com <frontend-3 ip> agilesec.kf-agilesec.com
URL and Login Info
After successful installation, the frontend-1 installer will output an install summary with login URLs and login info. This information can also be found in $installer_dir/INSTALL_SUMMARY.txt.
Web UI example:
-
Login URL:
https://<analytics_hostname>.<analytics_domain>:<analytics_port> -
Username:
admin@<org_domain> -
Password: <the admin password you entered at the beginning of install>
Default Settings example:
-
Login URL:
https://agilesec.kf-agilesec.com:8443 -
Username:
admin@kf-agilesec.com -
Password:
HelloWorld123456!
Access the AgileSec Platform UI
To log into the new Web UI, use the URL displayed at the end of the install or in $installer_dir/INSTALL_SUMMARY.txt on Frontend Nodes.
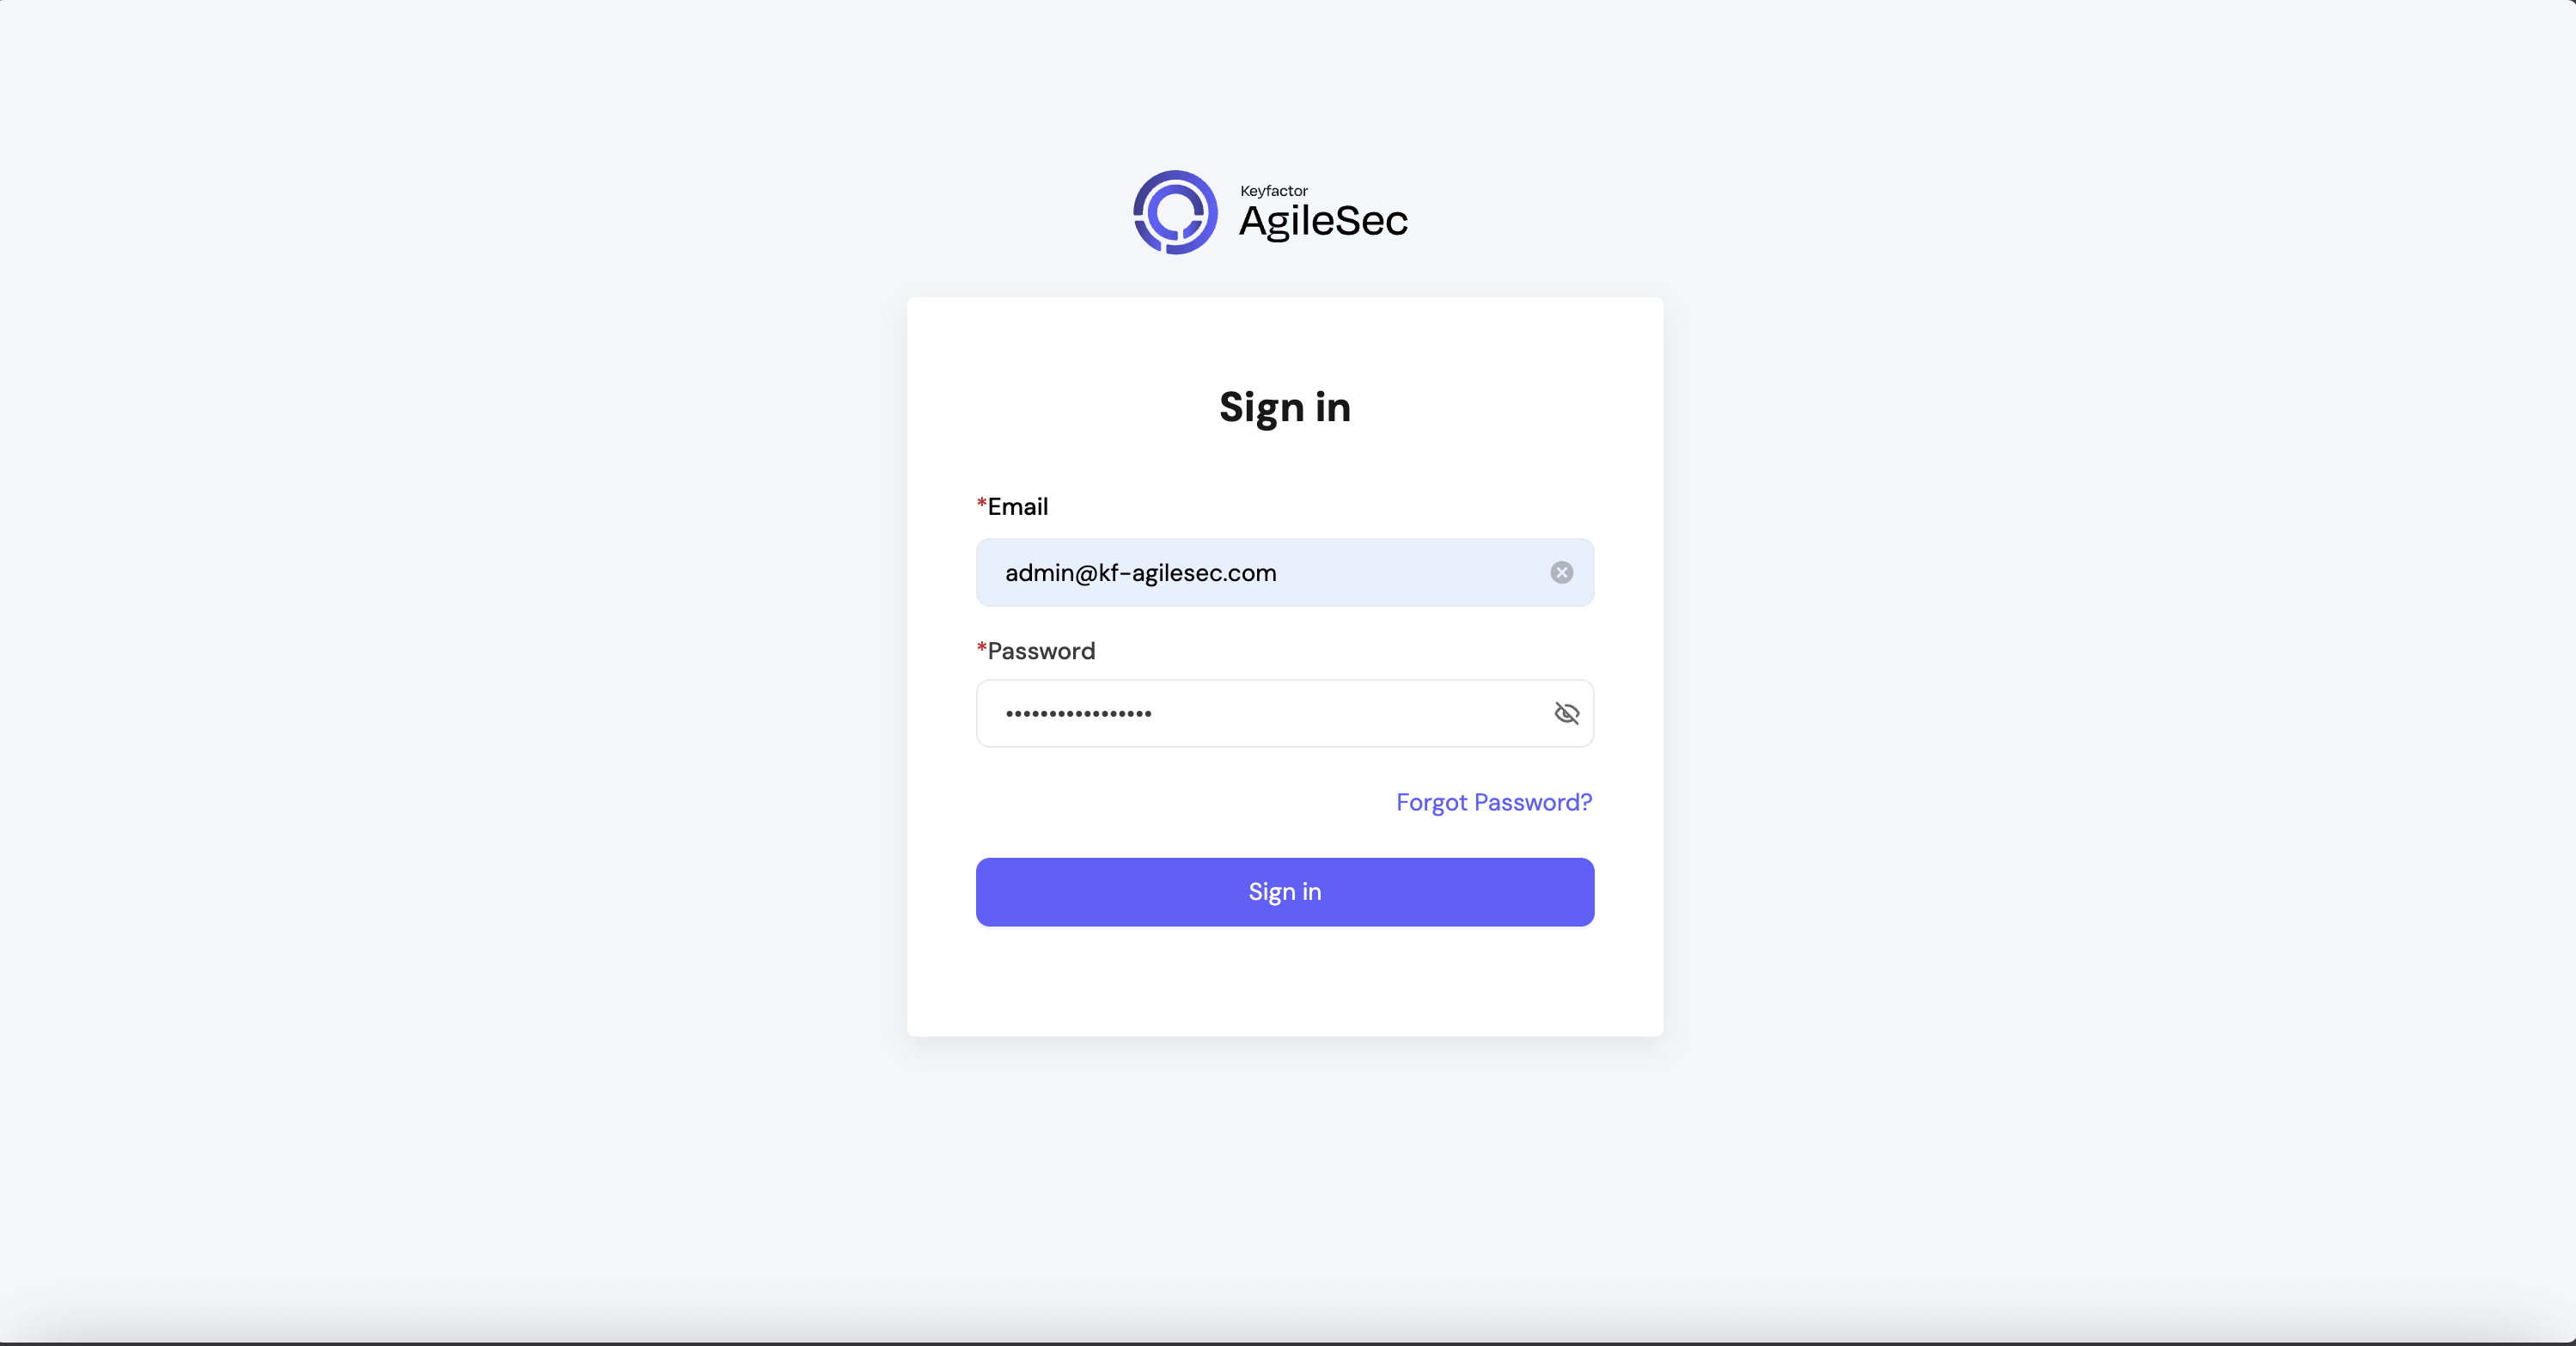
You will see a login screen like this:
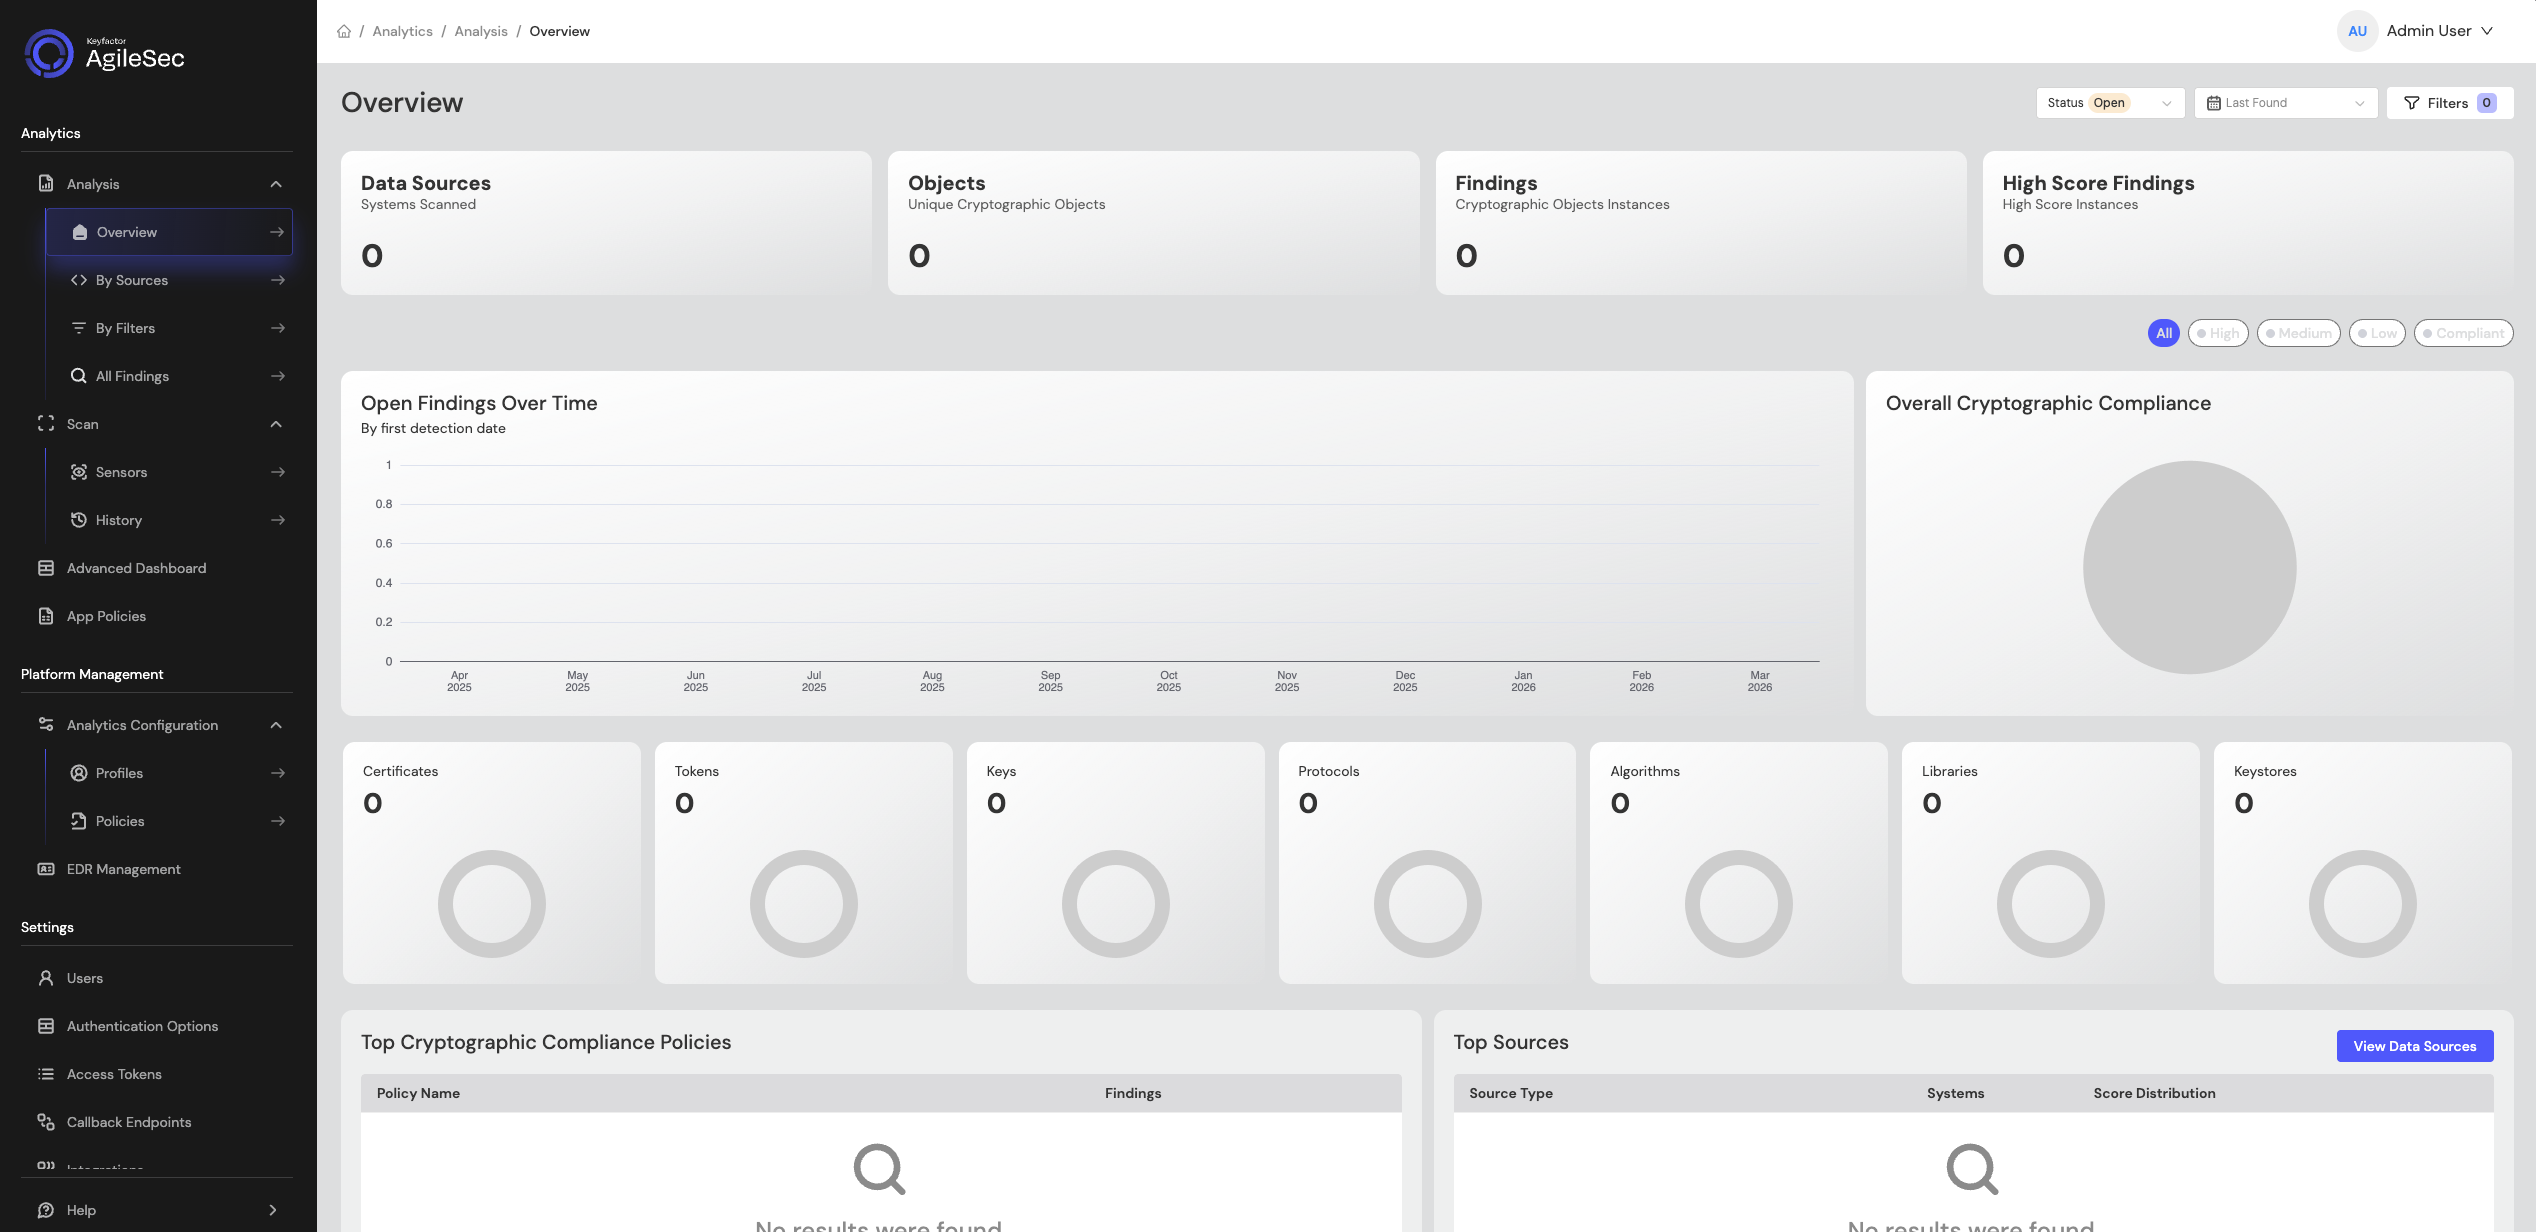
After logging in, the Overview Dashboard should show 0 across all charts:
Test Datacenter Failover (Stretch Cluster)
This test validates the cluster survives a full datacenter/AZ failure. It applies to stretch cluster topologies with a Coordinator Node.
Steps:
-
Disable health check cron on all nodes (
crontab -l | sed 's|^\(.* .*health_check\.sh\)$|#DISABLED# \1|' | crontab -). -
Stop all services on all nodes in one datacenter (e.g.,
backend-1,backend-2,frontend-2in DC-1). -
Run a network scan, GitHub, and/or other Sensor scan.
-
Scans should complete successfully.
IMPORTANT: This test requires opensearch_index_number_of_replicas=3 and Kafka topics with replication factor matching the number of backend nodes (set during installation). Without these, some indices or partitions may become unavailable during a full AZ failure.
Post-Installation Validation
See On-Prem AgileSec Validation Checklist for thorough post-installation validation checks.
Post-Installation System Administration
For information on System Administration options post-installation, see System Administration.
Troubleshooting
If you encounter issues during installation or operation, review AgileSec Linux Installation Troubleshooting Guide.