This section offers the option to download a Configuration Import Tool to set up and configure the Software Appliances more quickly, consistently, and without manual intervention via Webconf.
The intention is to simplify the deployment process by automating standard setup tasks such as:
-
network
-
logging
-
monitoring
-
email
-
external connections
as well as the reconfiguration.
Automated Deployment Process
-
automates the appliance deployment process so that manual Webconf steps are completely eliminated
-
restores previous configurations and applies them to new appliances or re-deployments
-
integrates easier into internal workflows
-
provides better use in business-critical environments (e.g., rapid on-site reconfiguration)
-
Log in to the Software Appliance.
-
Open the Restore page.
-
In the Automated Deployment section, select the Operating System for witch the Configuration Import Tool should be downloaded.
Use the drop down menu.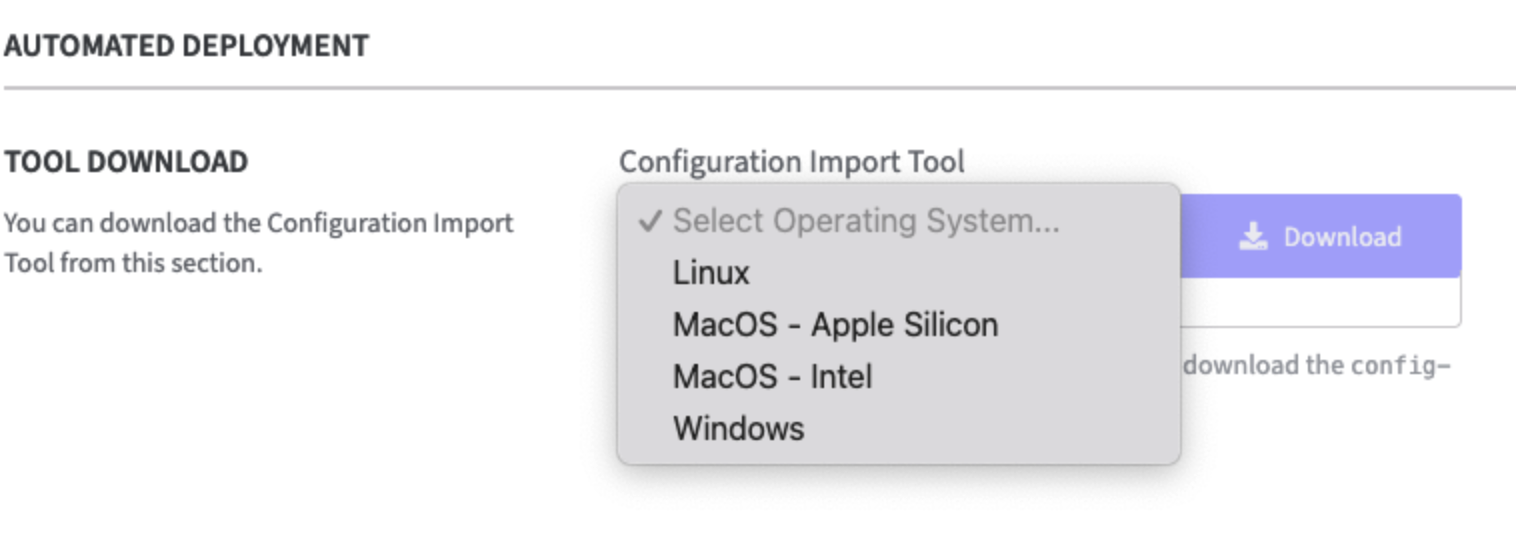
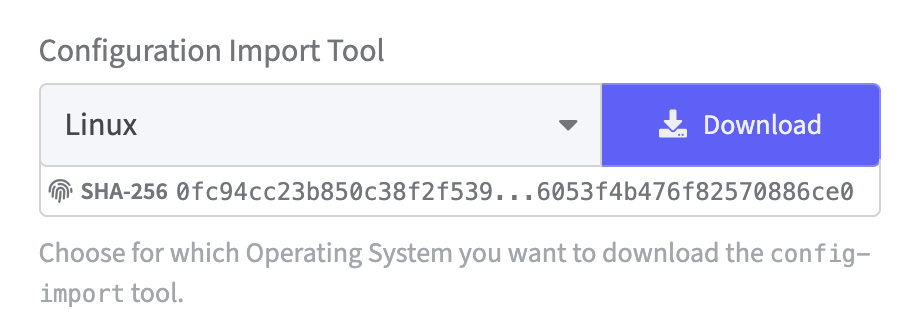
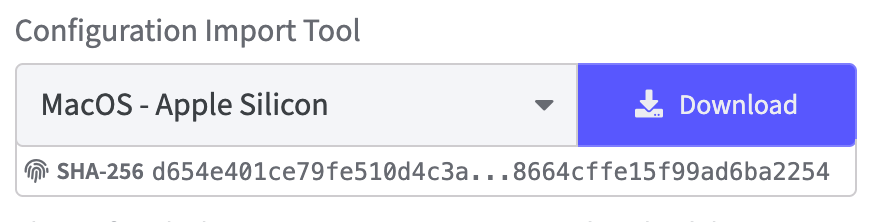
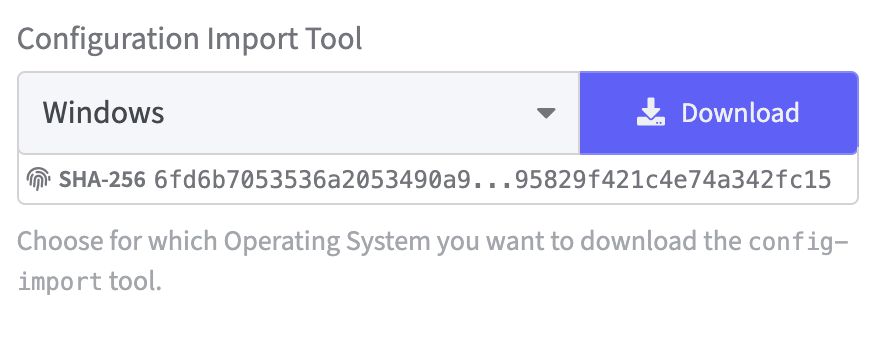
For every type of operating systems in the list a checksum is provided for the specific download. SHA-256 (Secure Hash Algorithm 256-bit) is displayed.
Install the Configuration Import Tool on Linux:
-
Click Download in the Configuration Import Tool section.
-
Go to the folder where Configuration Import Tool was downloaded and mark the Configuration Import Tool as executable:
chmod +x configtool-linux -
Following is an example of how to configure the appliance to match the settings defined in the YML file by uploading it directly via the Configuration Import Tool.
Execute using parameters and configuration file:
./configtool-linux -c config.yml -f upload -d <DMS> -v nx -p <OTP> -t <appliance IP>
Install the Configuration Import Tool on MacOS - Apple Silicon/Intel:
MacOS - Apple Silicon:
MacOS - Intel:

-
Click Download in the Configuration Import Tool section.
-
After opening the downloaded Configuration Import Tool a warning will appear.
macOS Security Warning:could not verify the file.-
Click Done in the modal dialogue.
-
Go to System Settings → Privacy & Security.
-
Scroll down and click Open Anyway.
-
Authenticate with Touch ID or your password.
-
Click Open on the final prompt
-
-
./configtool-darwin-arm64 --helpwould not work without changing the permission level -
To verify the Configuration Import Tool is working try the command below.
Go to the folder where Configuration Import Tool was downloaded and run:
./configtool-darwin-arm64 --help
If everything is set up correctly, the instructions for use or the help will appear.
Execute using parameters and configuration file:
./configtool-darwin-arm64 -c config.yml -f upload -d <DMS> -v nx -p <OTP> -t <appliance IP>
Install the Configuration Import Tool on Windows:
-
Click Download in the Configuration Import Tool section.
-
Once the Windows tool has finished downloading, it is immediately ready to use.
Execute using parameters and configuration file:
Execute for help:
./configtool-windows.exe --help.
Execute to operate:
./configtool-windows.exe -c config.yml -f upload -d <DMS> -v nx -p <OTP> -t <appliance IP>
To transfer a configuration to the Software Appliance, the appliance must be reset to its factory settings.
Open the Settings page and Factory Reset.
After an update, it is recommended to use the Configuration Import Tool that comes with that release so that all newly added features can be used.
How to operate the Configuration Import Tool
Reference Documentation
Example: YAML reference file: automated deployment reference.zip
If no OAuth user is specified in the configuration YAML file, automatic deployment will result in the appliance being configured incorrectly, rendering it unusable.
Integrity Protection
For all HSM configurations that support the use of multiple HSMs the order of settings is important. The add*Hsm must happen before the set*Configuration setting.
Checksum for configuration element(s)
When using URIs (“file://“, “http://” or “https://“) to specify a configuration element, it is possible to include the checksum by appending
-
;configimport?sha256sum=<SHA256sum> -
;configimport?sha512sum=<SHA512sum>
to the URI. Either one of the checksums or both can be used.